
私が仕事で使っている製法技法をそのままに紹介します。
プロの技術なんてむずかしくてできなそうと思うかもしれませんが、構造自体はシンプルなのですぐにマネできるはず。
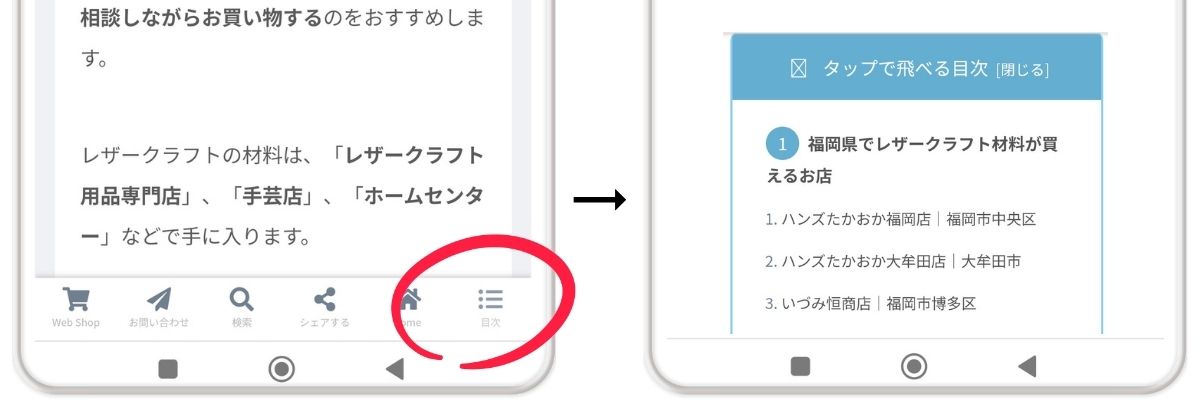
右下に現れる目次タブをタップすると目次が現れ、読みたい見出しをタップするとジャンプできます。
はじめに。ベルトパーツって何ですか?
まず、ベルトパーツって何ぞや?について少しだけ解説します。
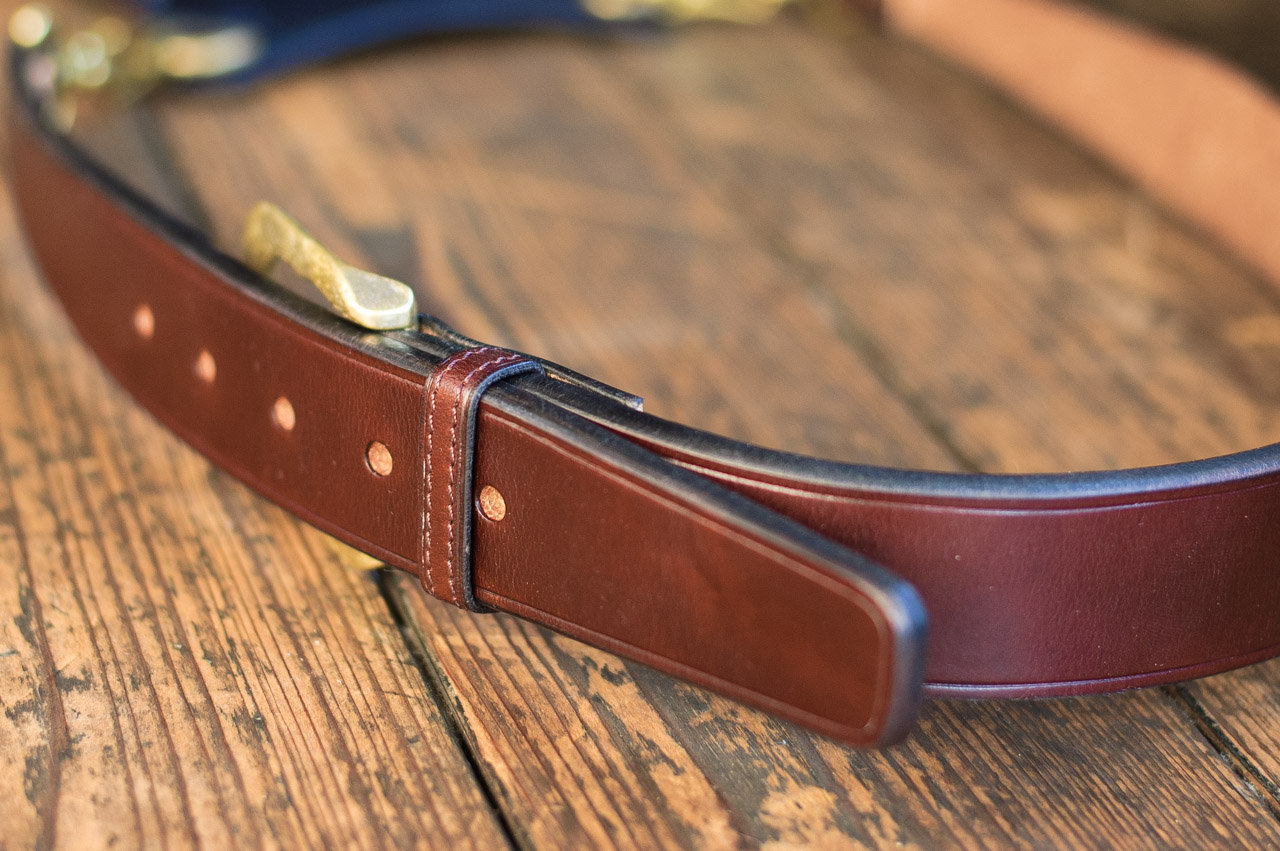
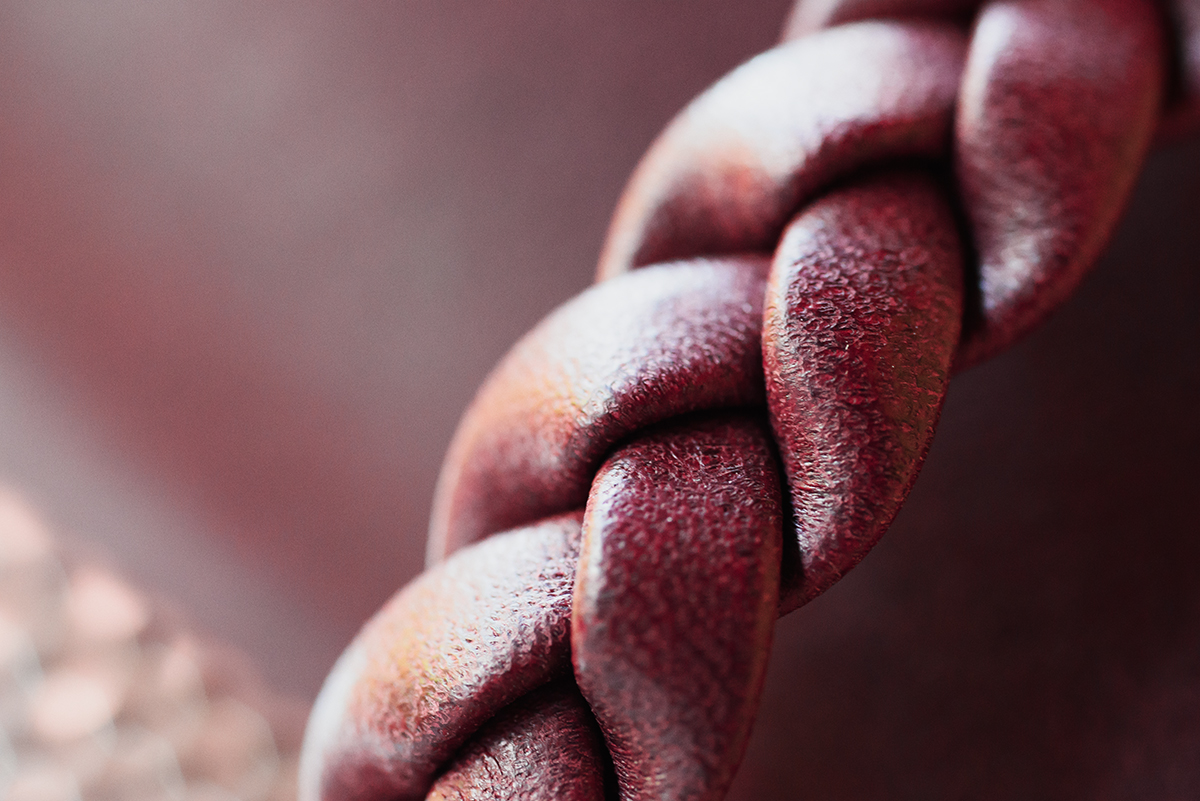
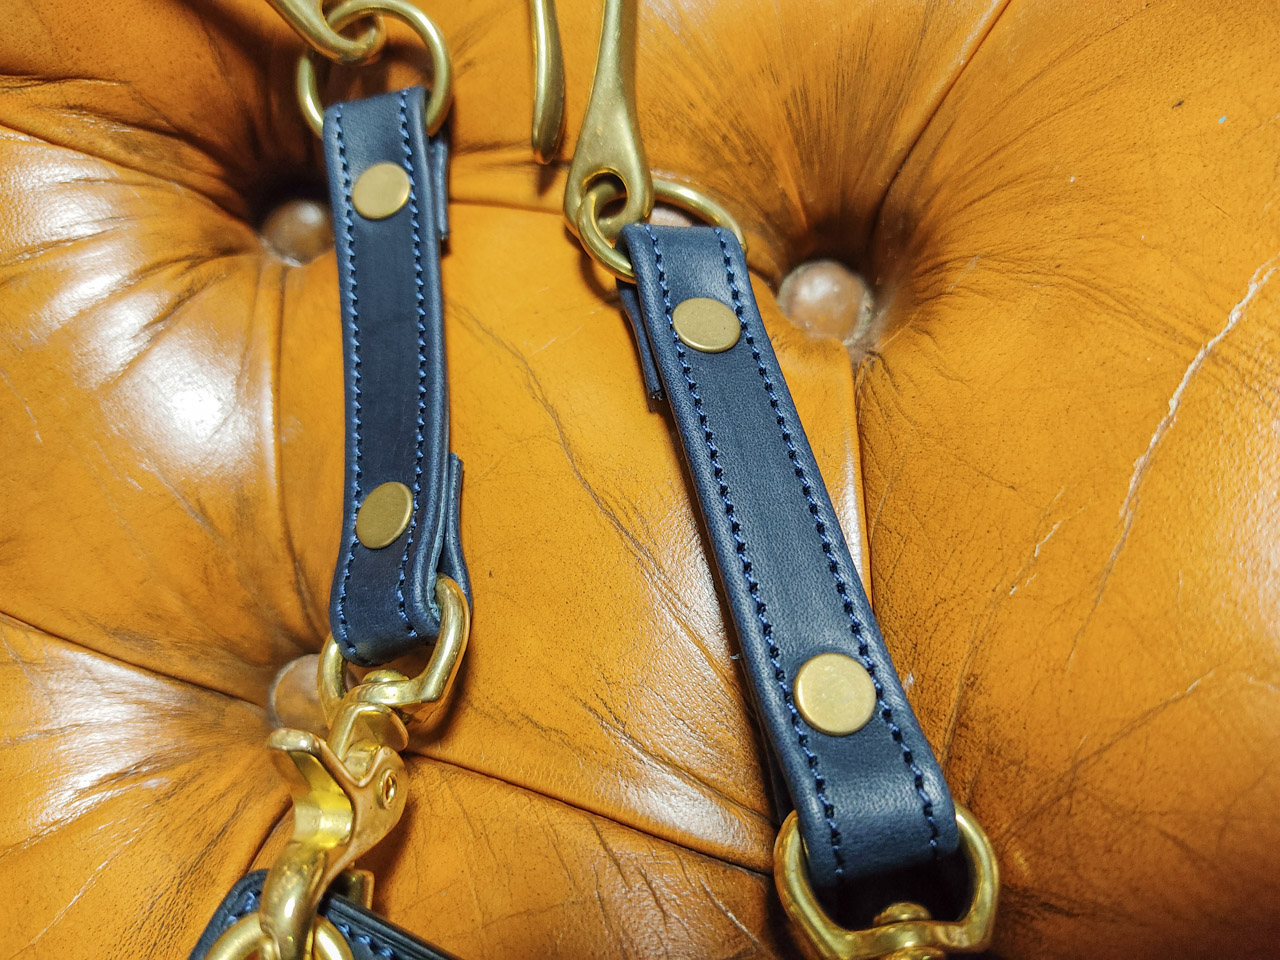
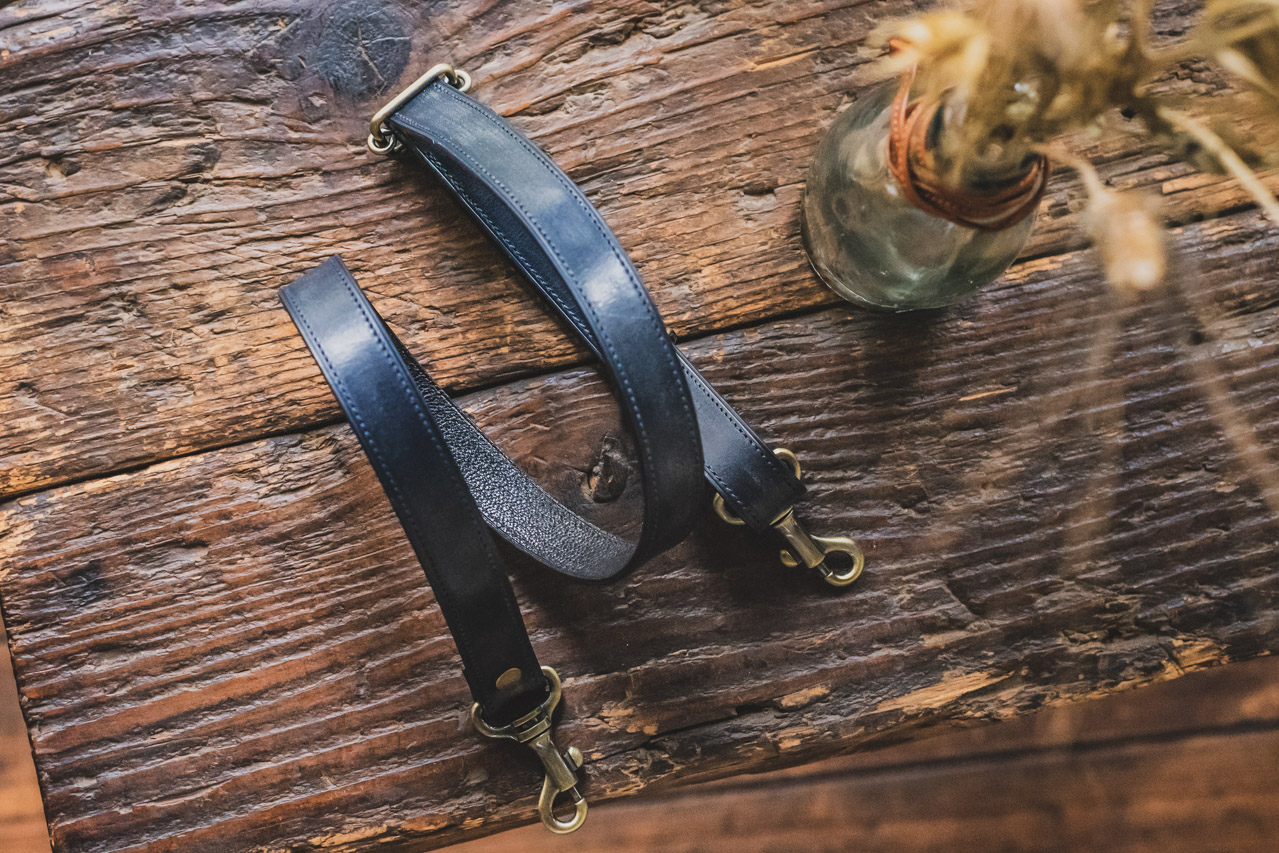
財布や手帳の留め具、キーケースやアクセサリーなどに使える革ひも、バッグのショルダーストラップなど、帯状に縫い合わせたり貼り合わせたパーツをこの記事ではベルトパーツと呼んでいます。
いろいろな製品で使われるパーツです。
たとえば、


こんな感じです。
分厚い一枚革で作ればとても簡単なパーツです。
ですが、さきほどの写真のようにうすい革を貼り重ねて作ることで、もっと丈夫に、もっと美しく作ることができます。
今回は、表裏に銀面(革の表面)が来るベルトパーツや革ひもの作り方5種類と、製法ごとのポイントについて一緒に勉強していきましょう。
『両ヘリ返し』を応用した上品な三つ編み方法も紹介しています。
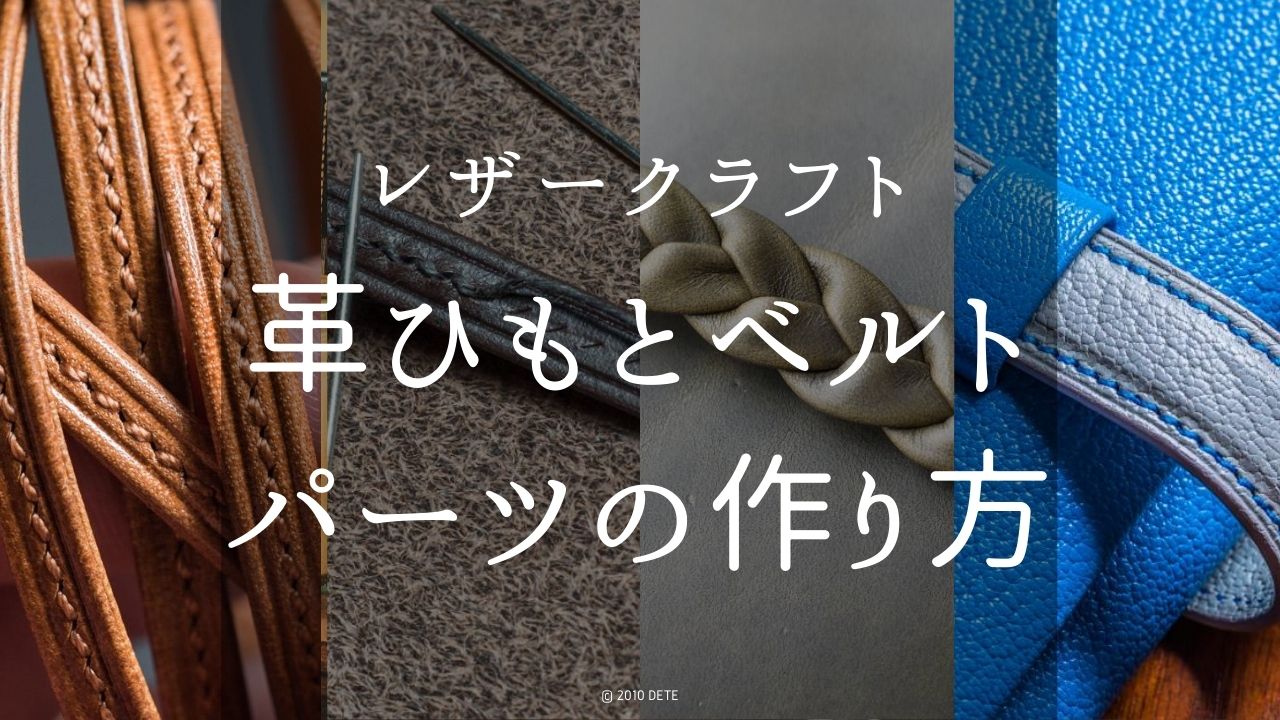
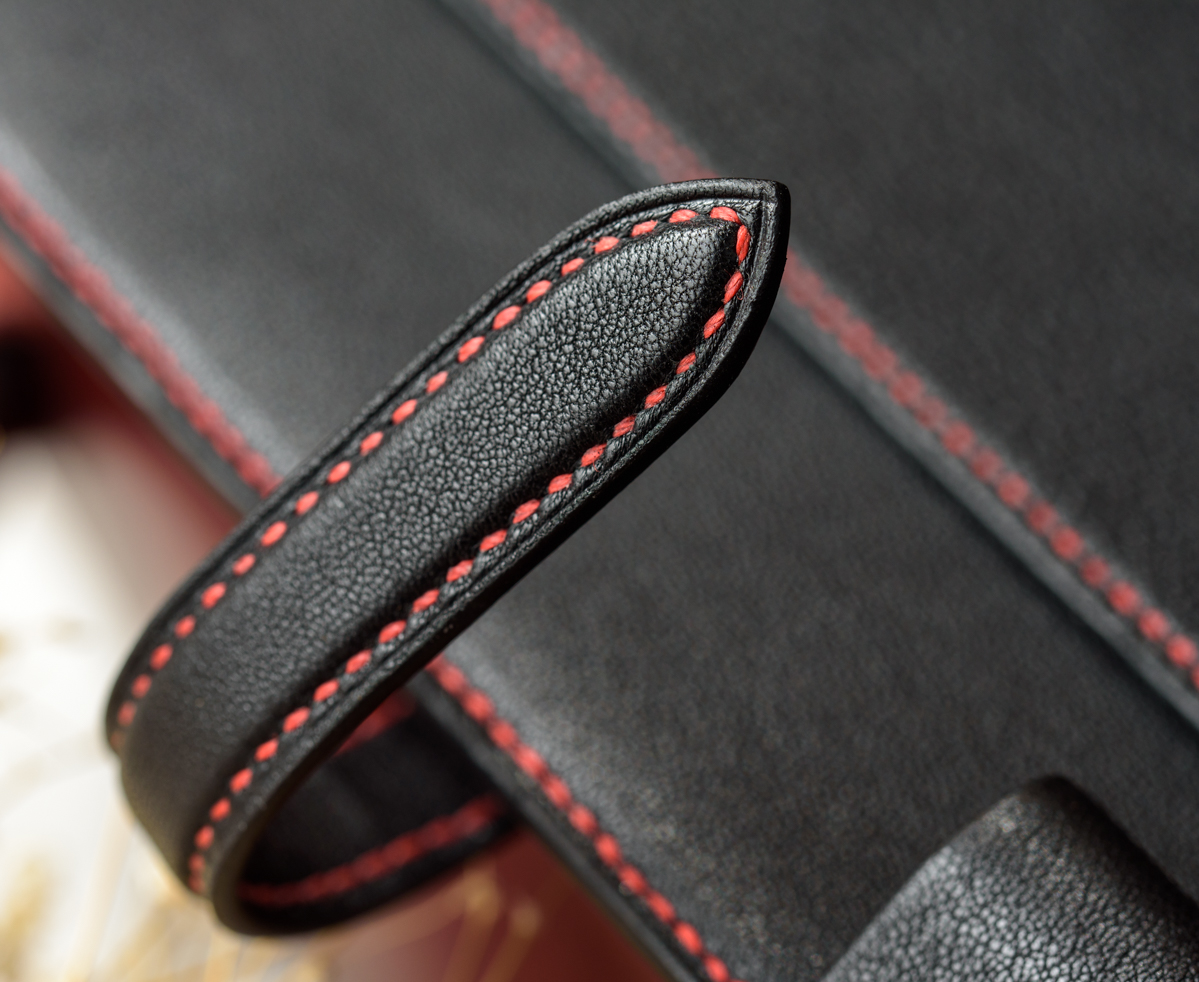
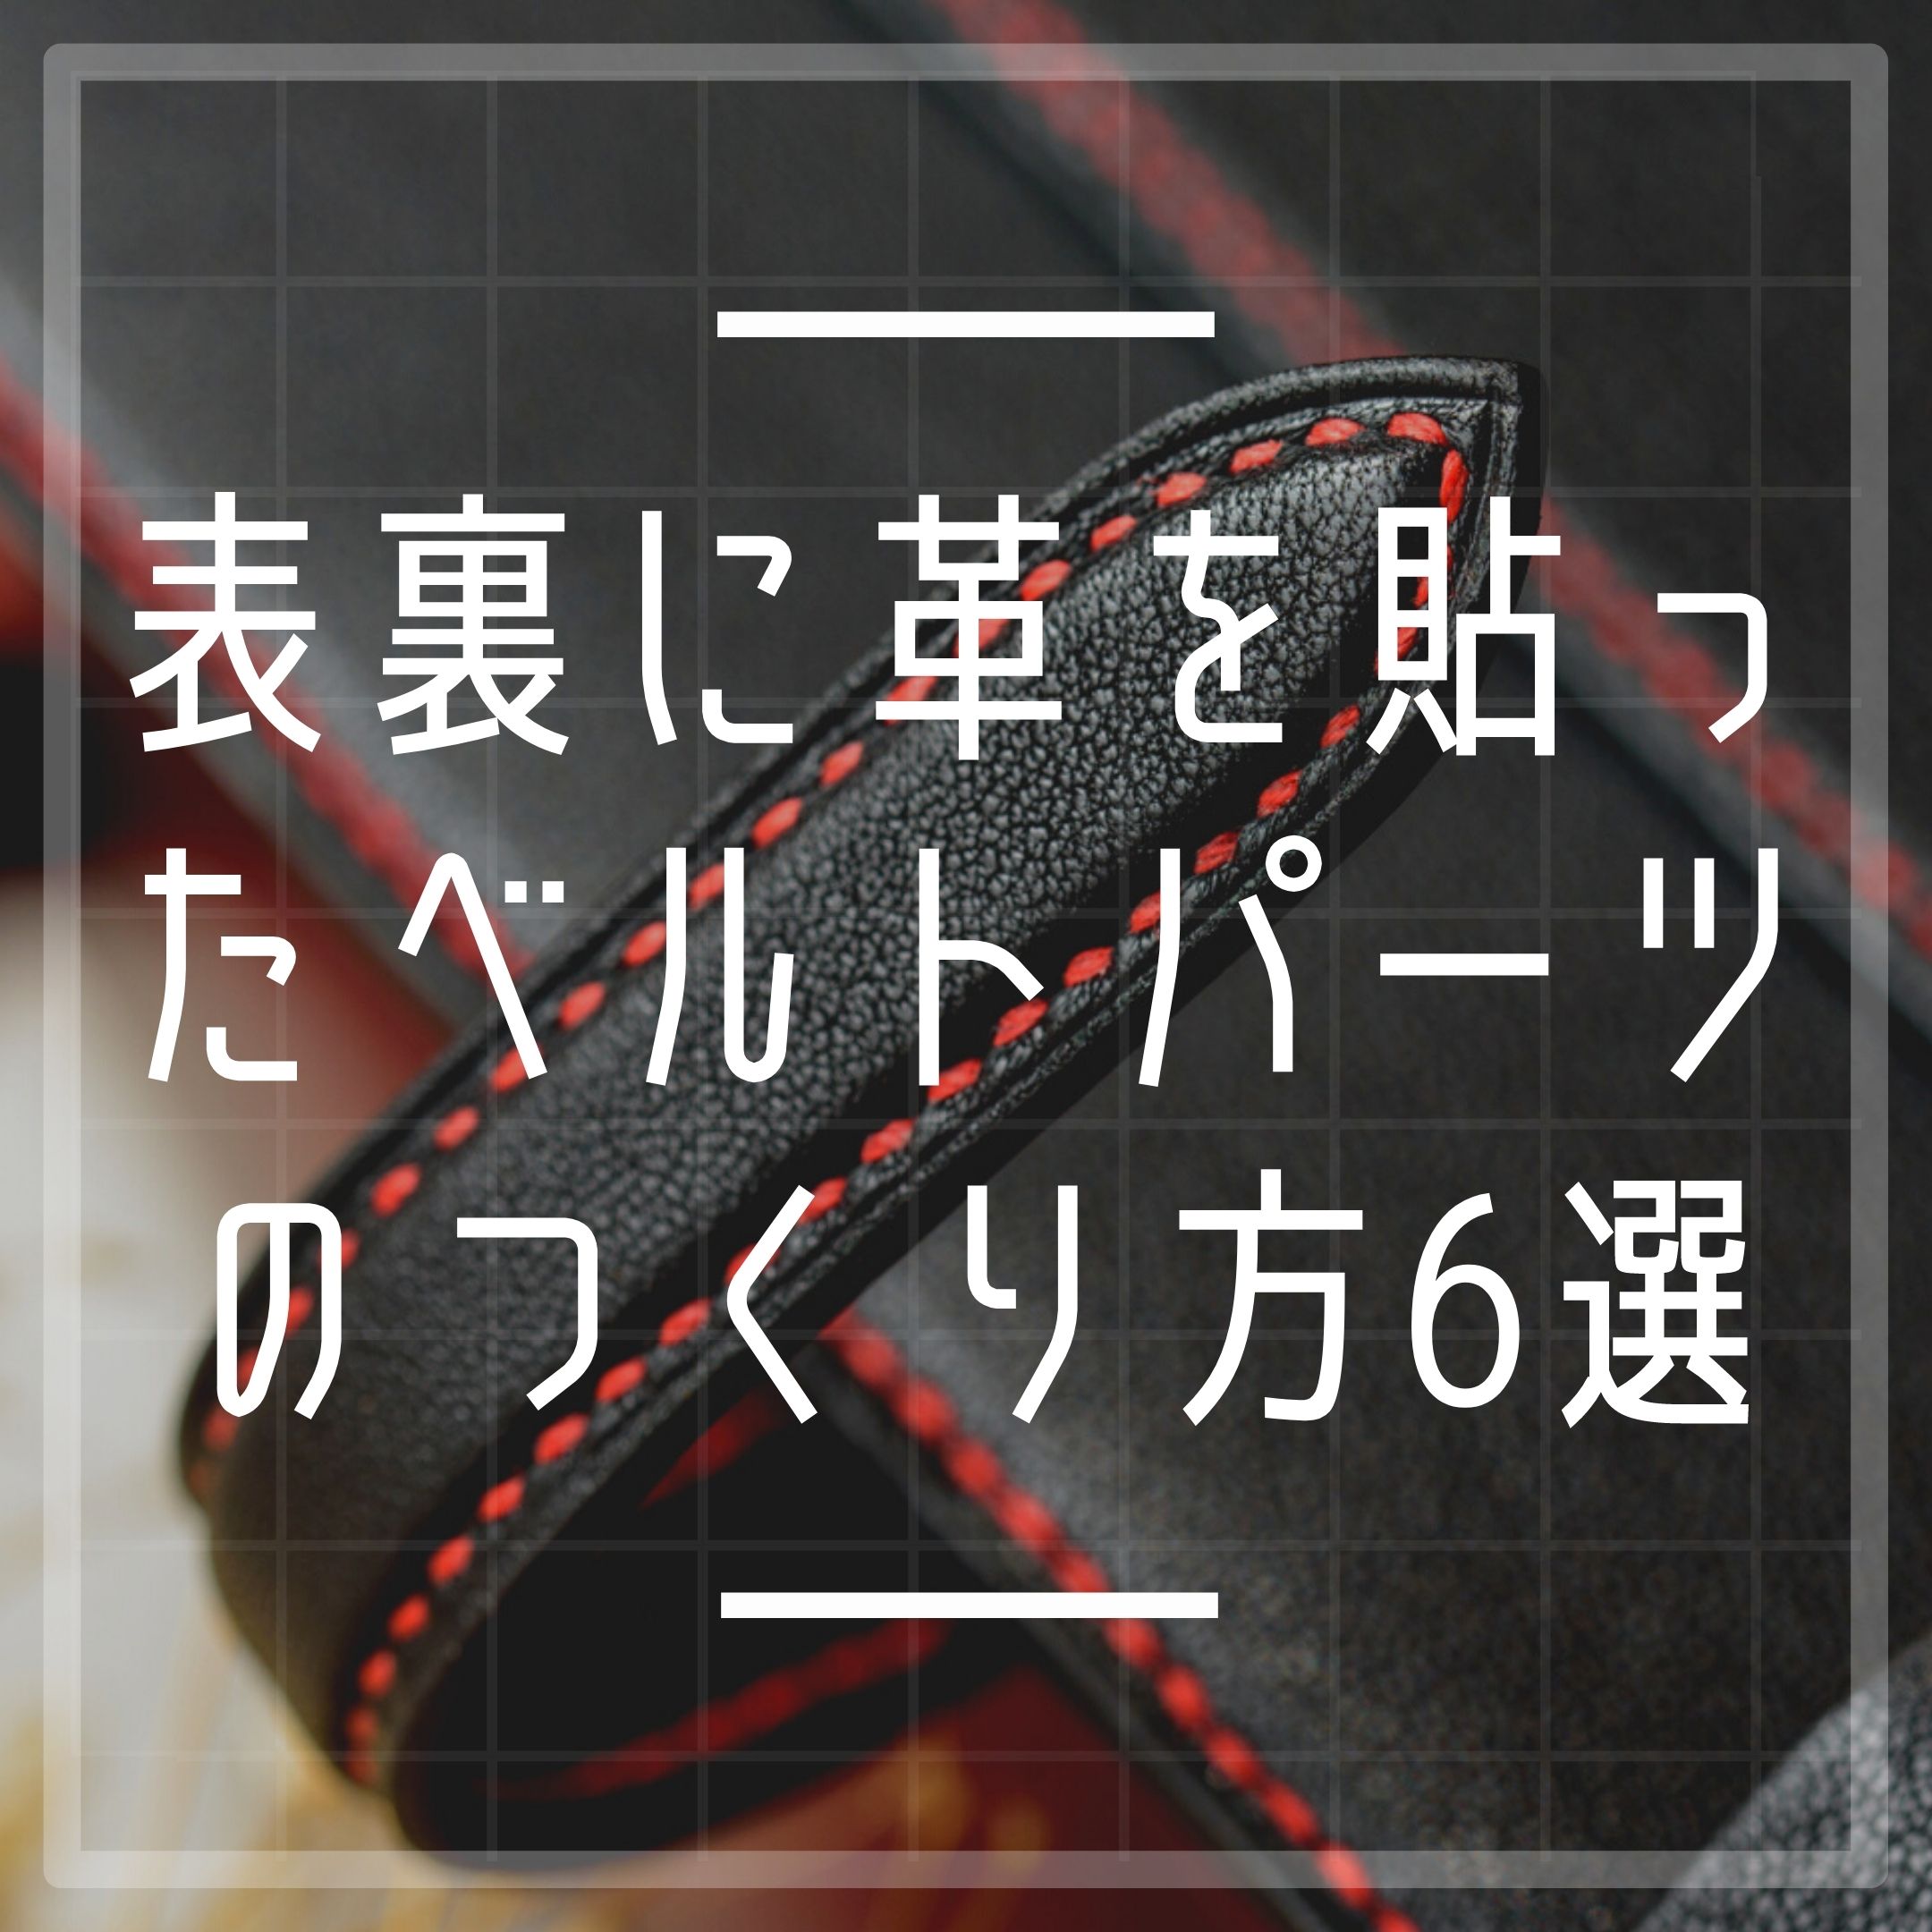
表裏に革を貼った革ひもとベルトパーツの作り方6選+α

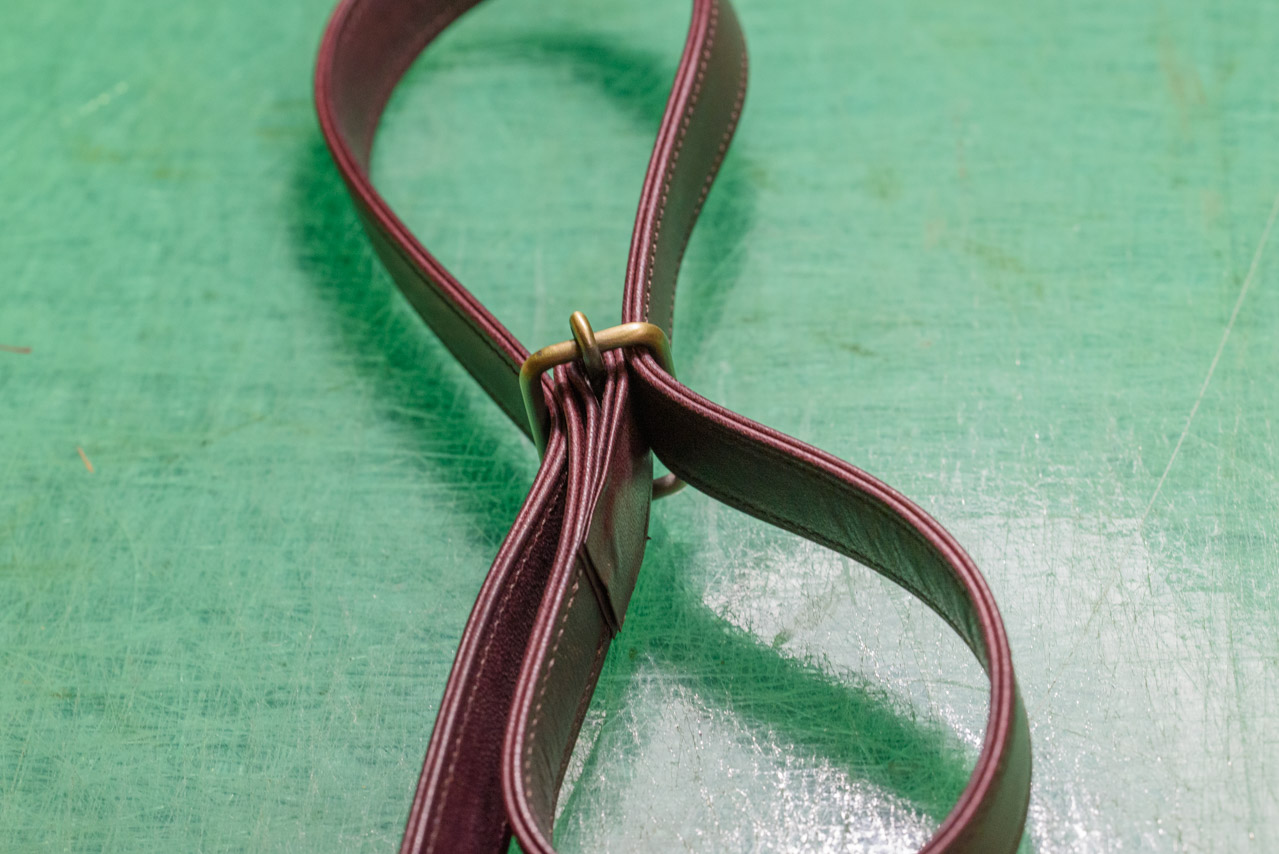
6種類紹介します。
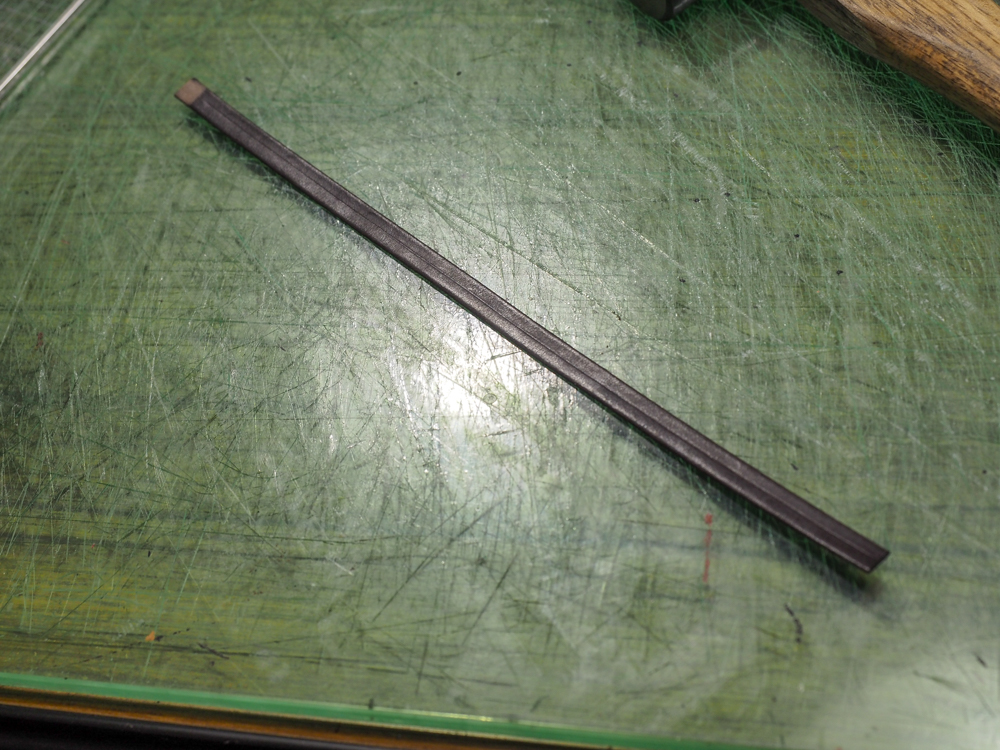
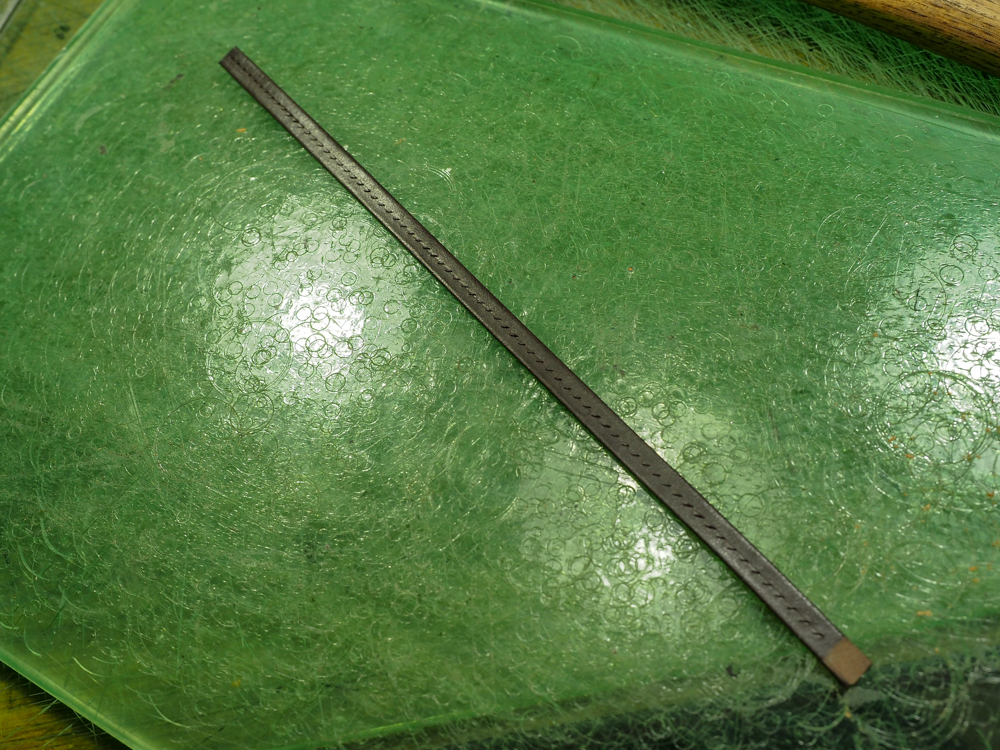
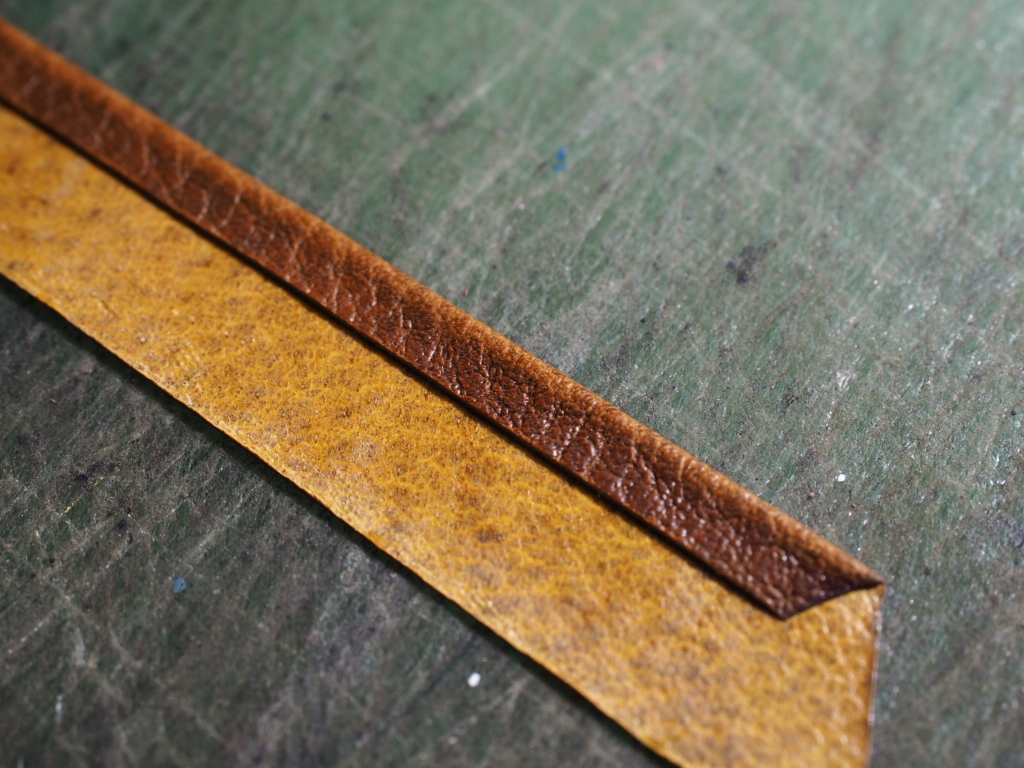
1枚革
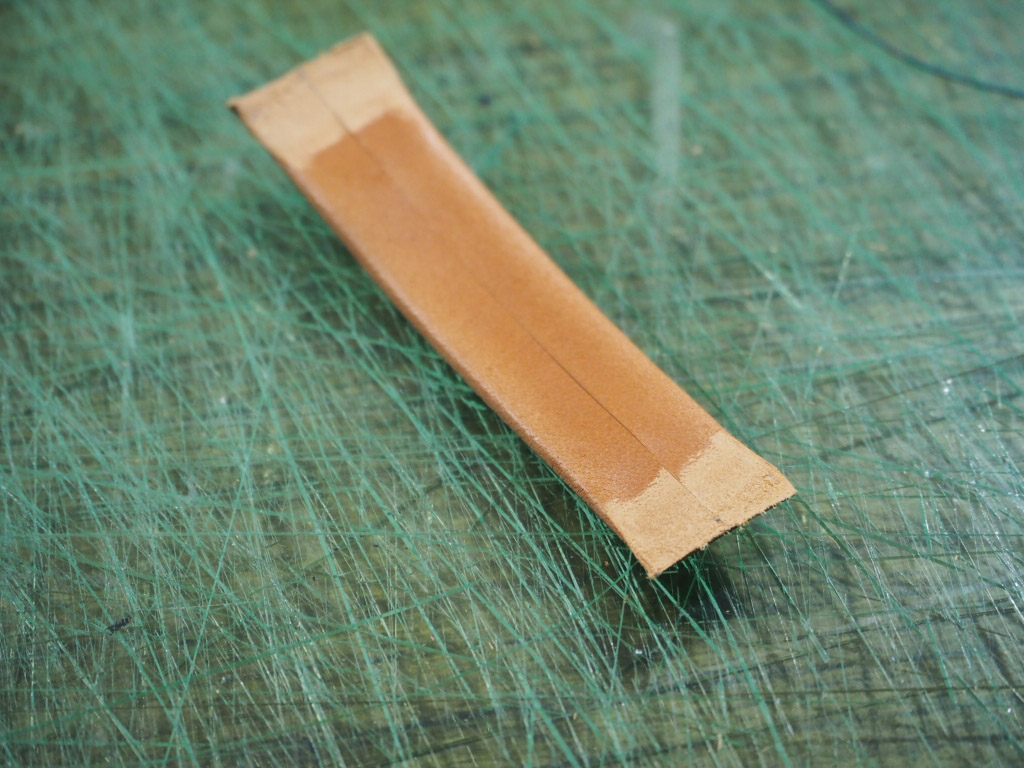
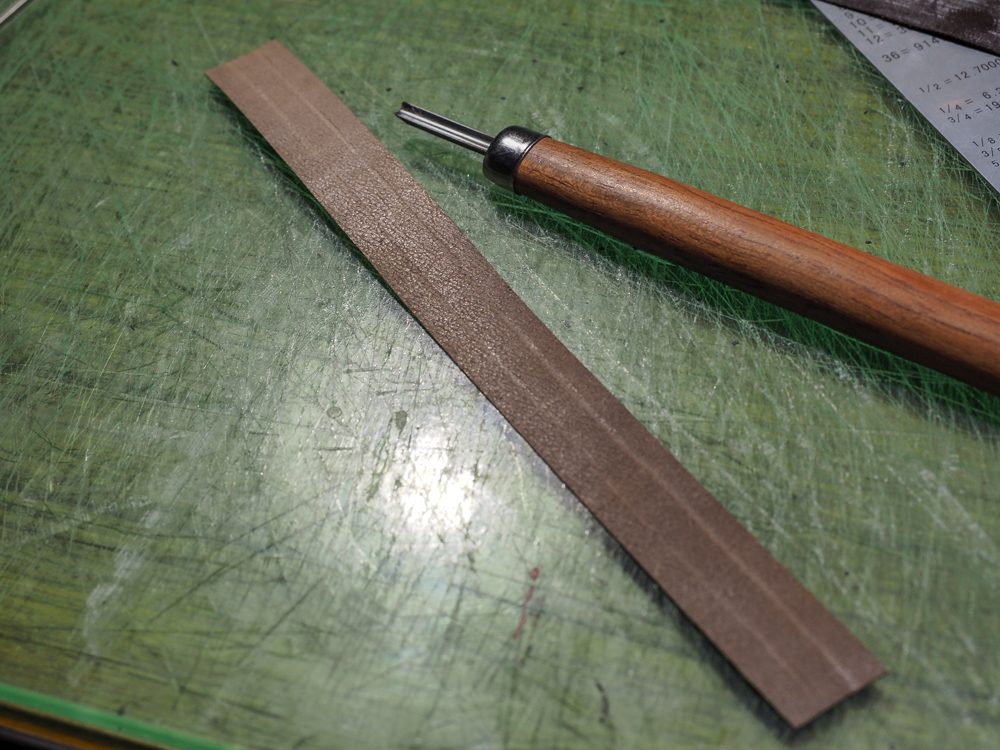
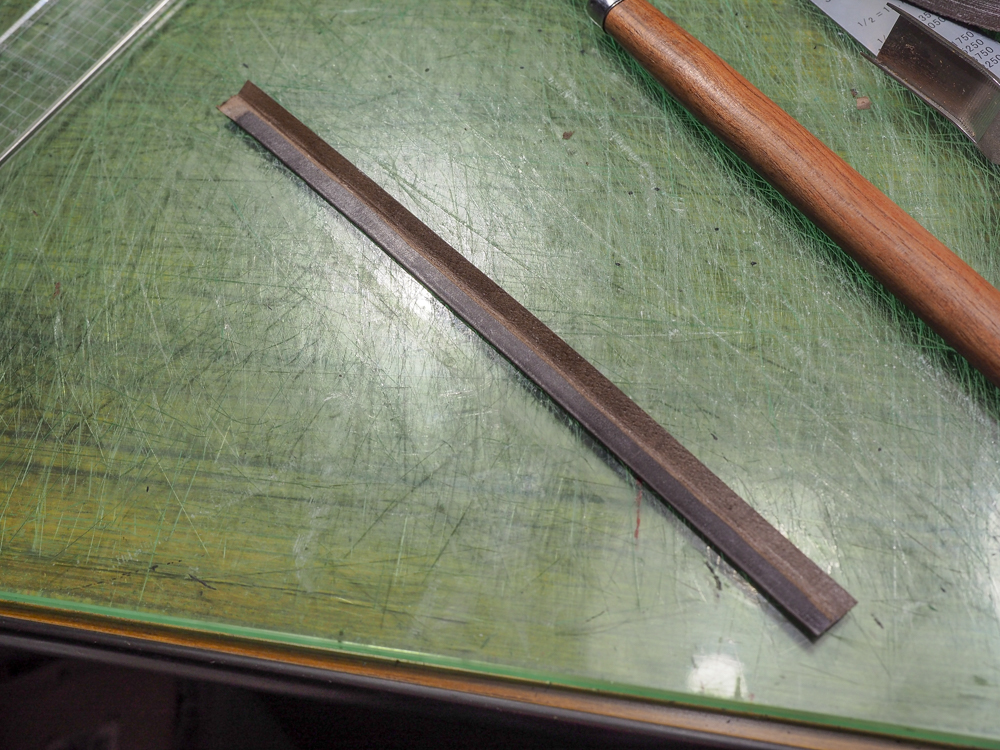
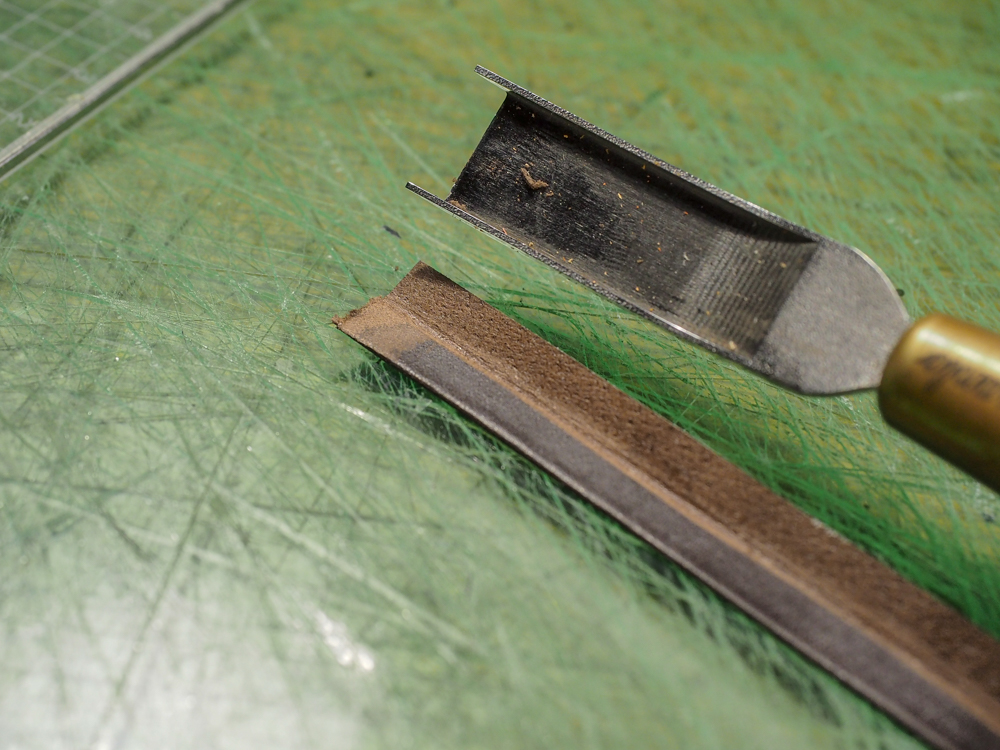
表裏に革を貼った方法ではありませんが、まず一枚革の処理の方法から。
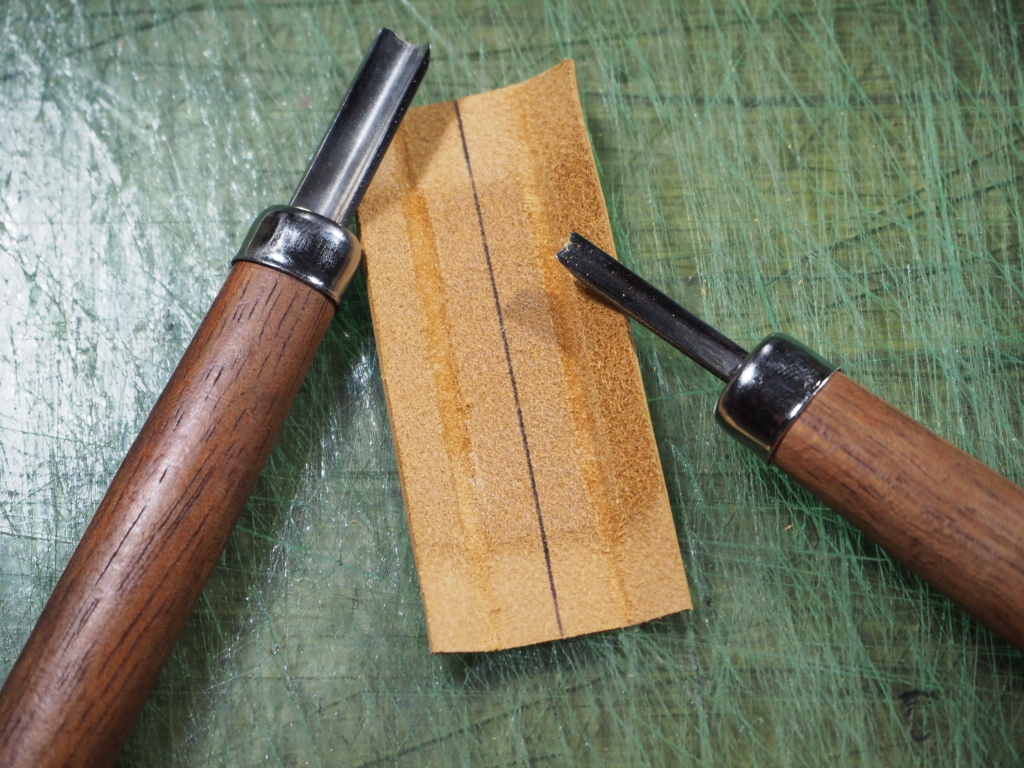
ただベルトや革ひもとして機能させることだけが目的なら、特別な処理は必要ありませんが、コバ(断面)や床(裏)の処理をすることで張りを持たせたり丈夫にすることができます。
床の処理には、トコノールが多く使われています。


革の裏面にトコノールを塗り、ガラス板でこすります。


コバの処理についてはいろいろ方法があります。


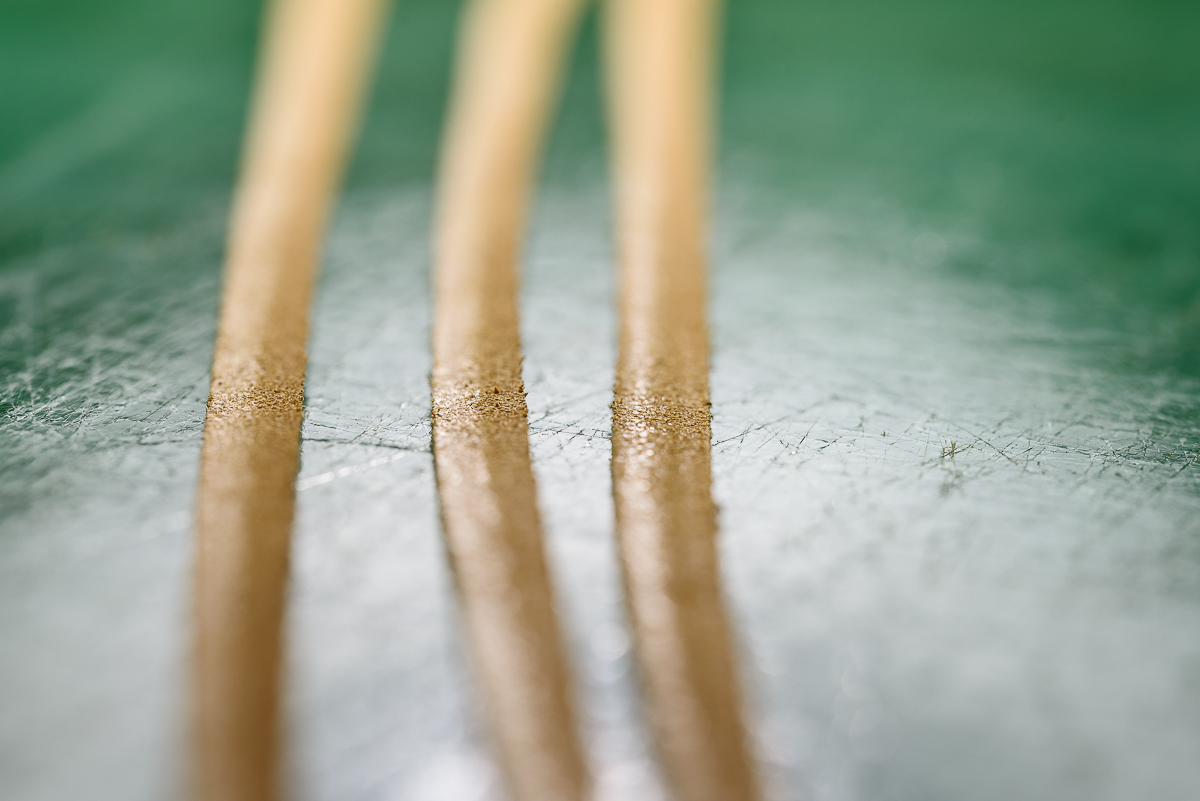
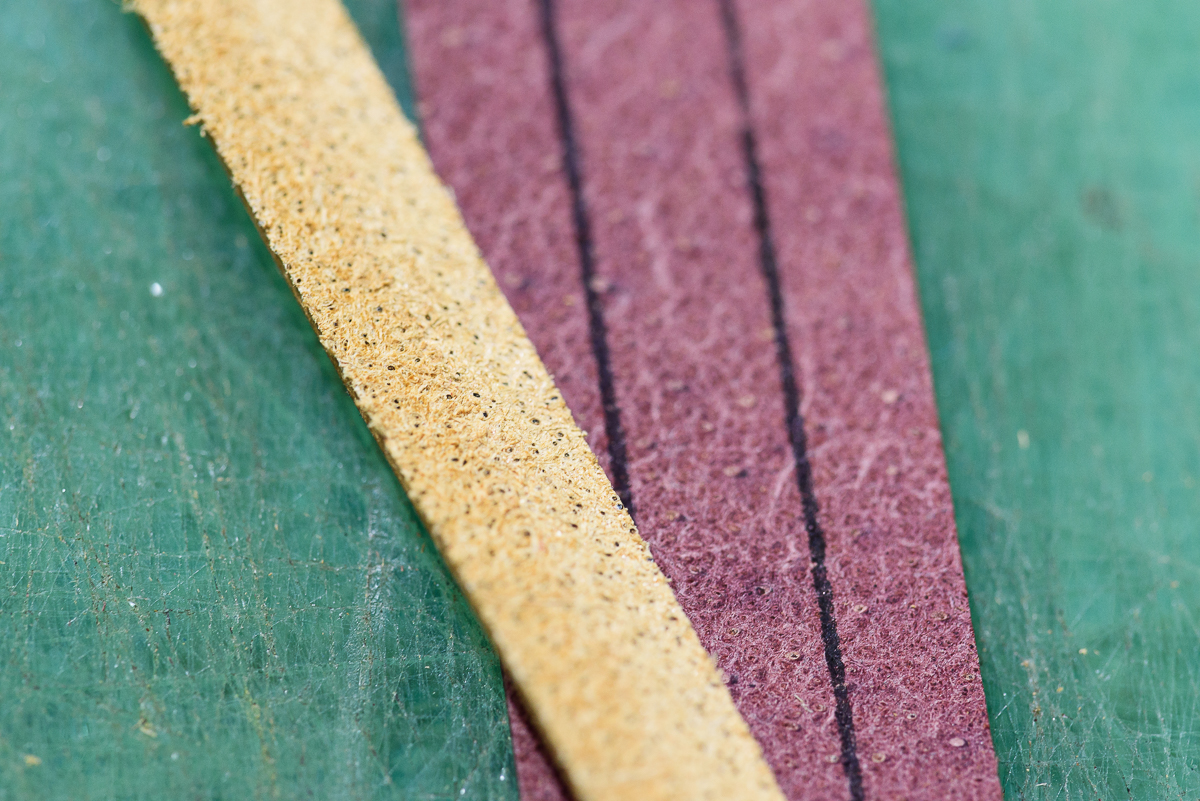
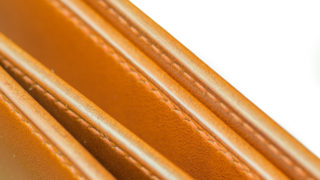
ここからは、表裏に革を貼った方法を紹介します。
同じ仕上り厚で比べるなら、一般的に一枚革よりも表裏に革を貼った方が丈夫です。
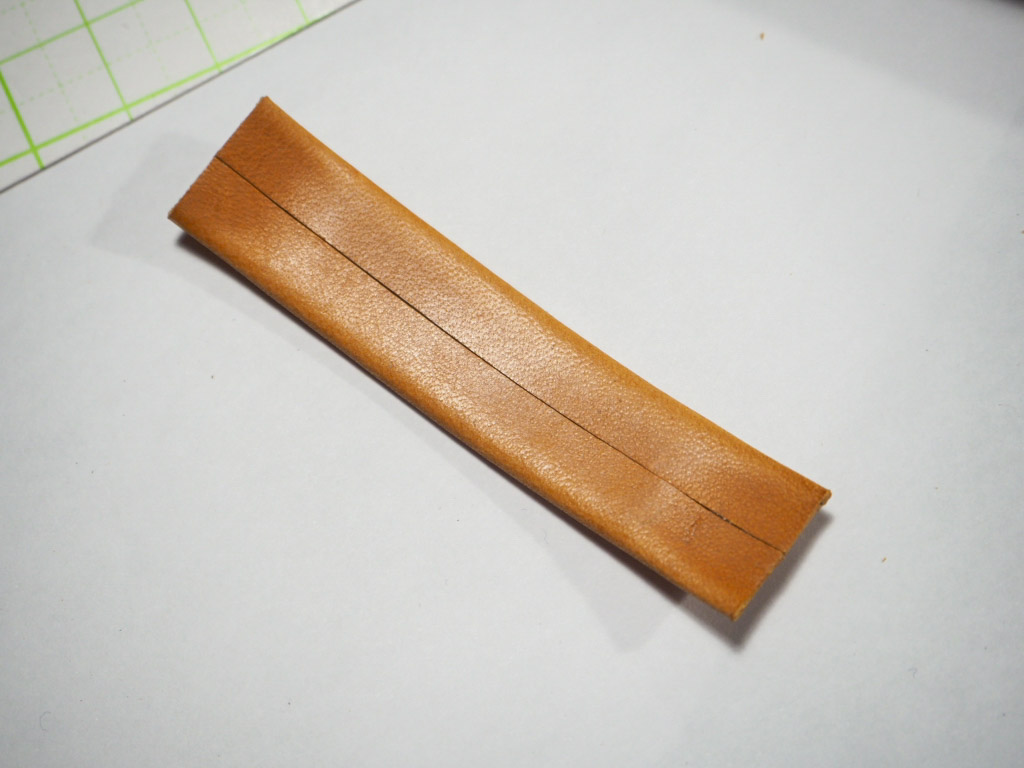
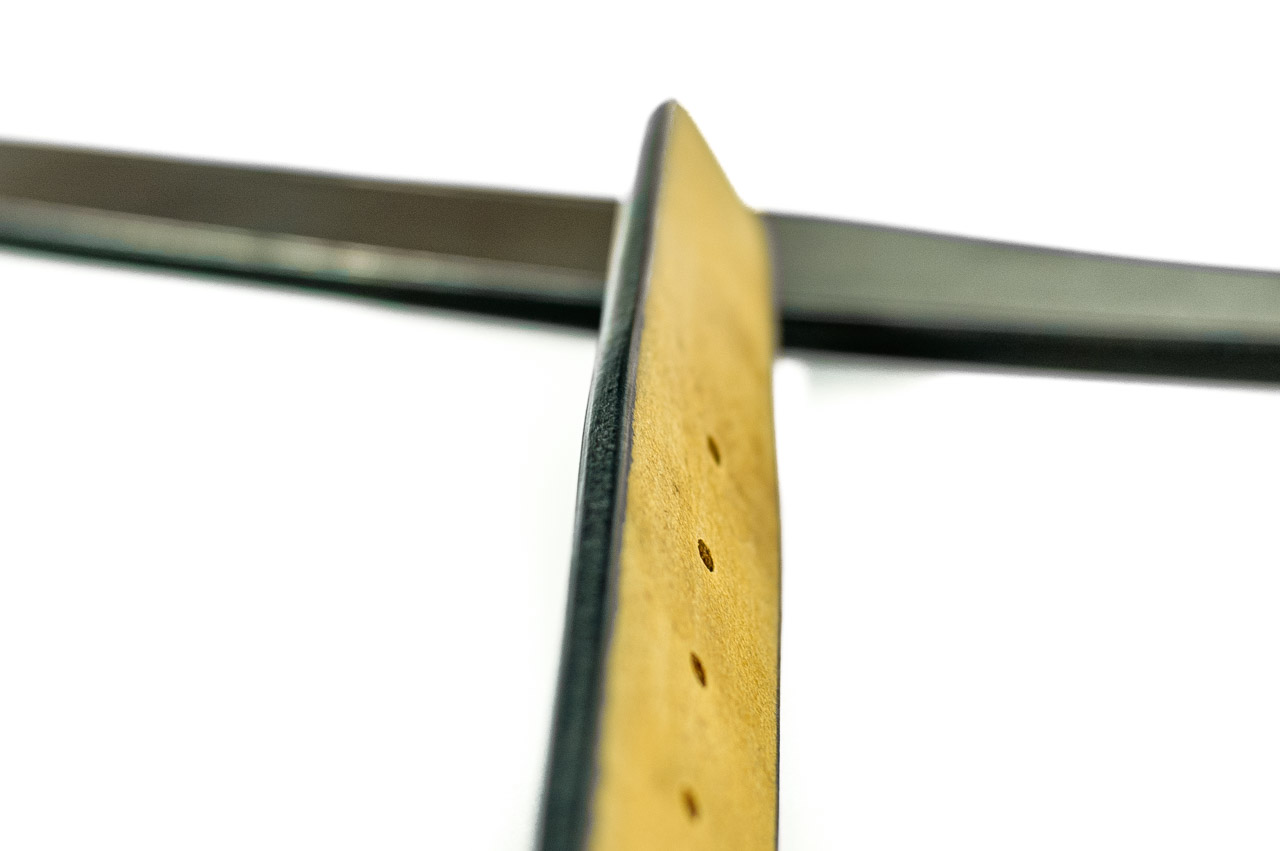
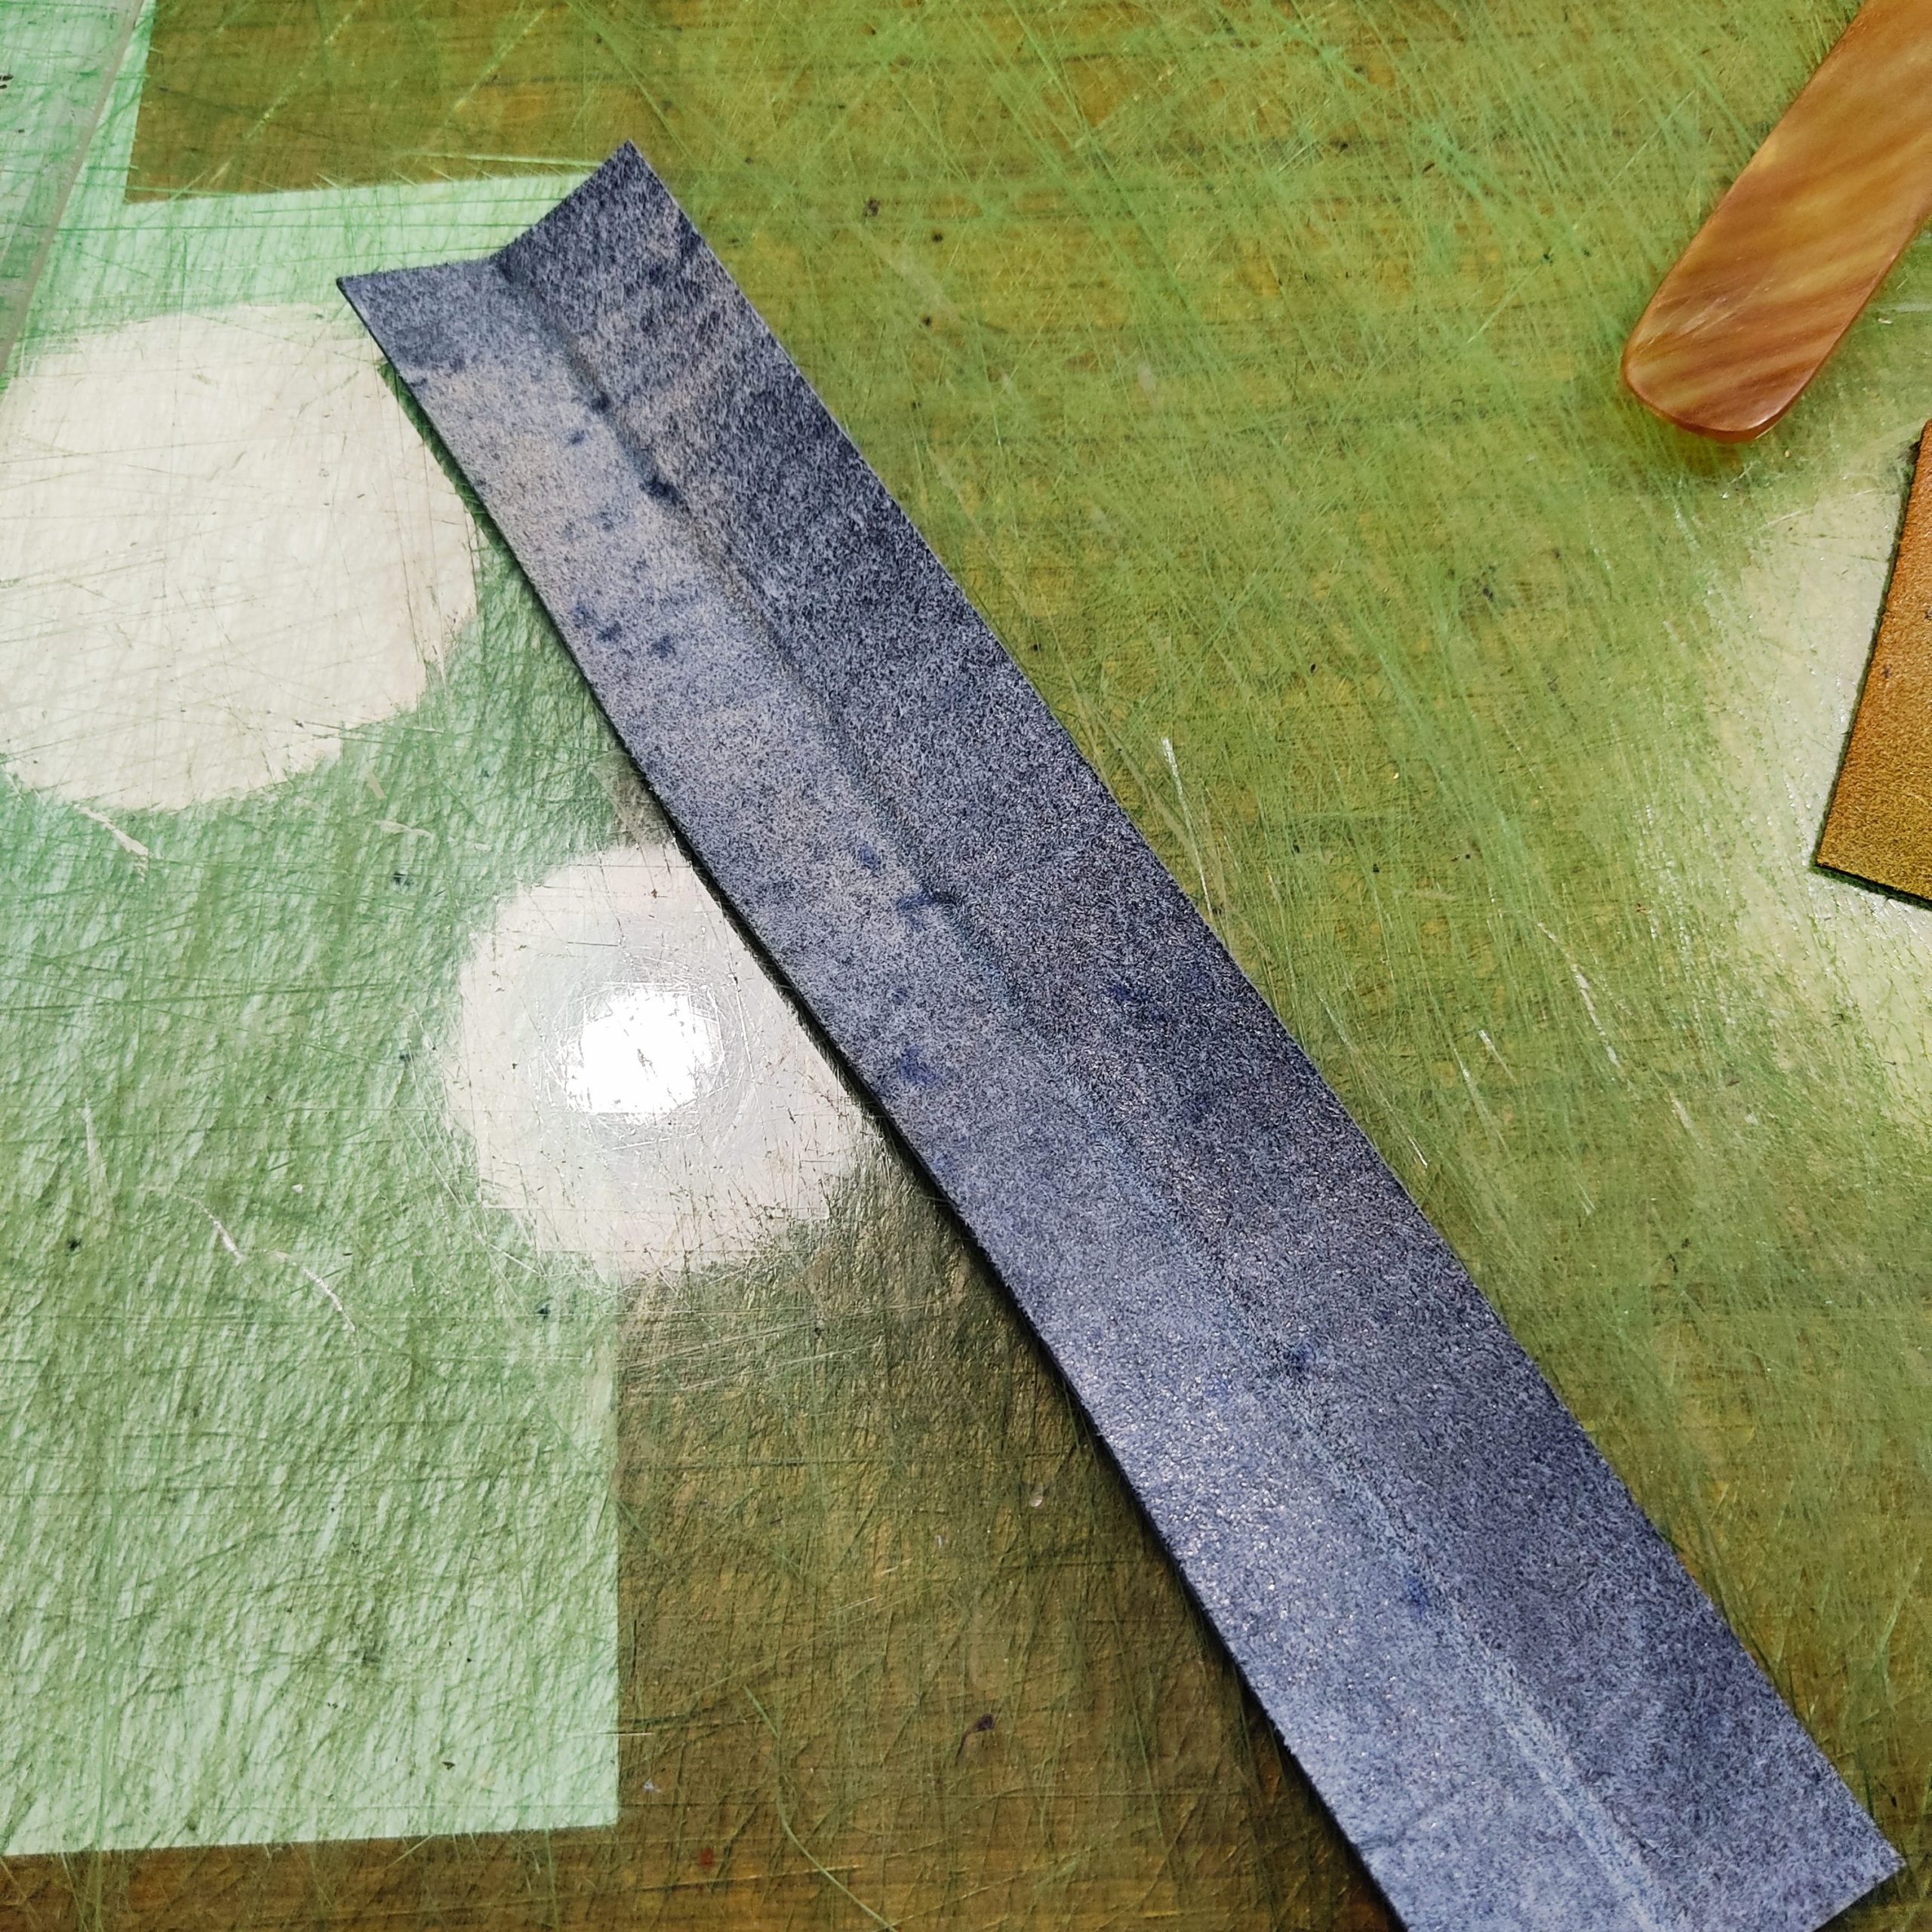
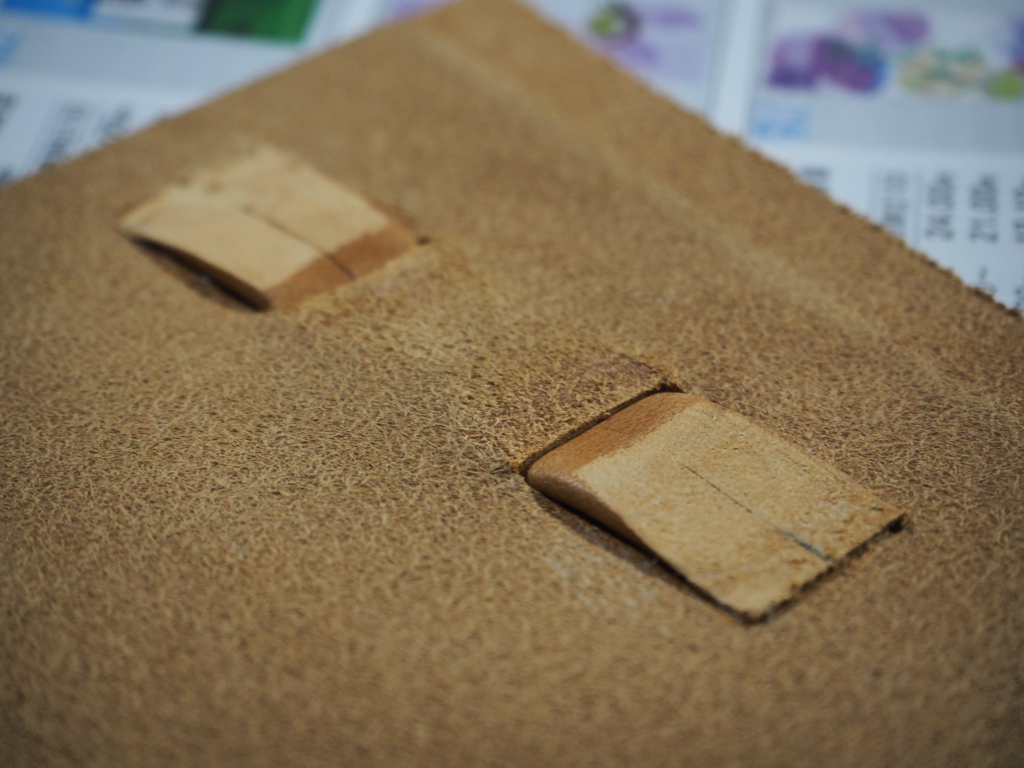
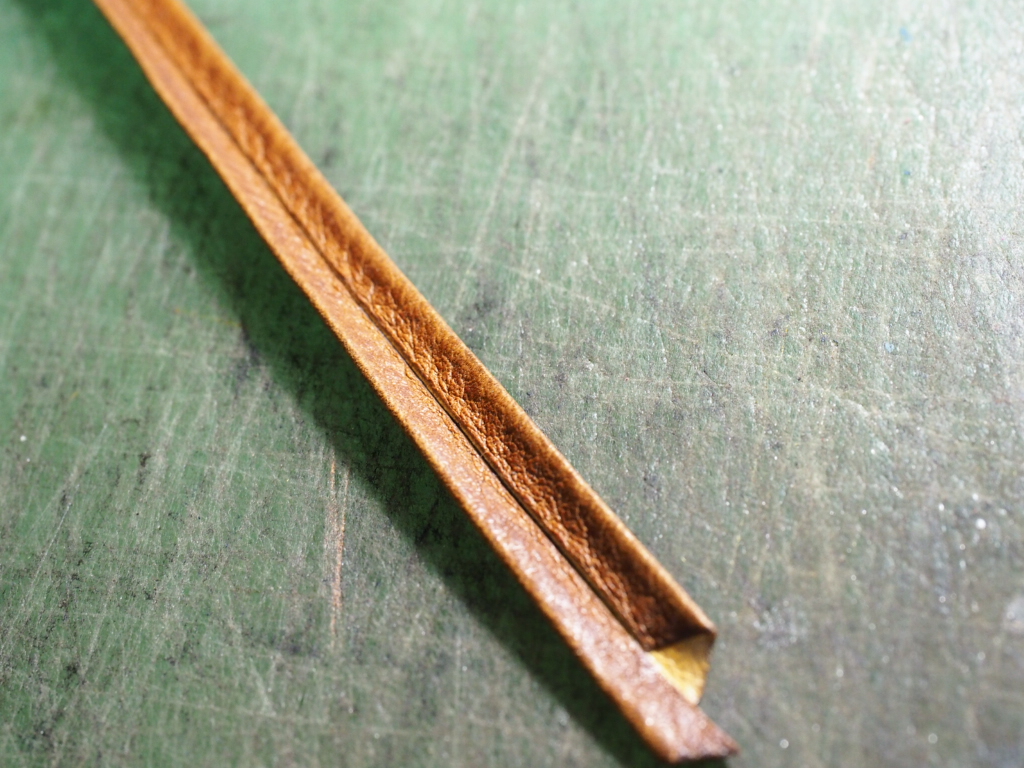
二つ折り
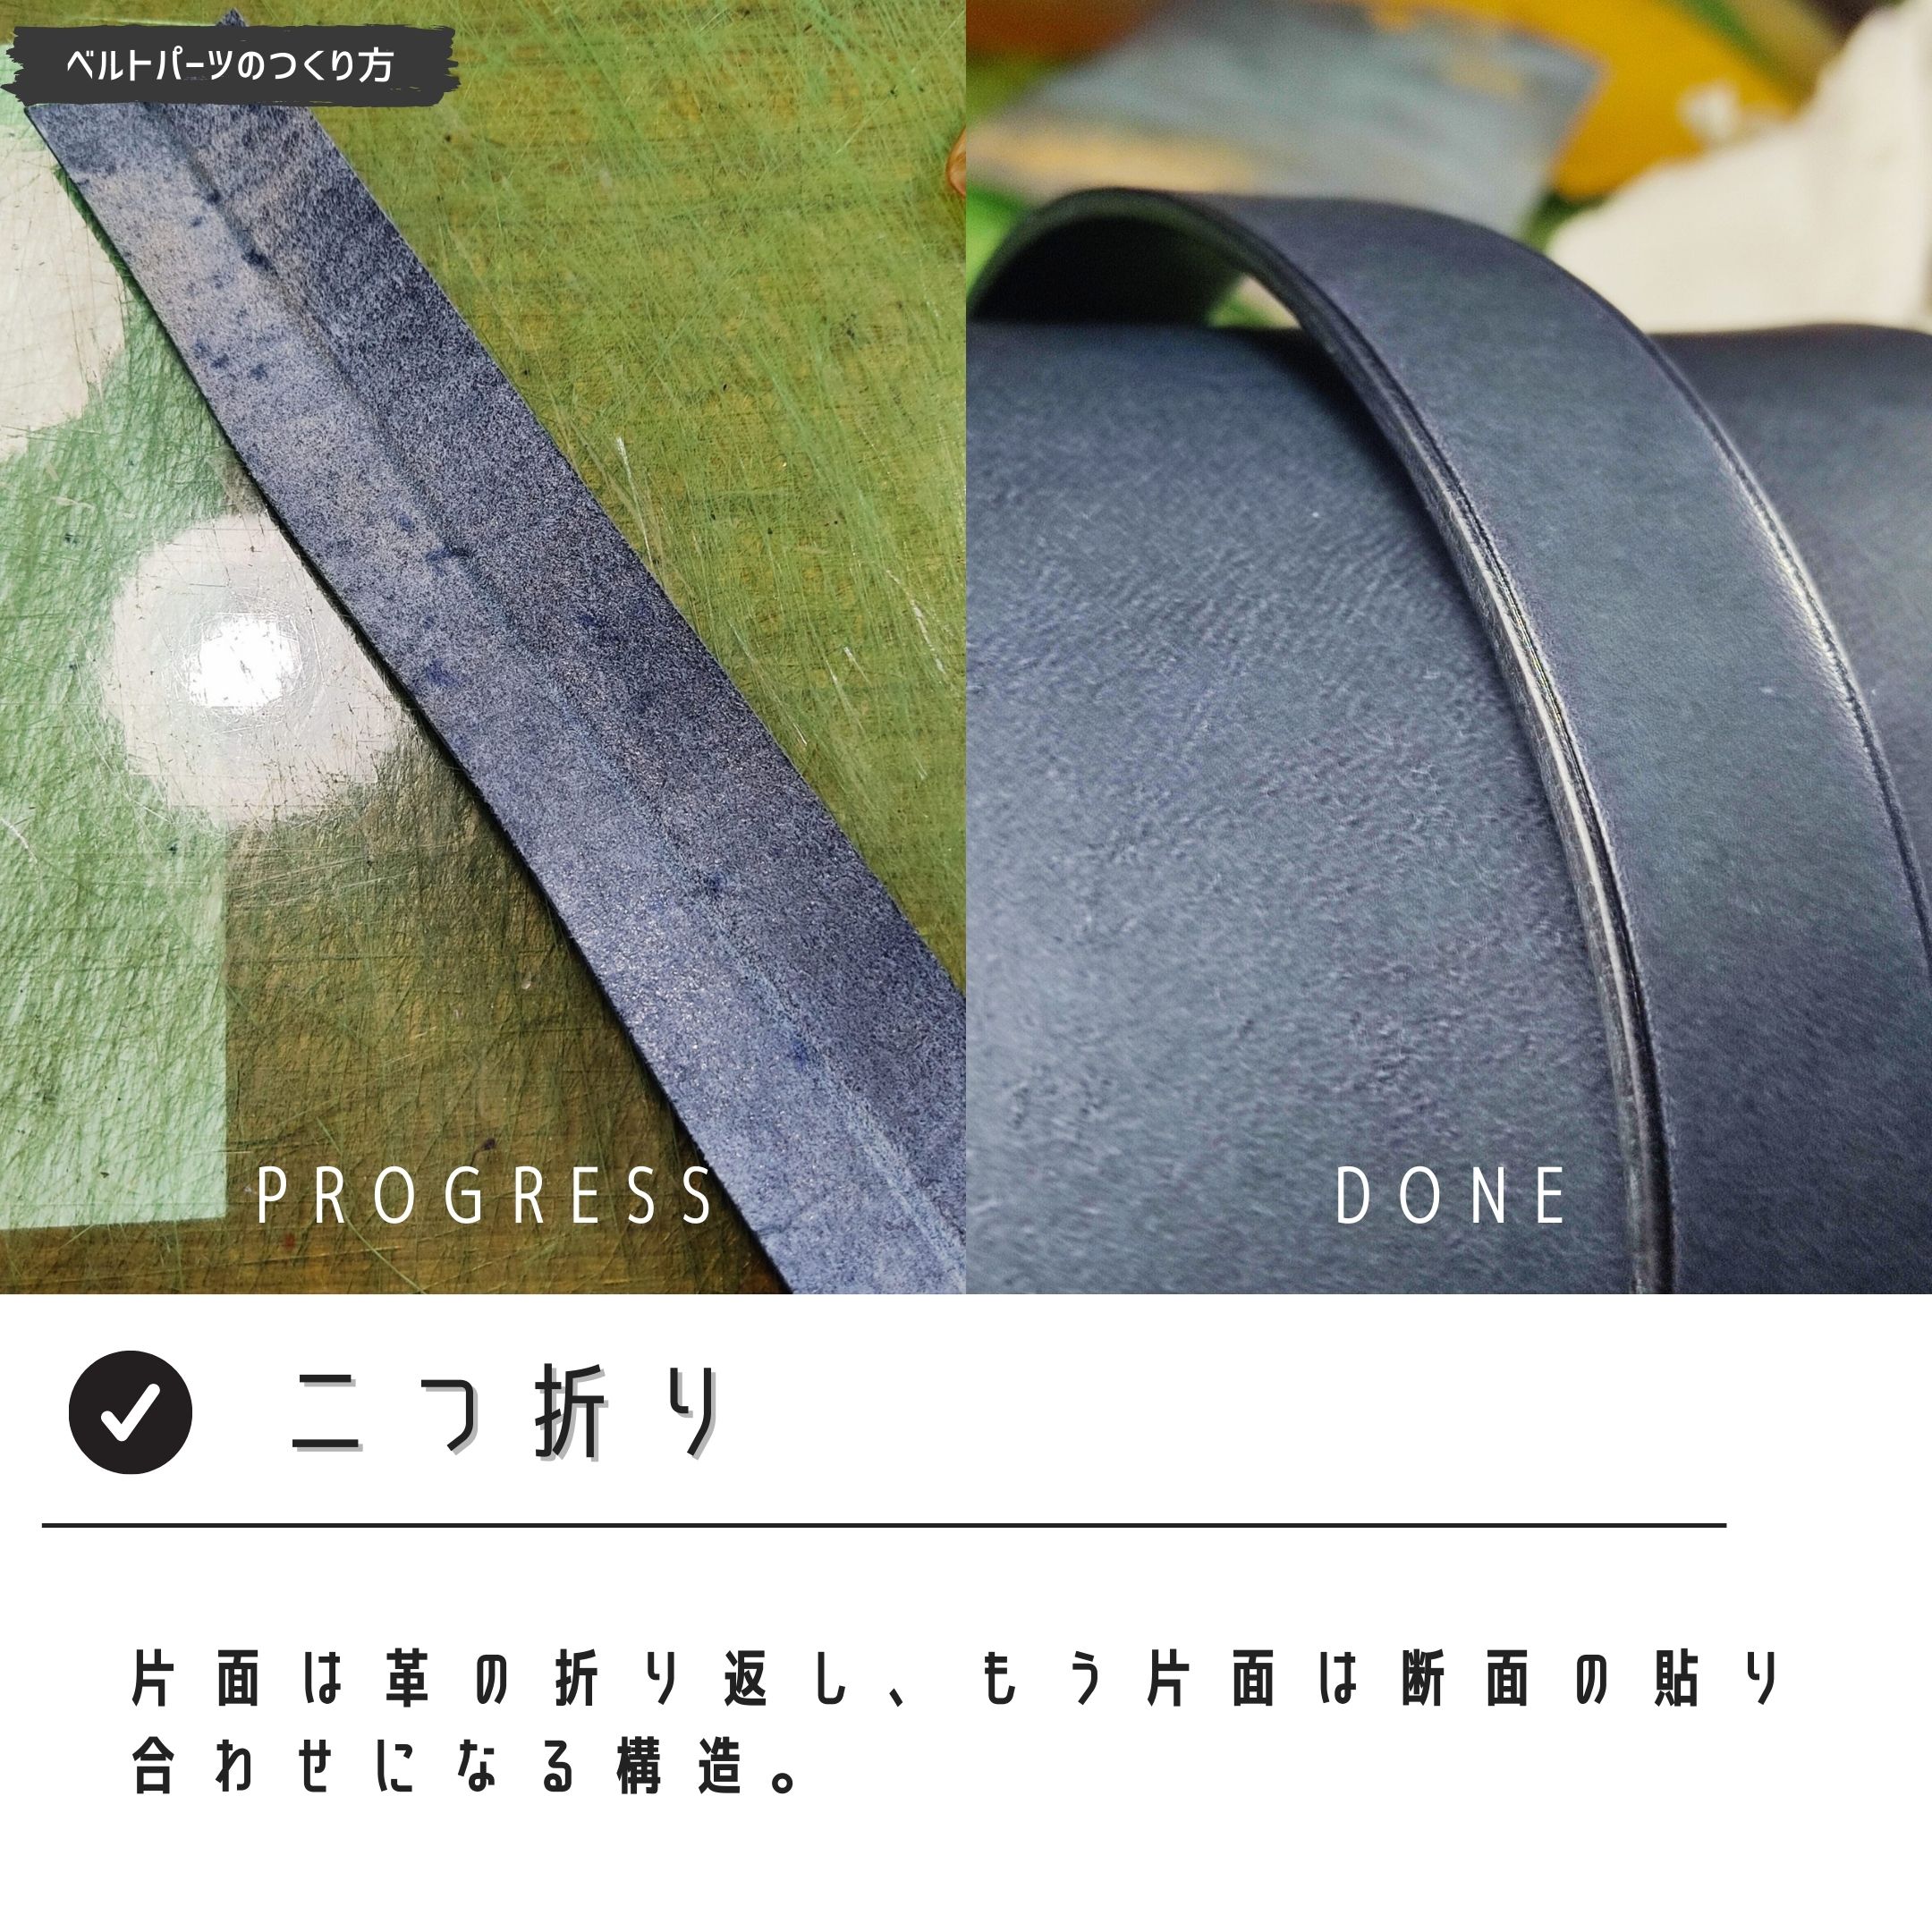
まず二つ折りの方法から紹介します。
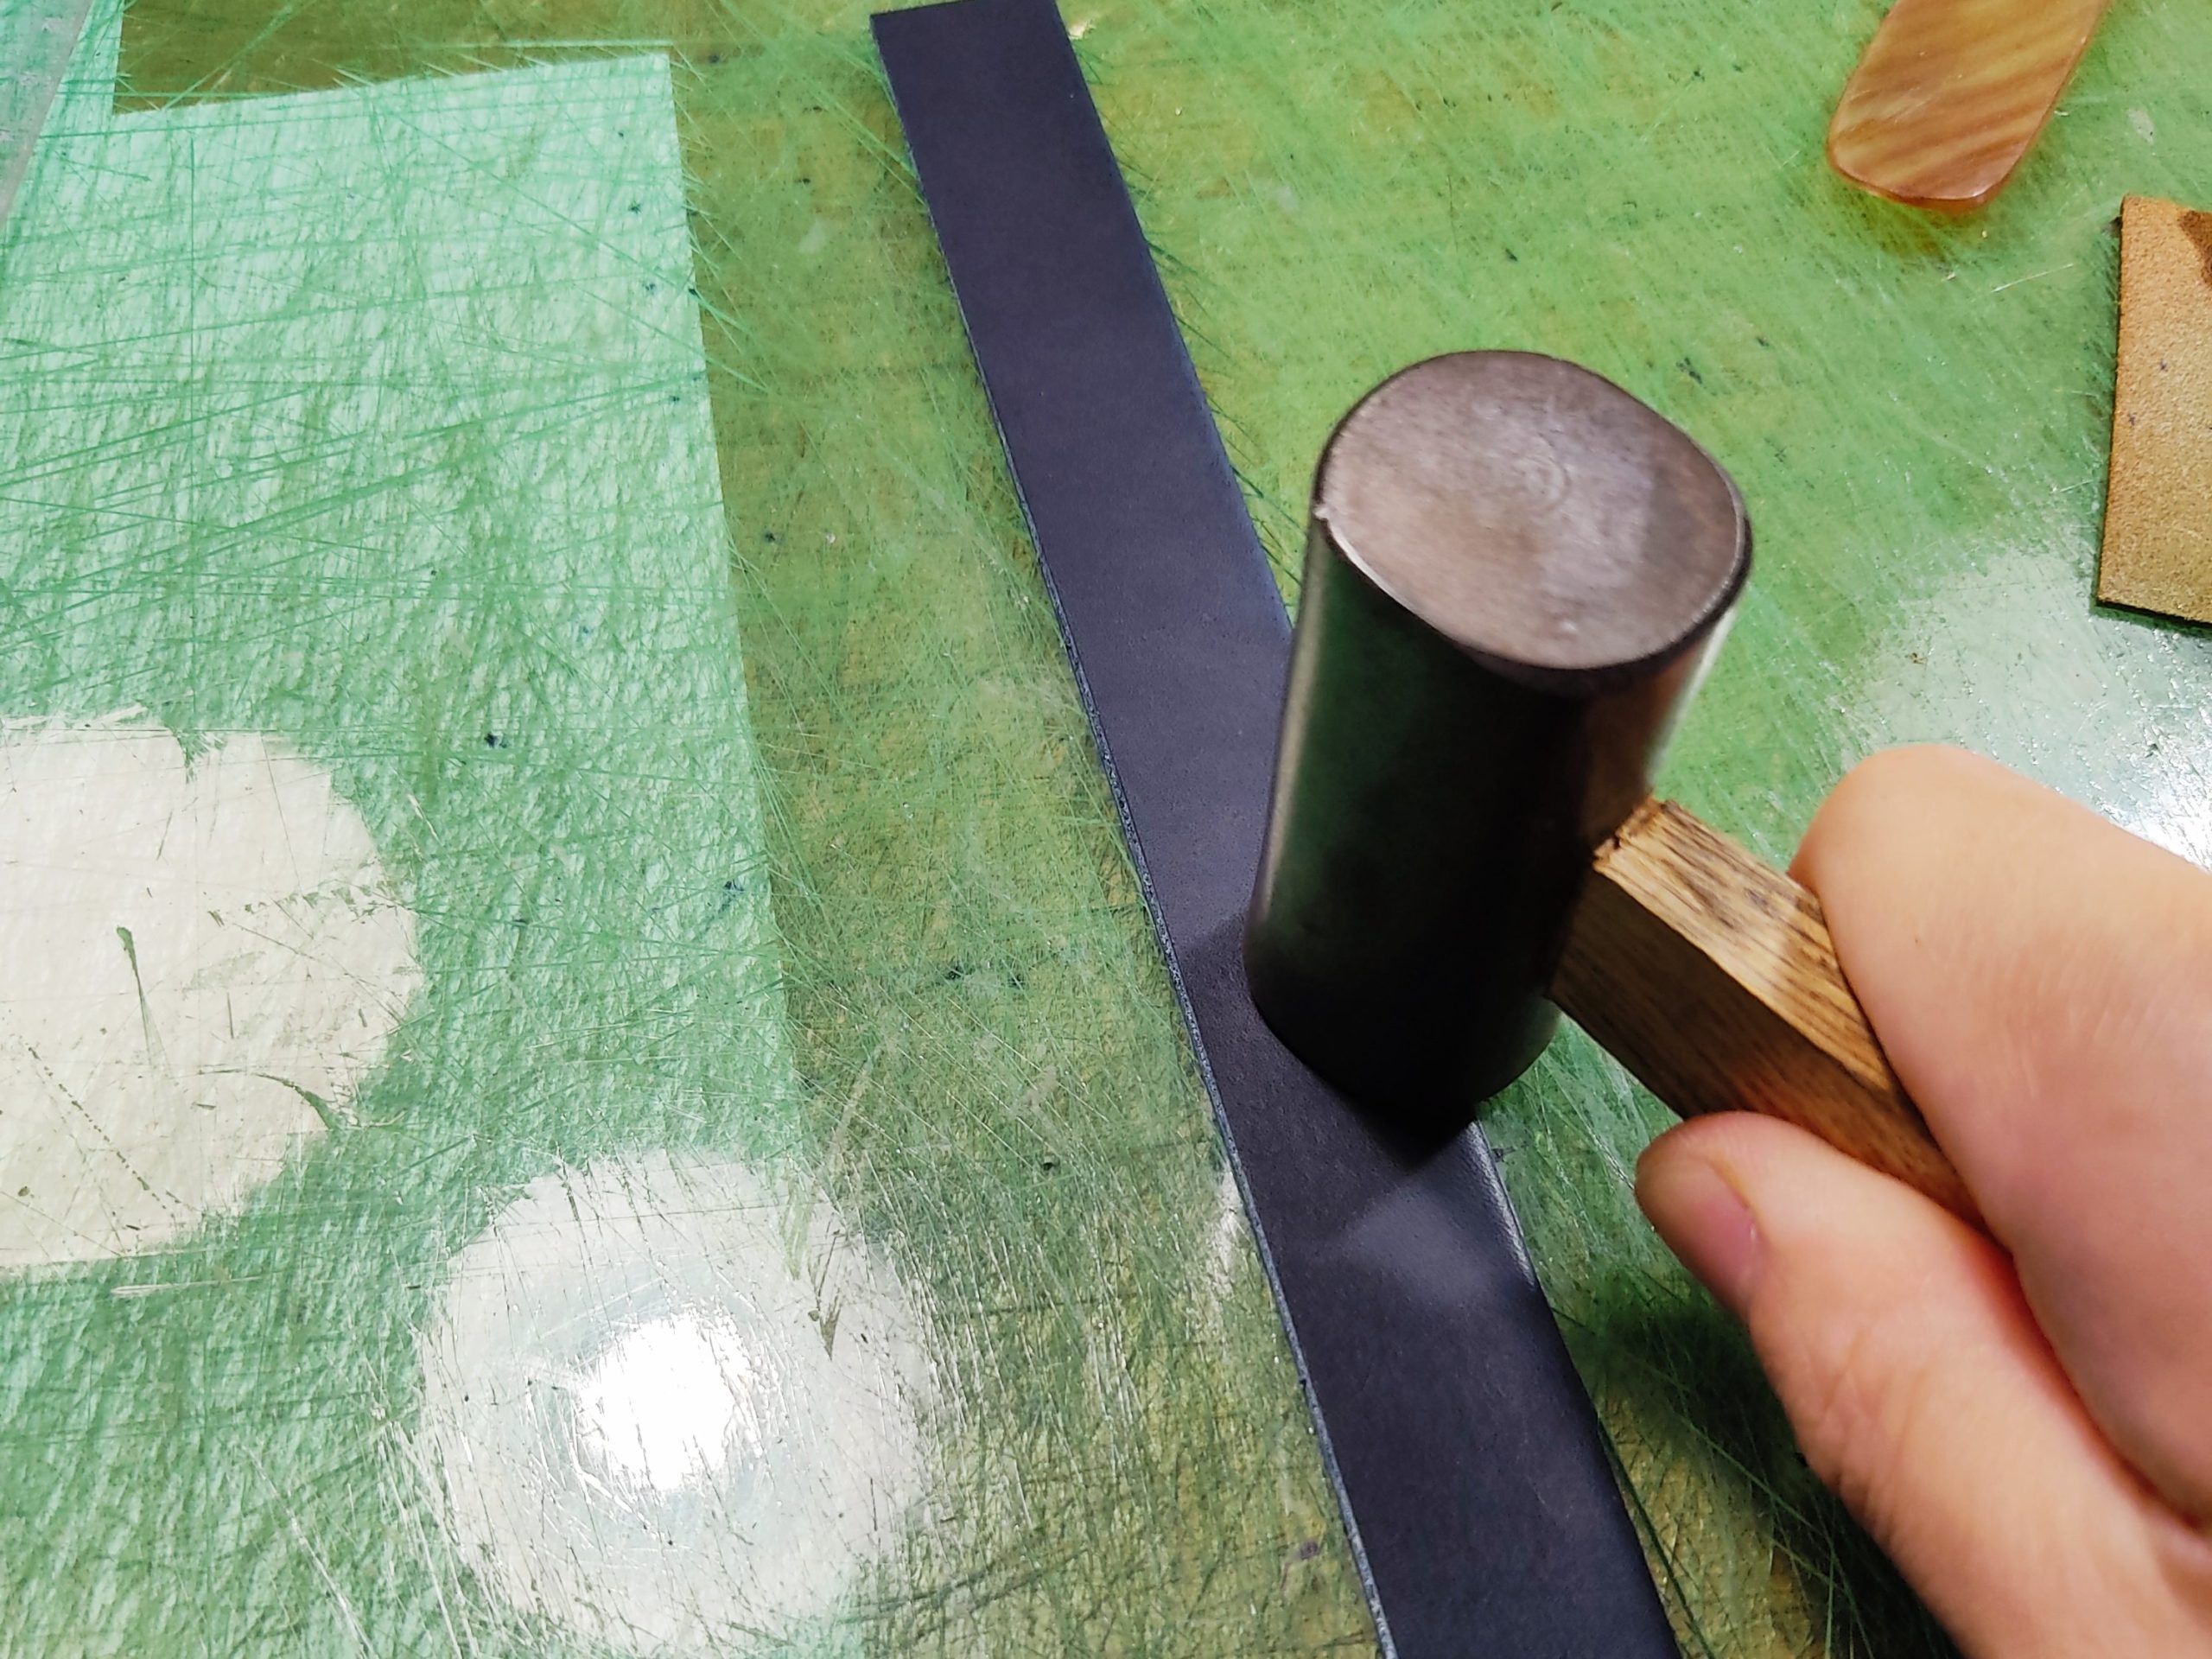
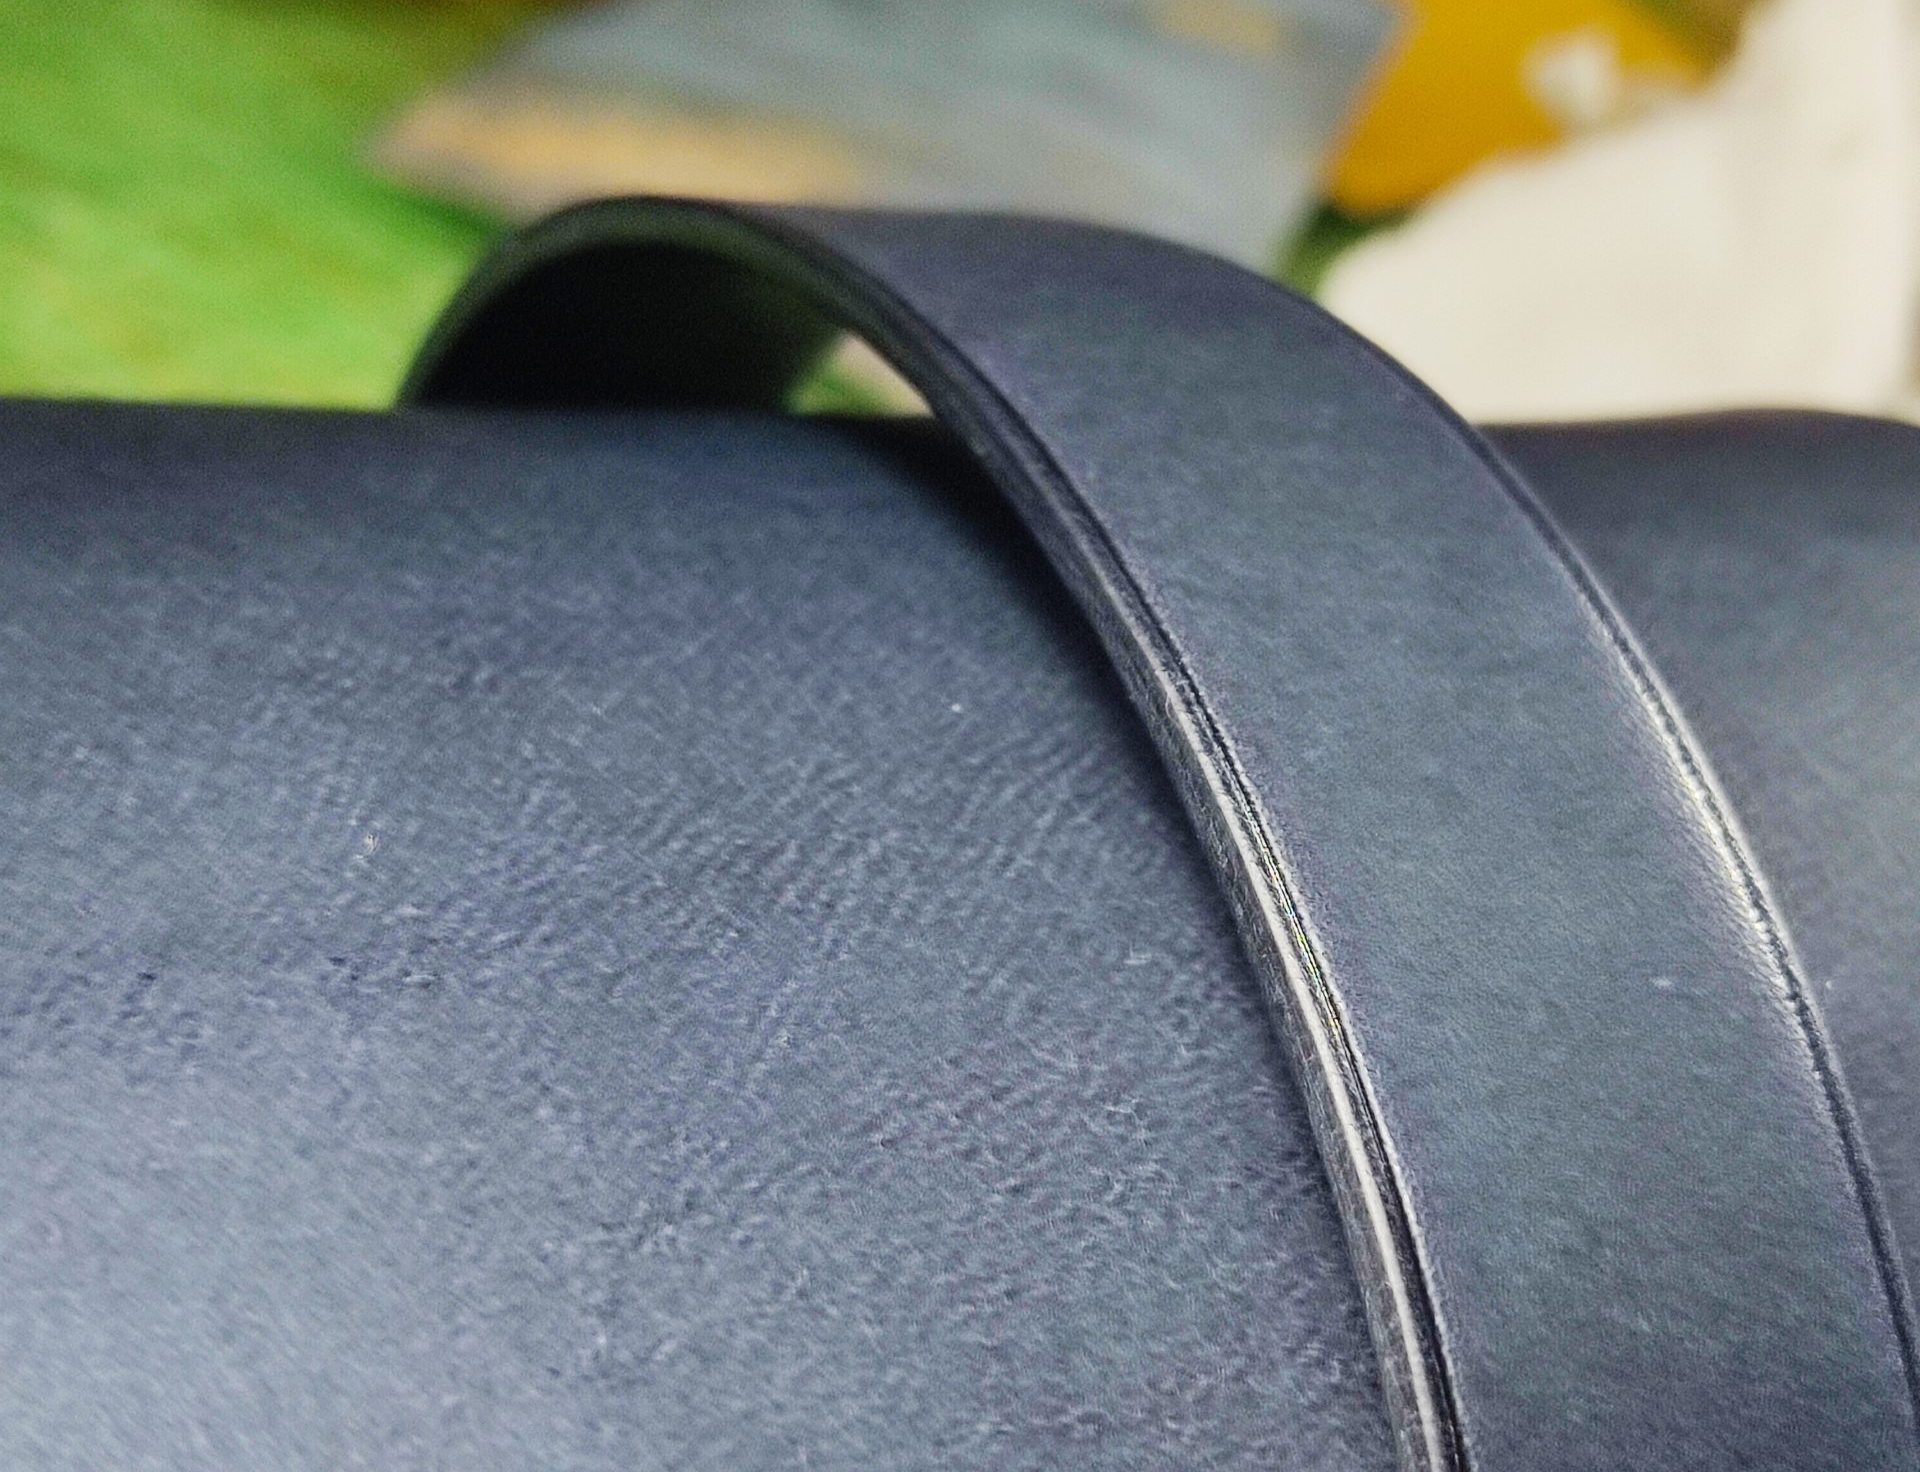
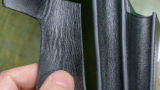
片面はヘリ返し(コバが出ていない)、片面は切り目(コバが出る)です。
ヘリ返し側は剥がれることがないので、そちらから力がかかっても、革がちぎれない限り壊れることはない構造です。
革を折る時にひび割れが起きにくくするテクニックについて記事にしました☟

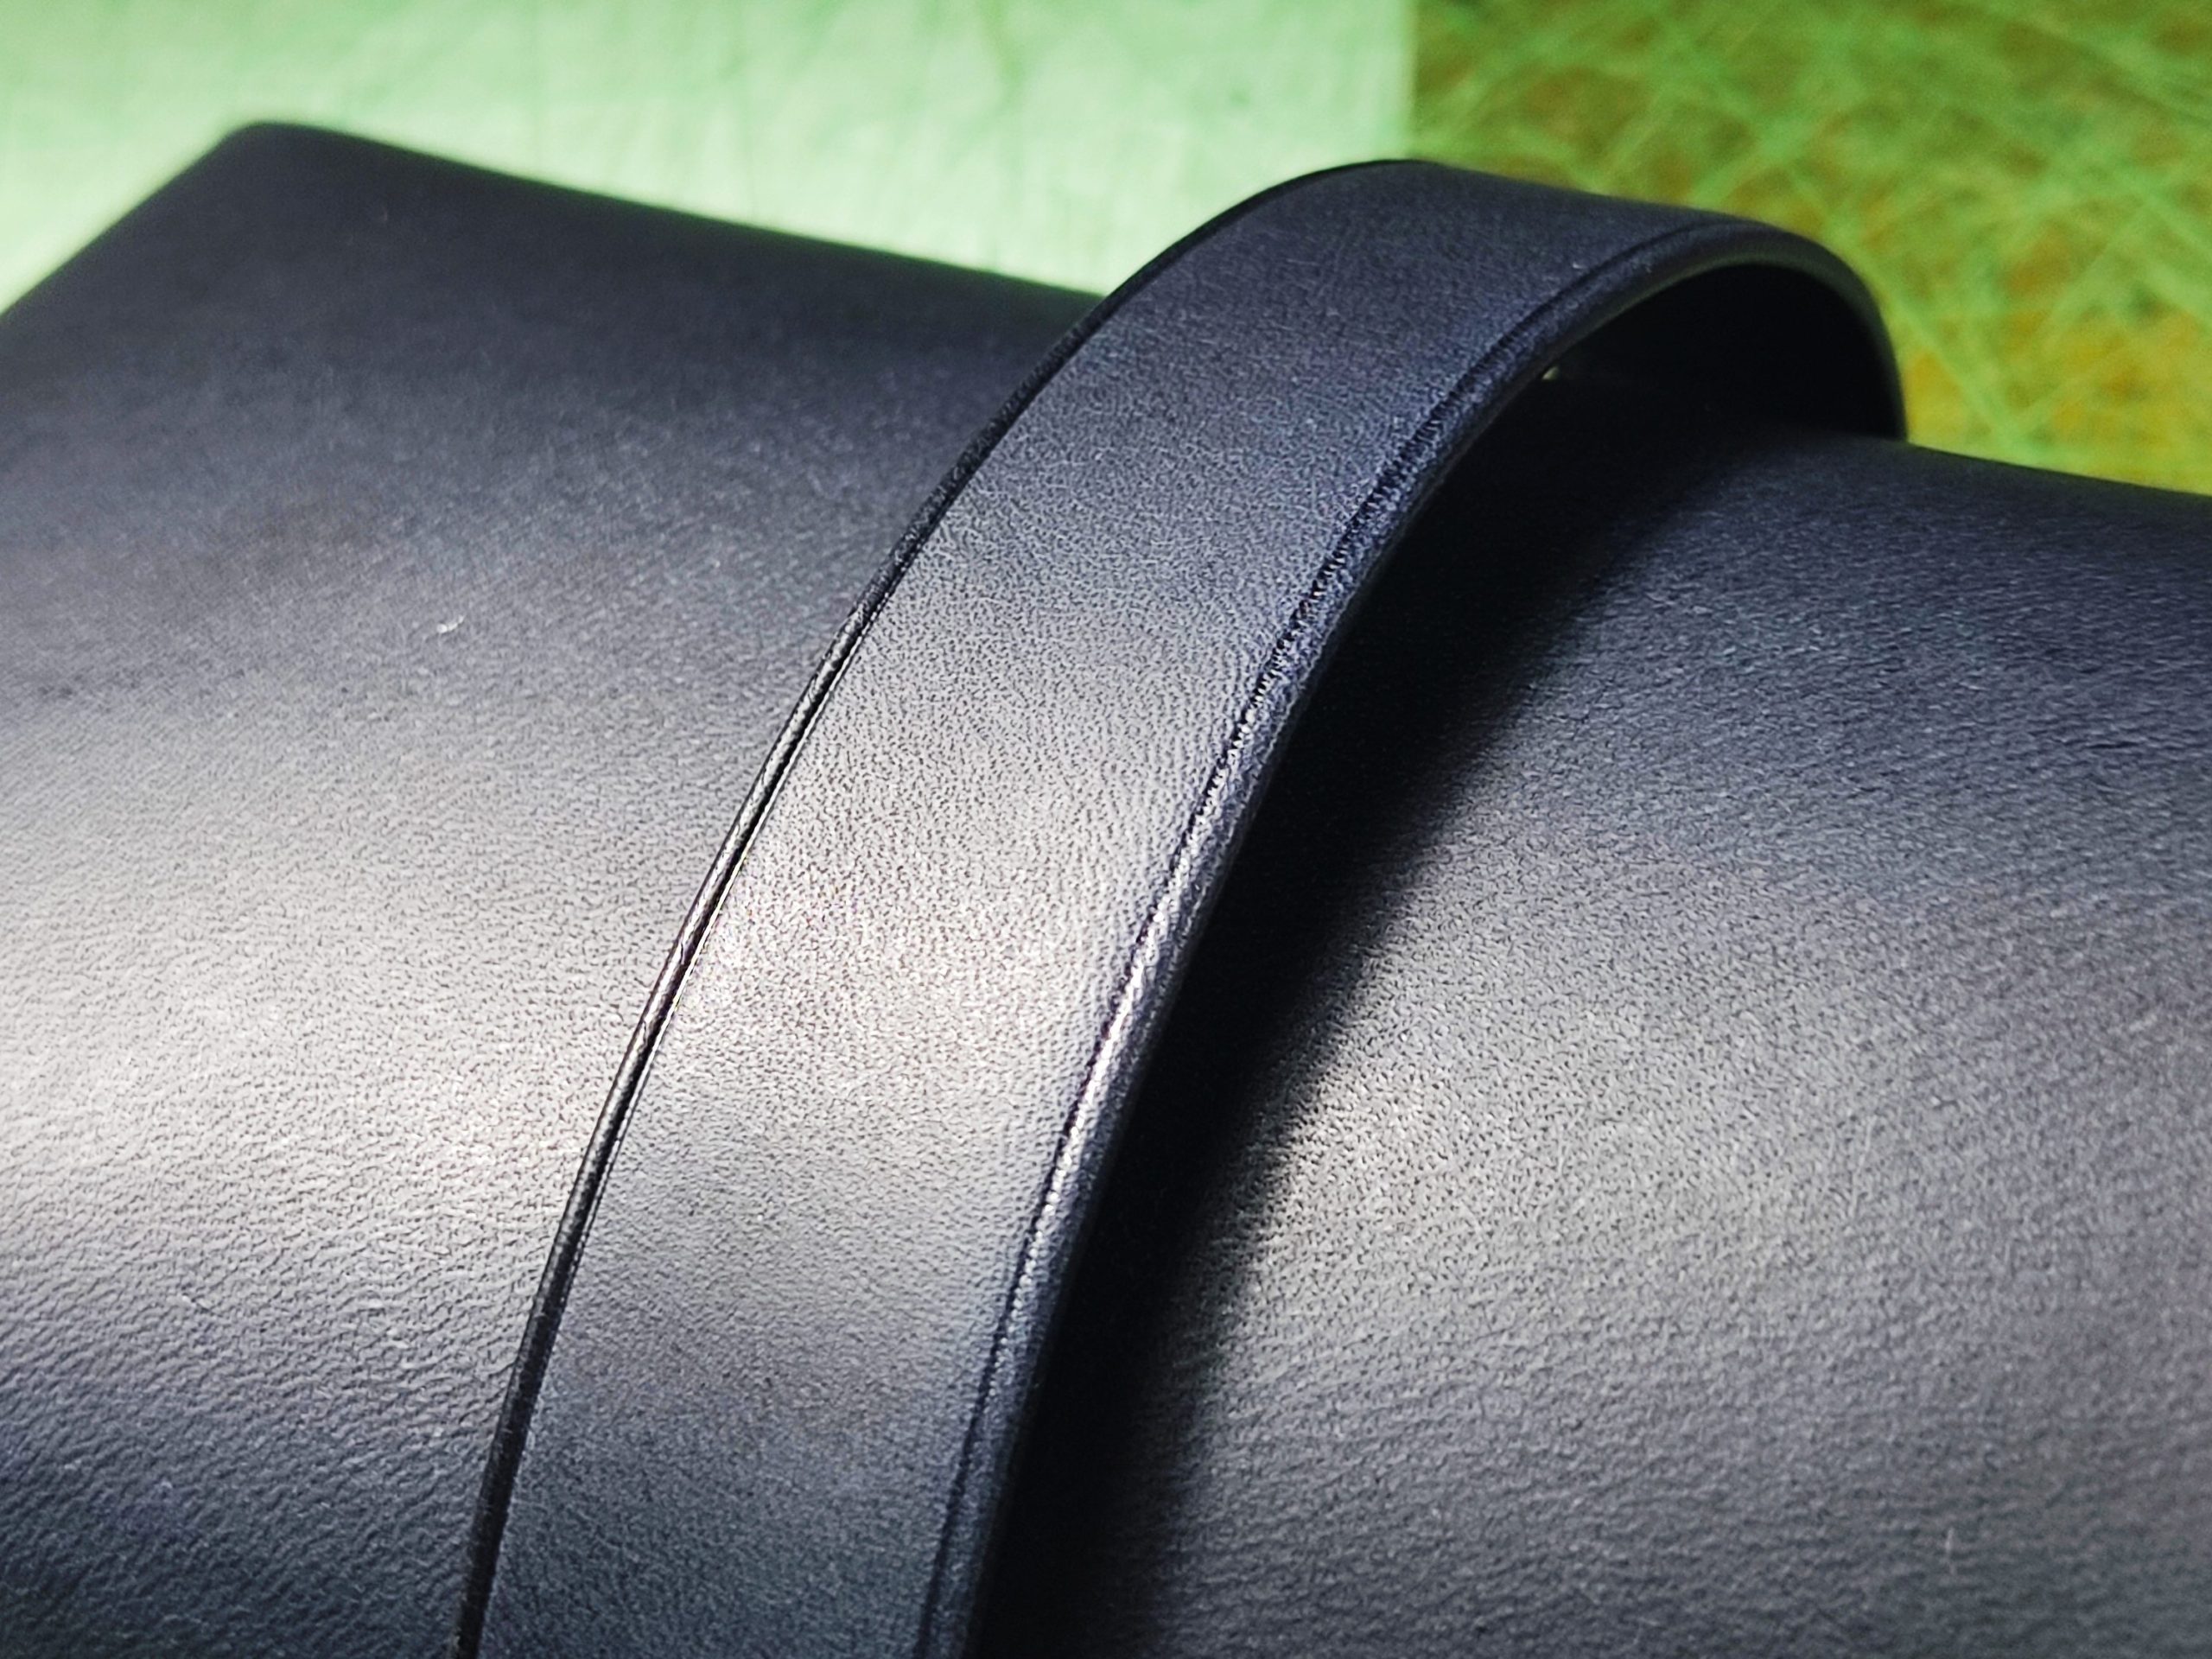
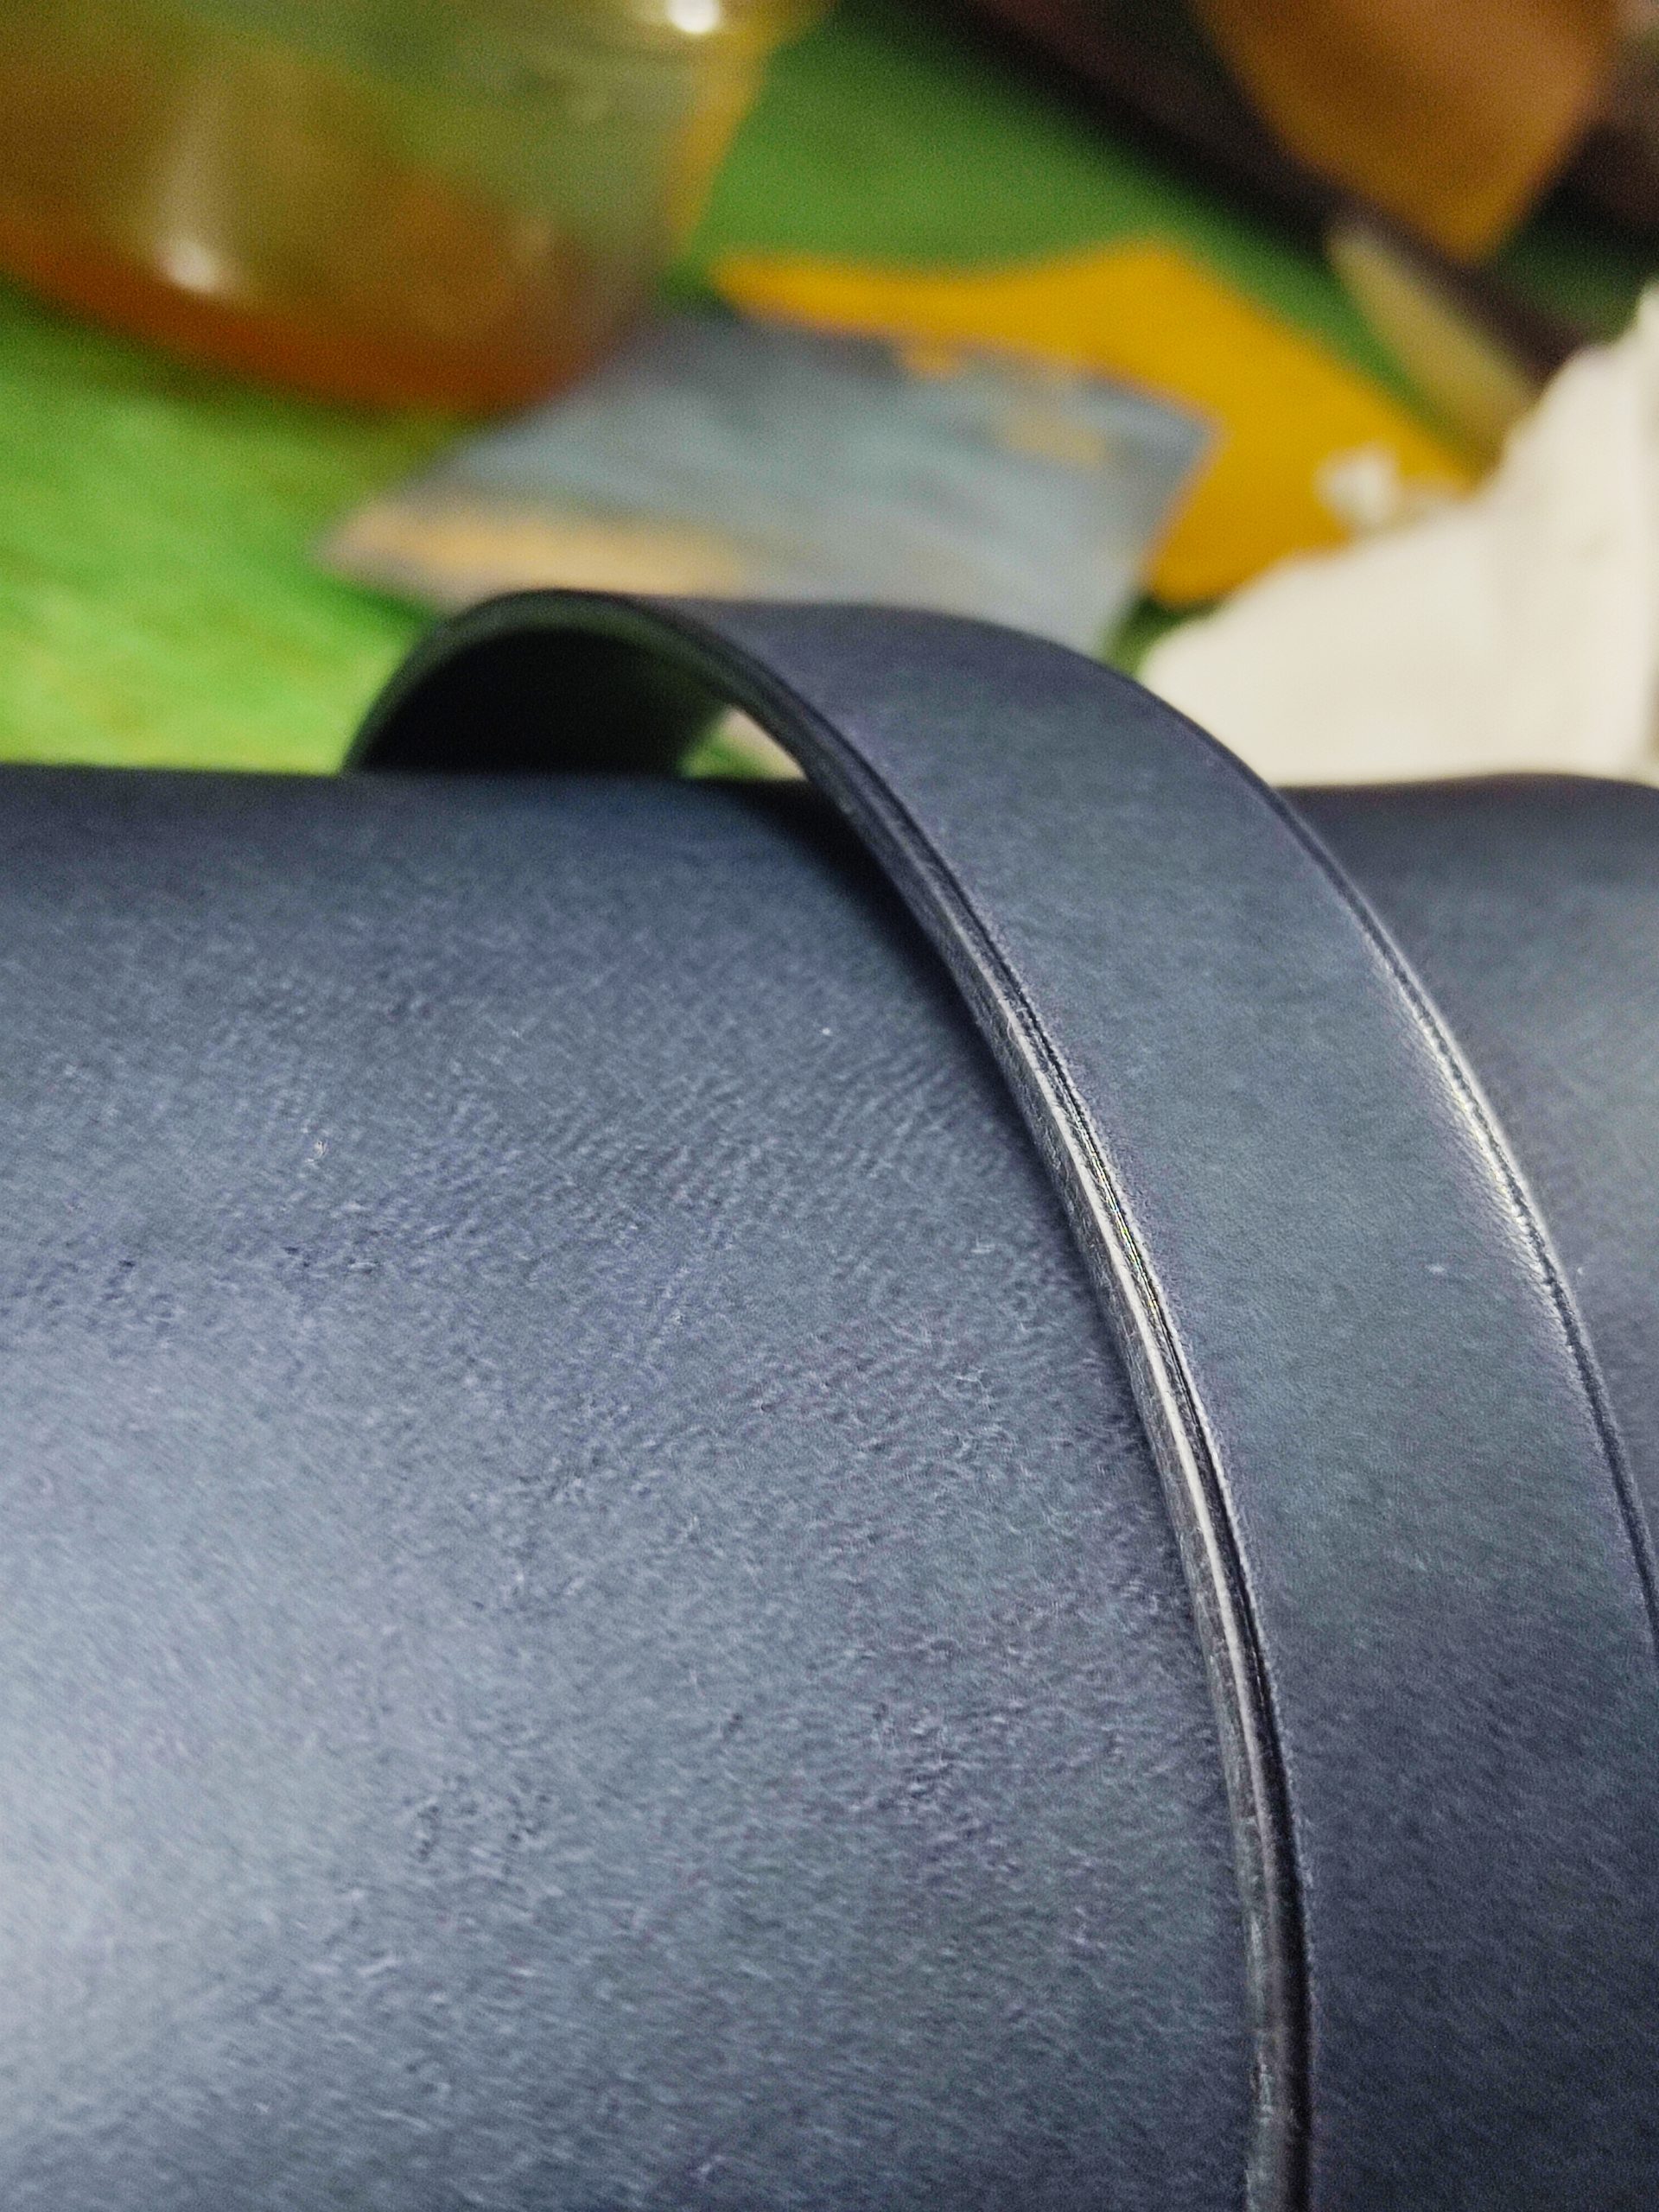
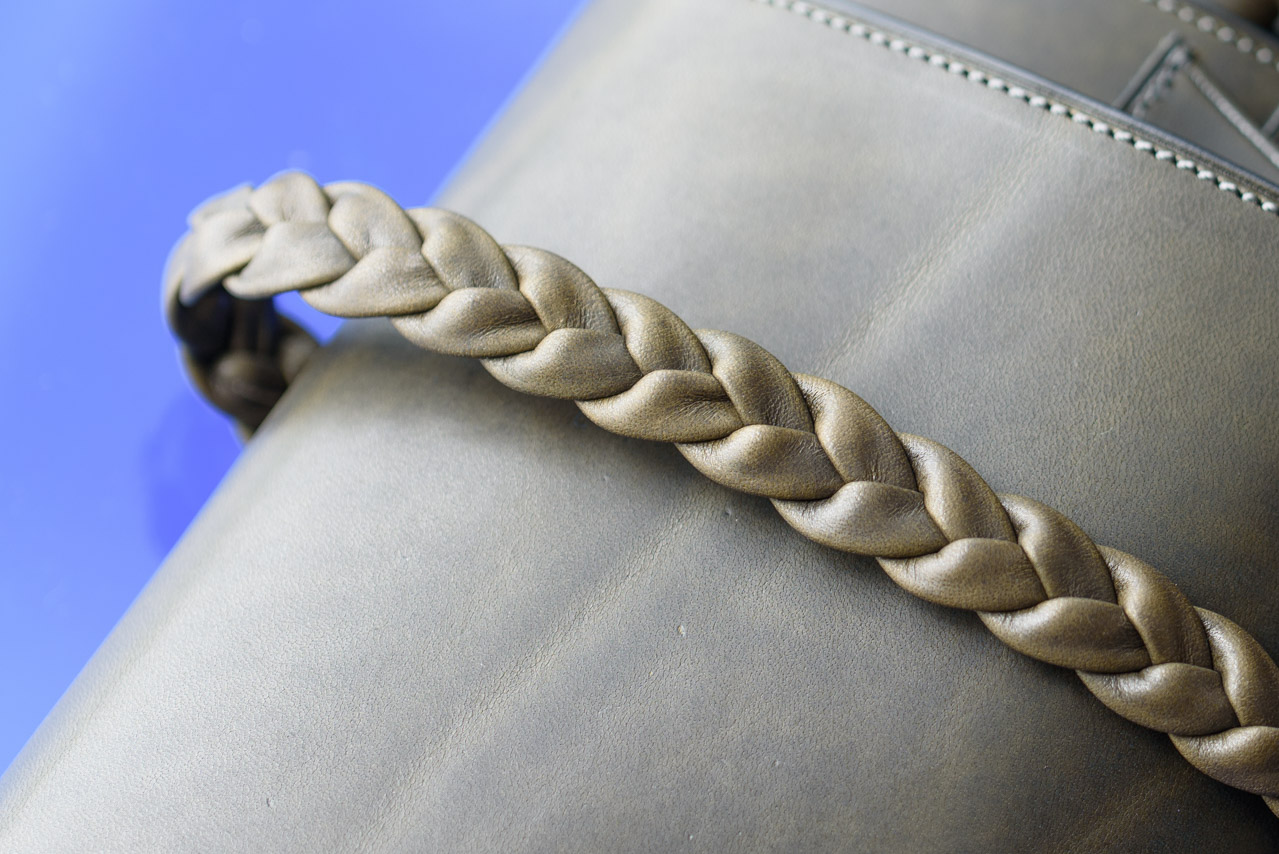
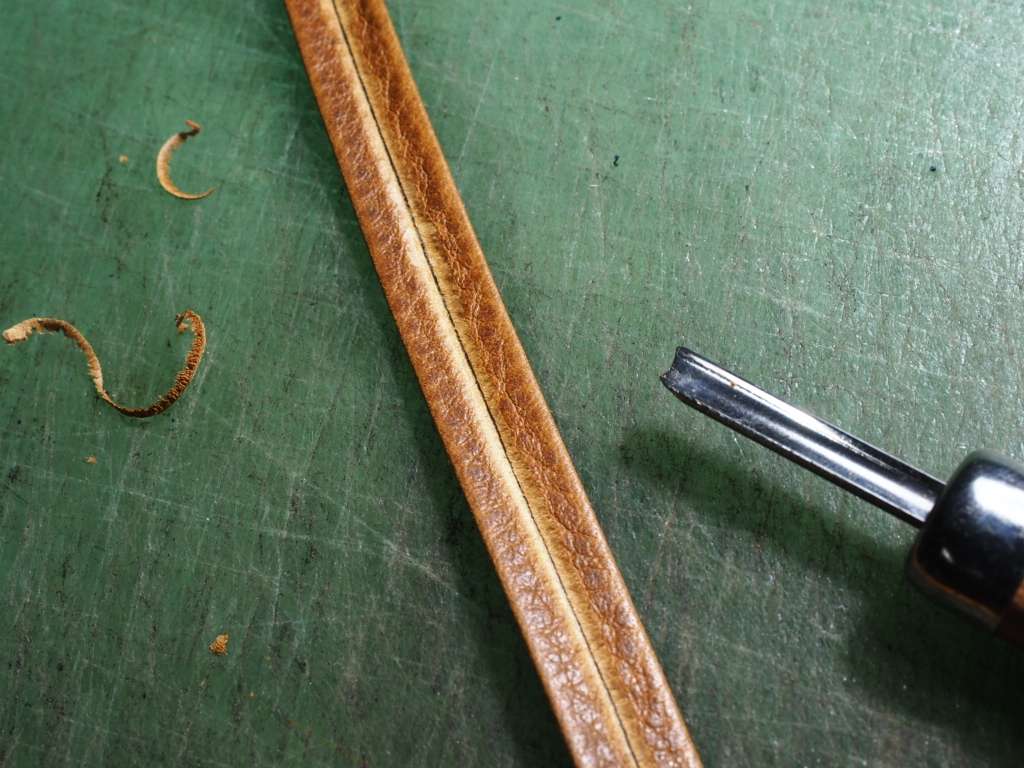
両ヘリ返し
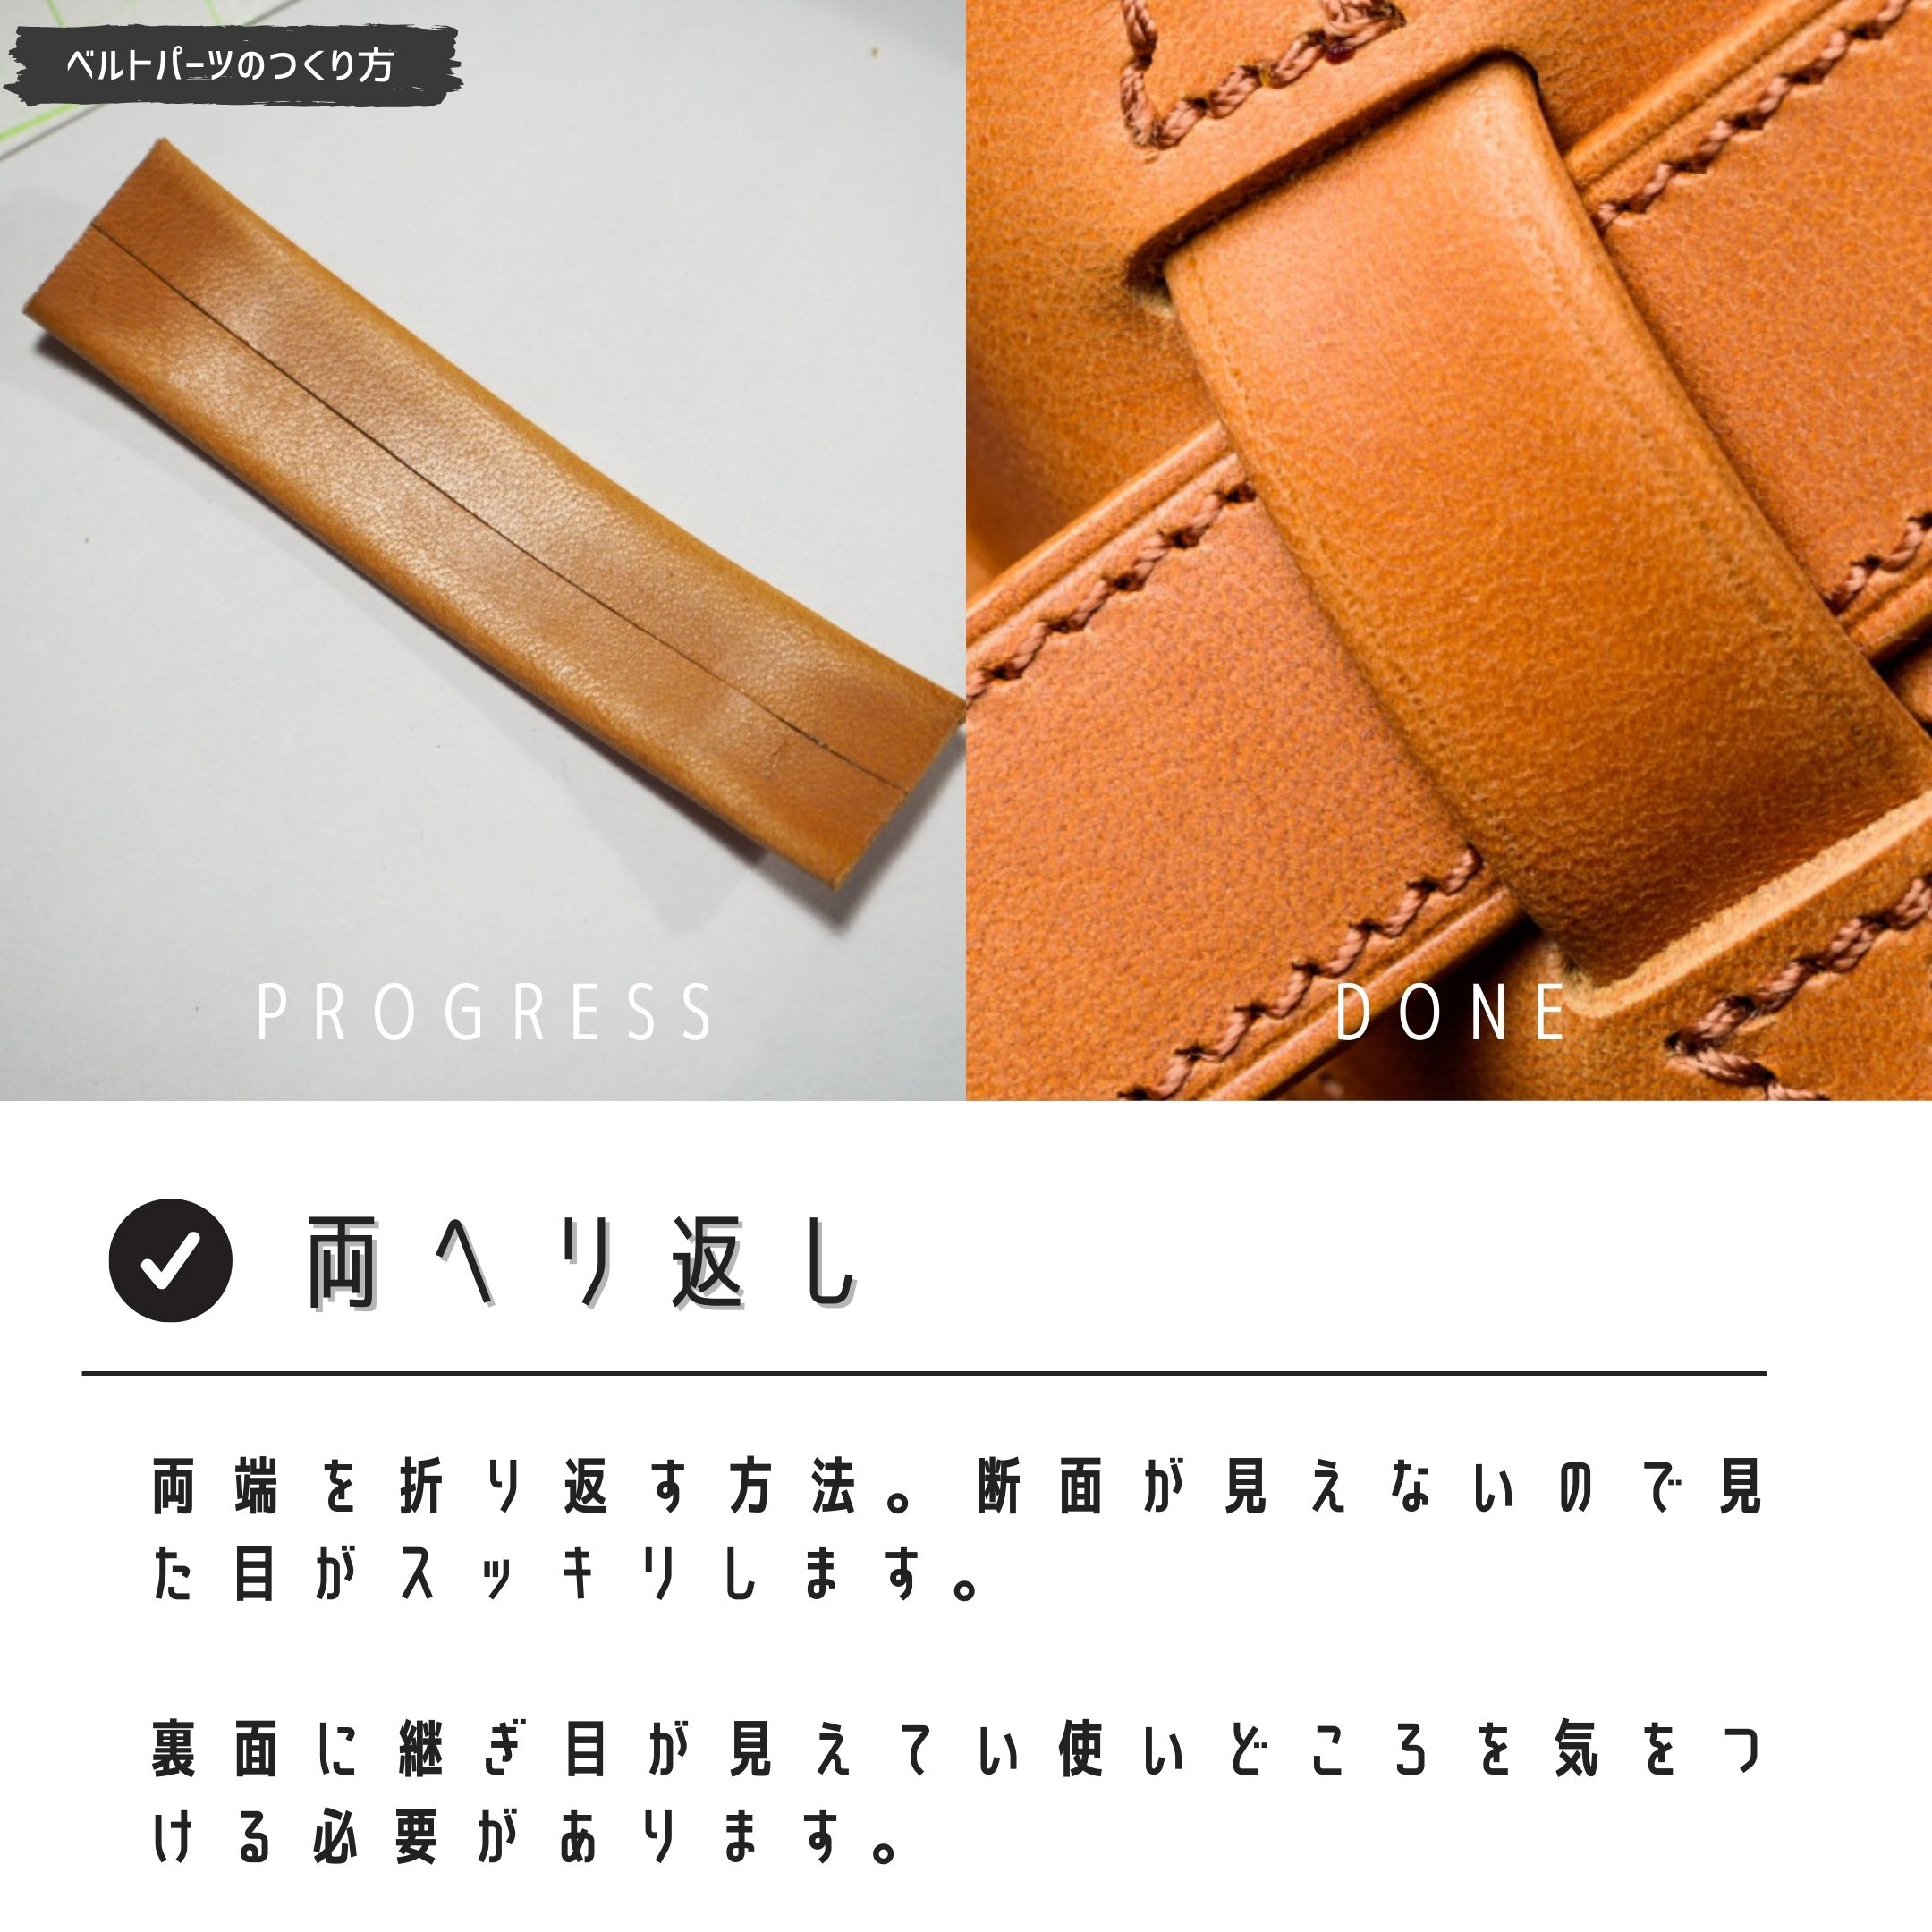
両側がヘリ返しになるので見た目がすっきりします。
裏面に継ぎ目が来るので、使いどころを間違えてしまうと耐久性に問題が生じます。
両ヘリ返しを応用した三つ編み
コバも床面(革の裏)も見えない上品な三つ編みができます。
三つ折り
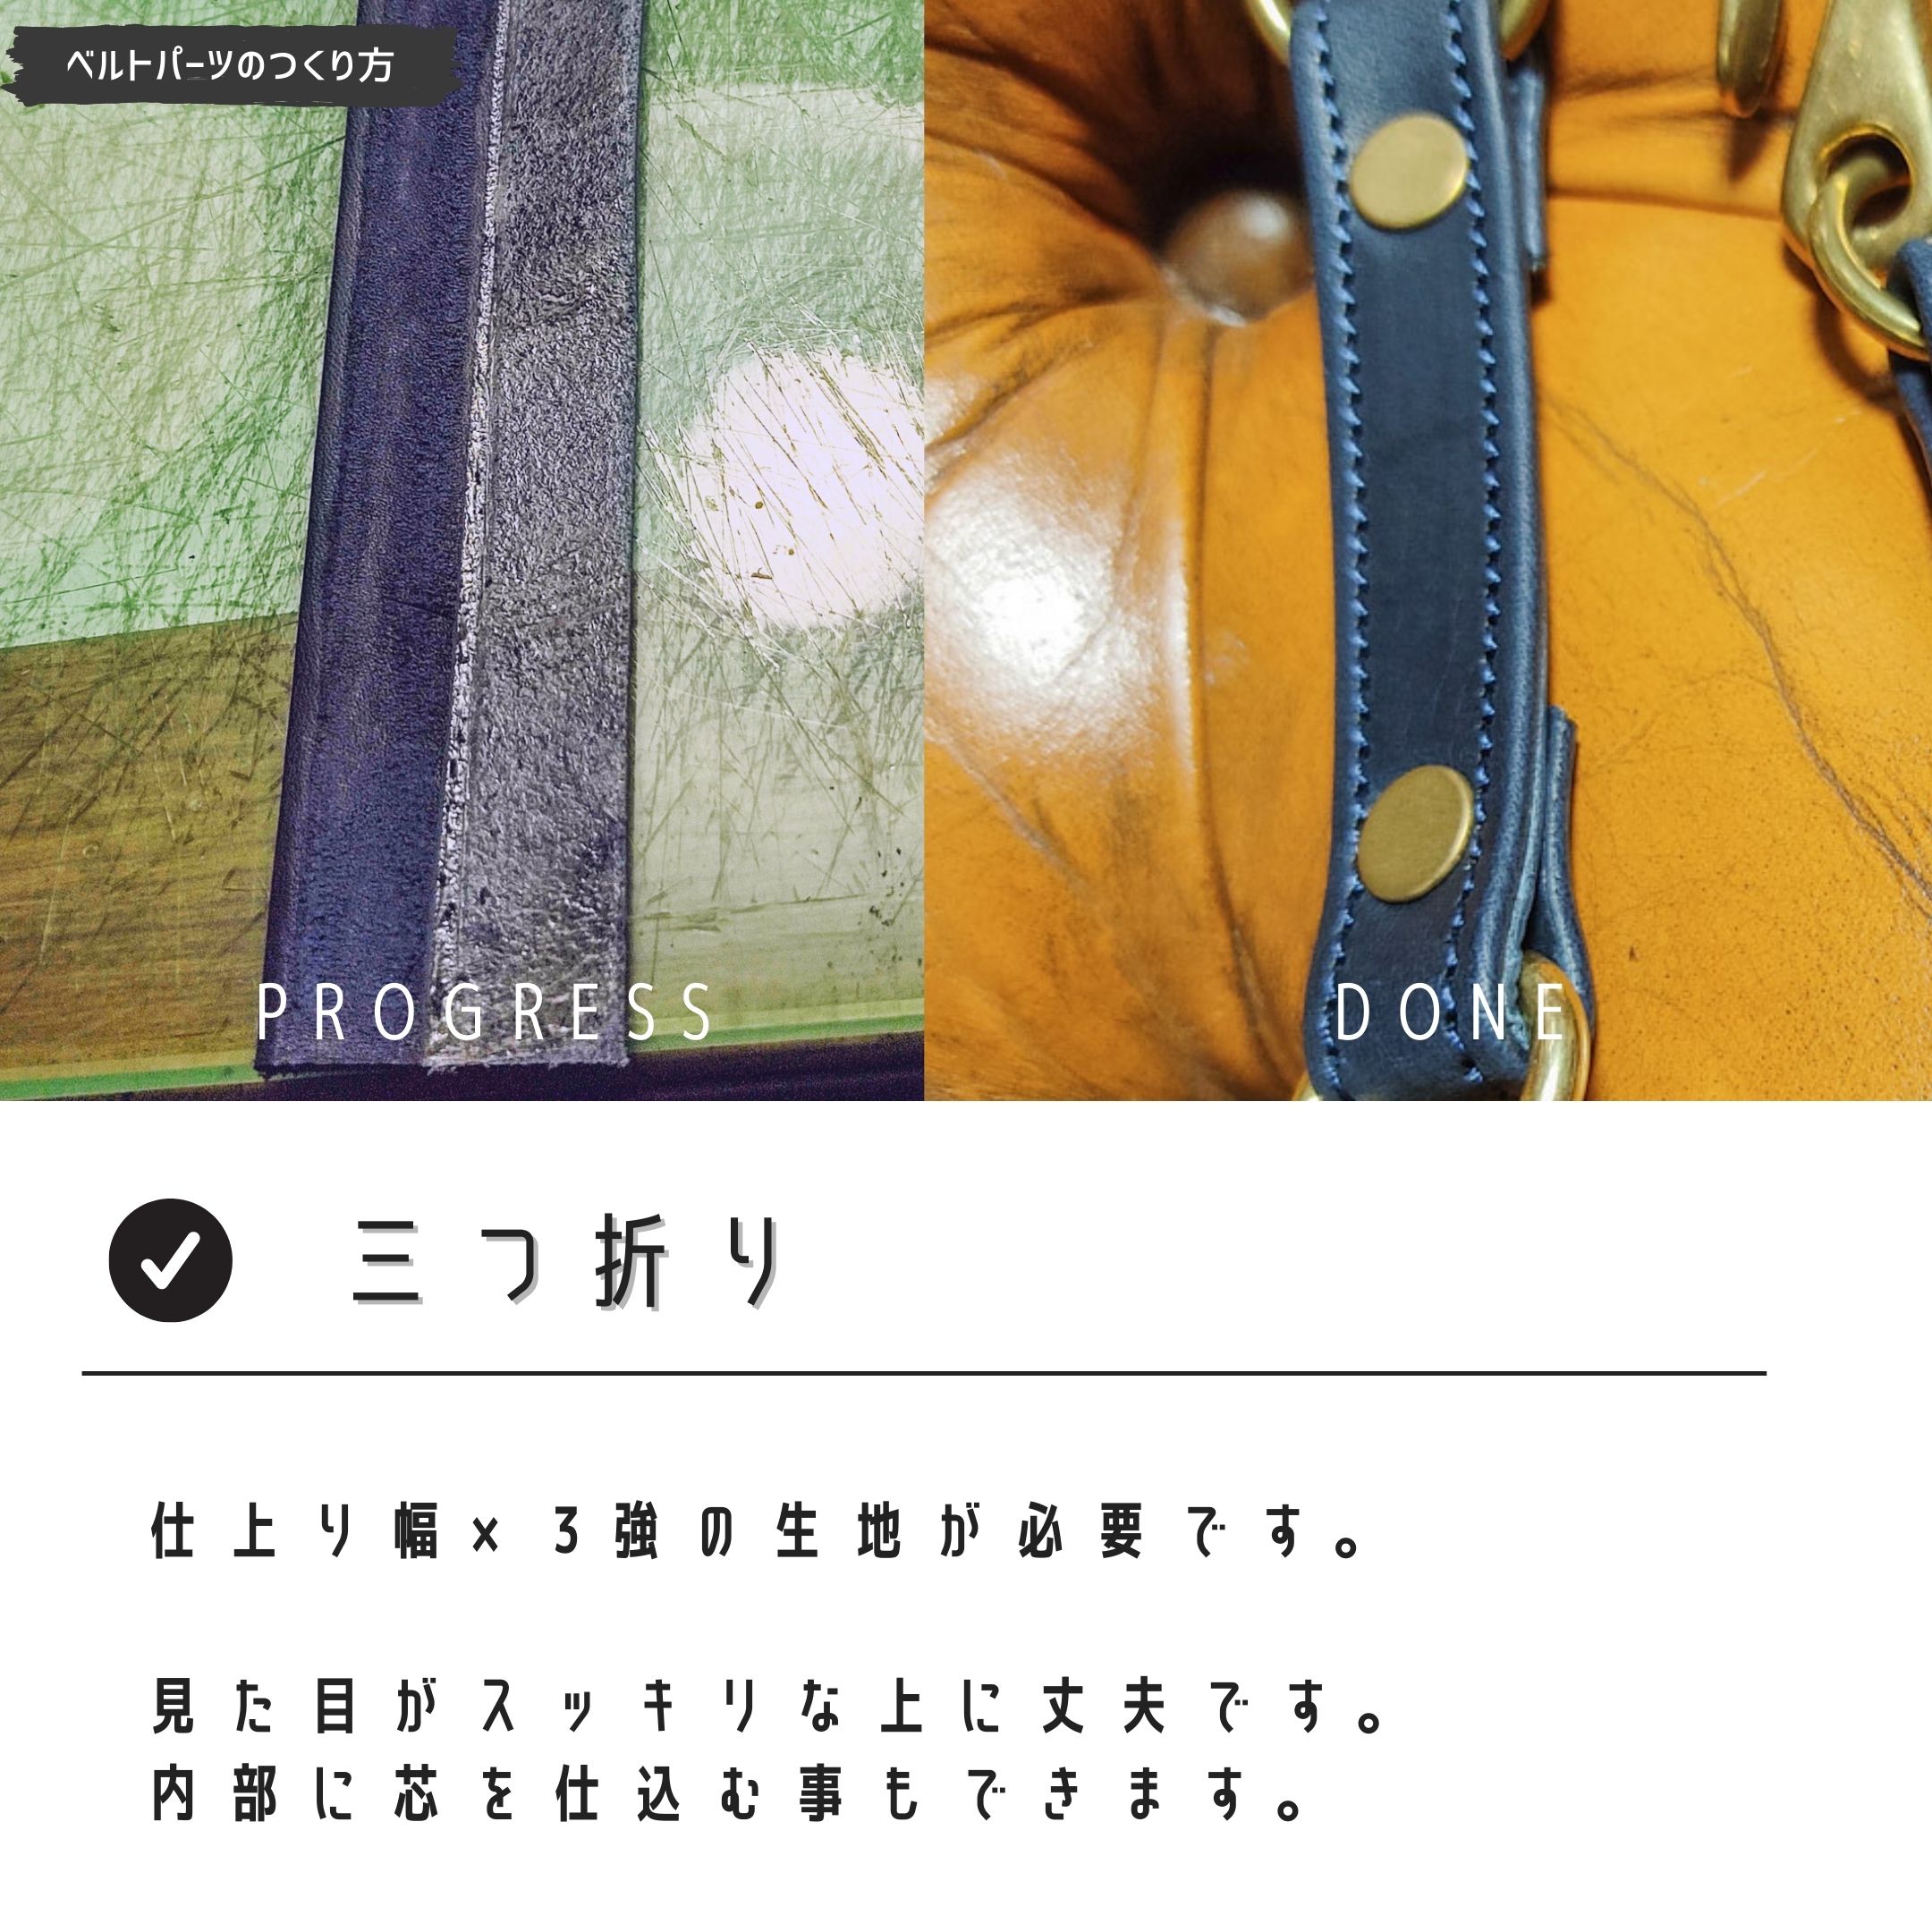
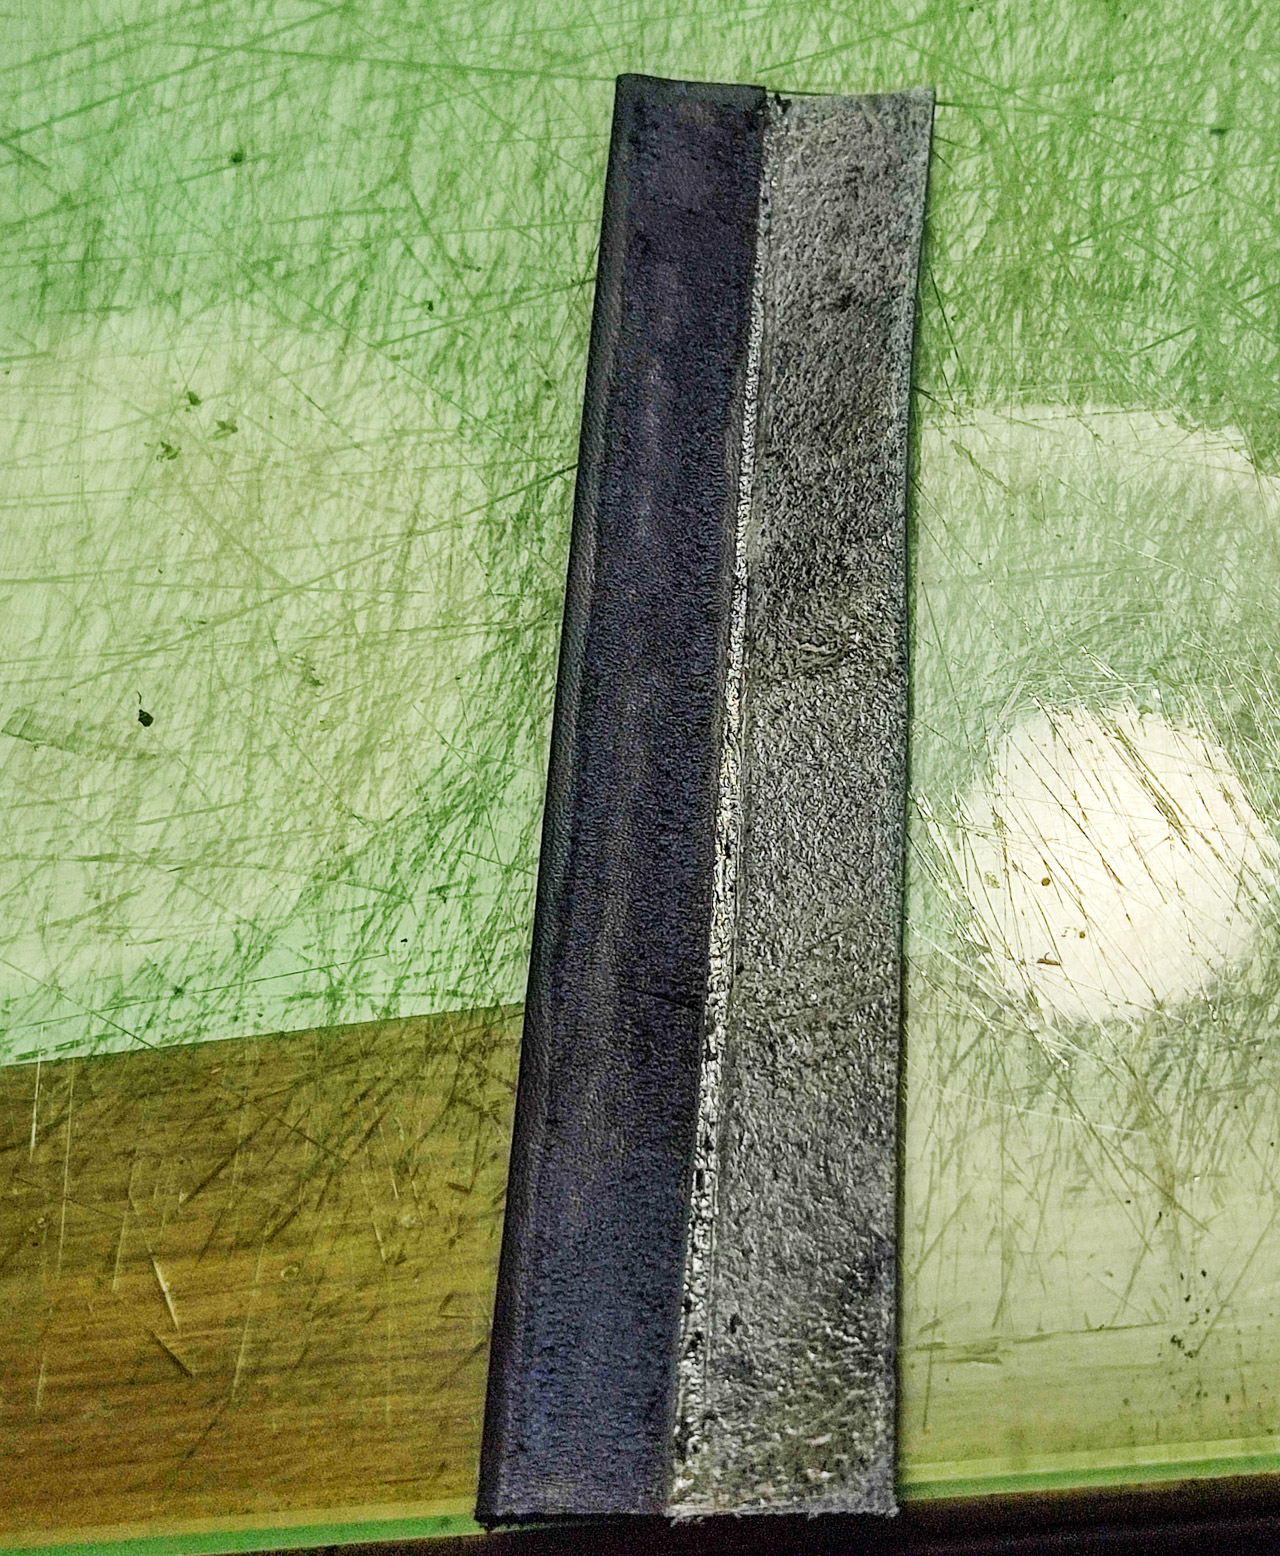
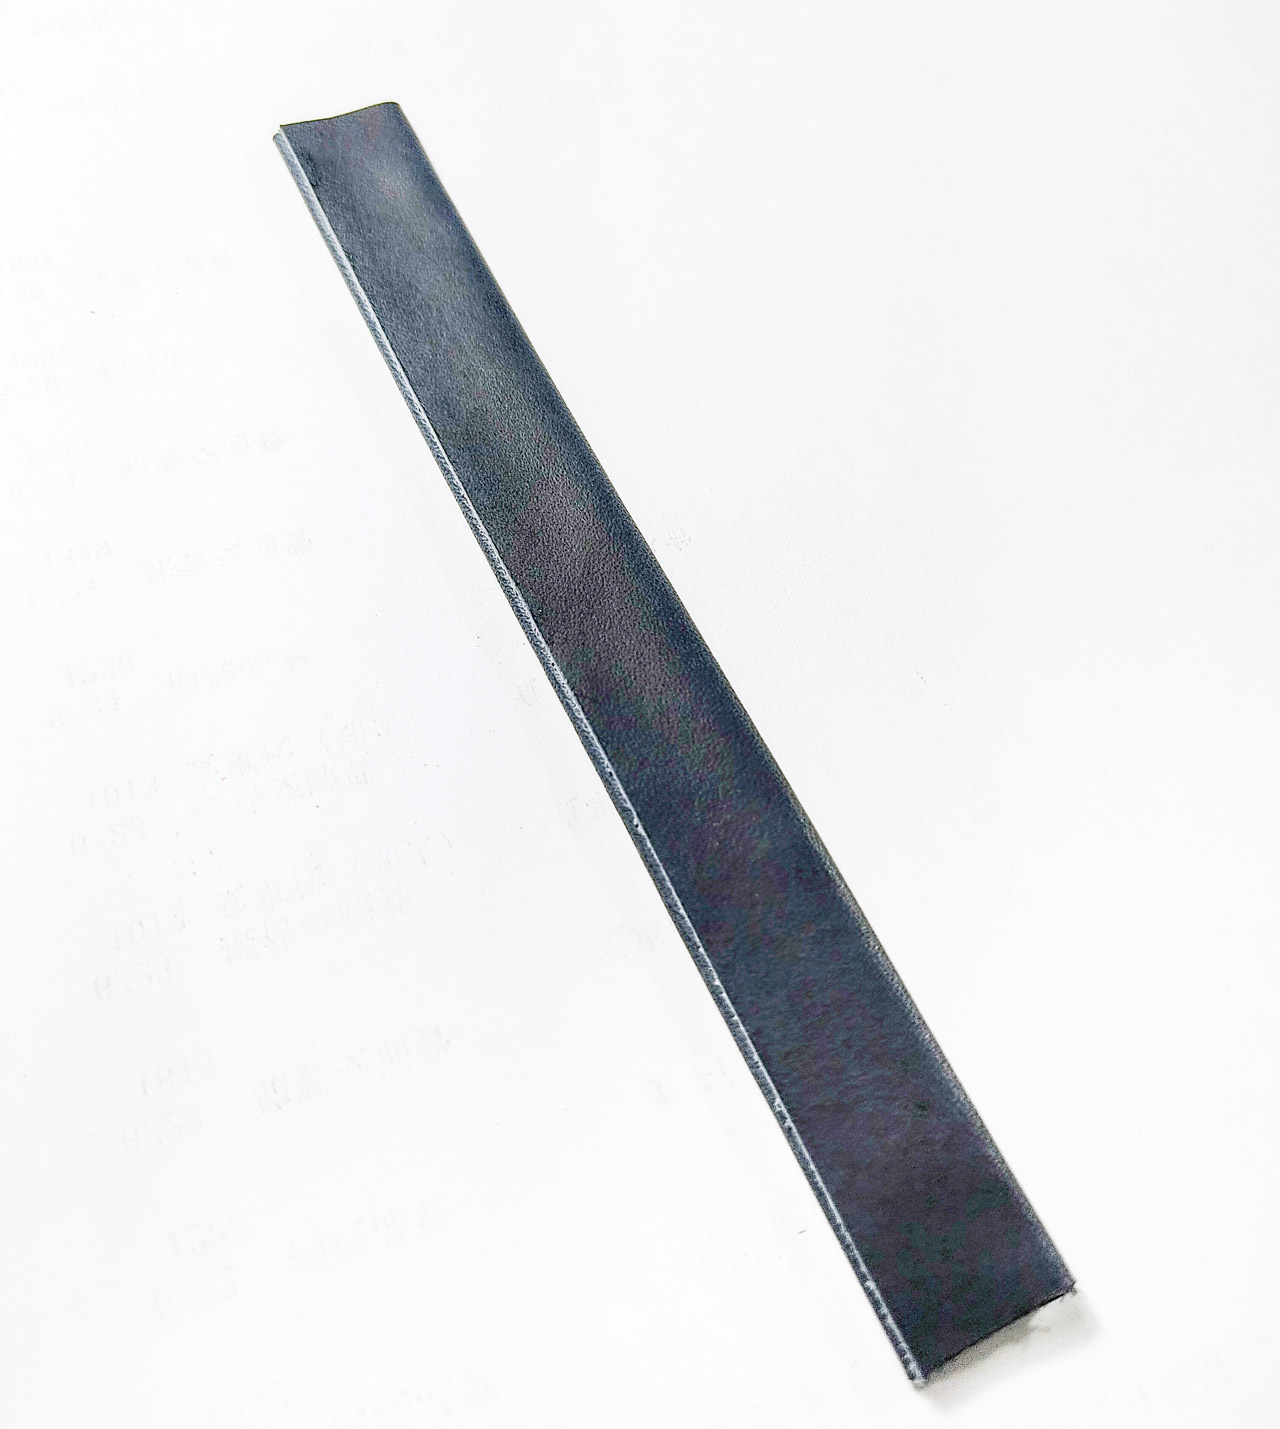
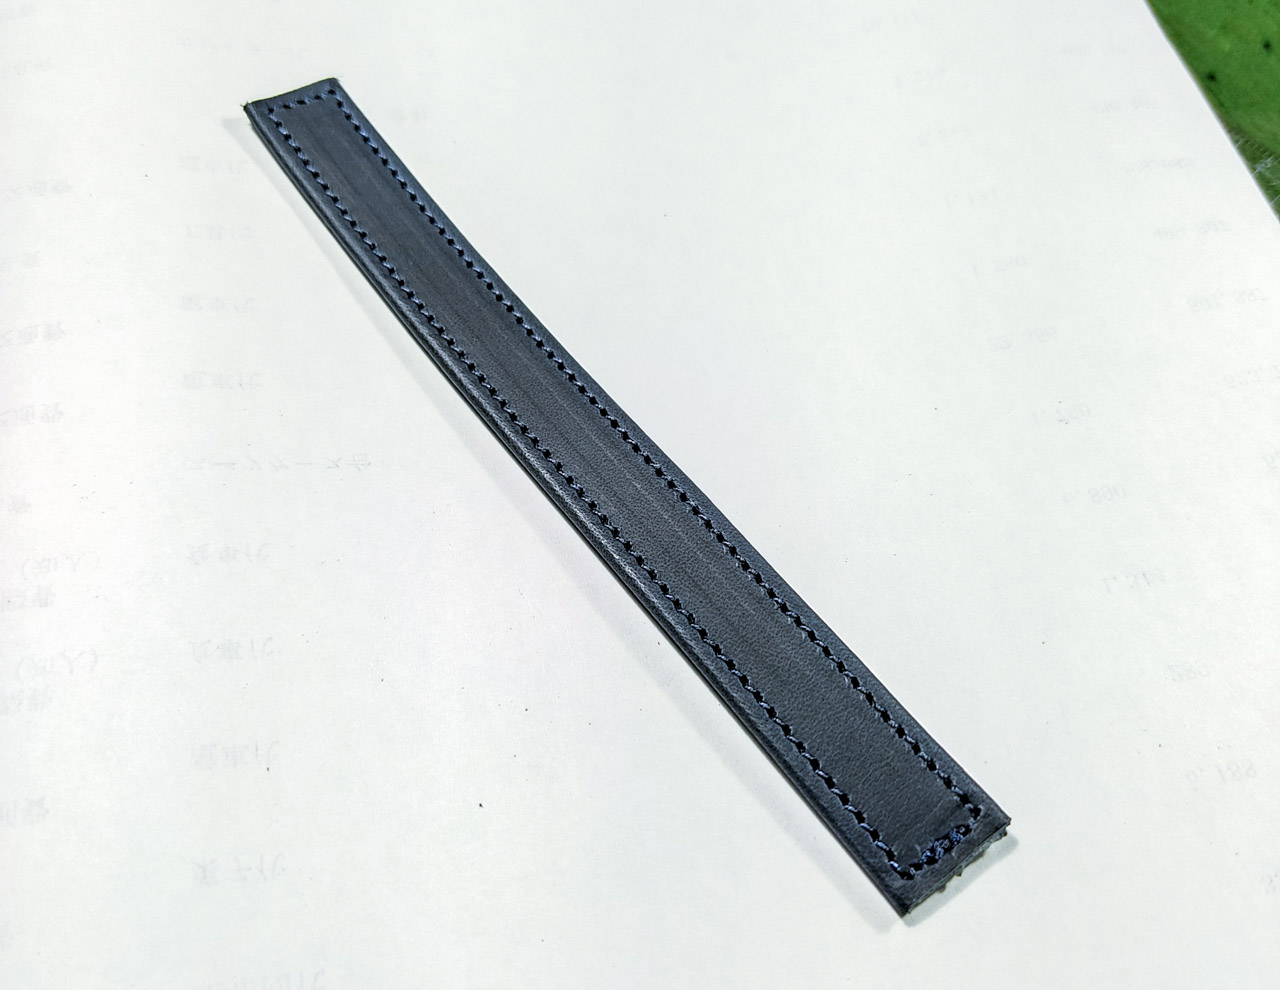
内部に補強を入れることもでき、とても丈夫なベルトパーツを作ることができます。
両側がヘリ返しになるので見た目もすっきりです。
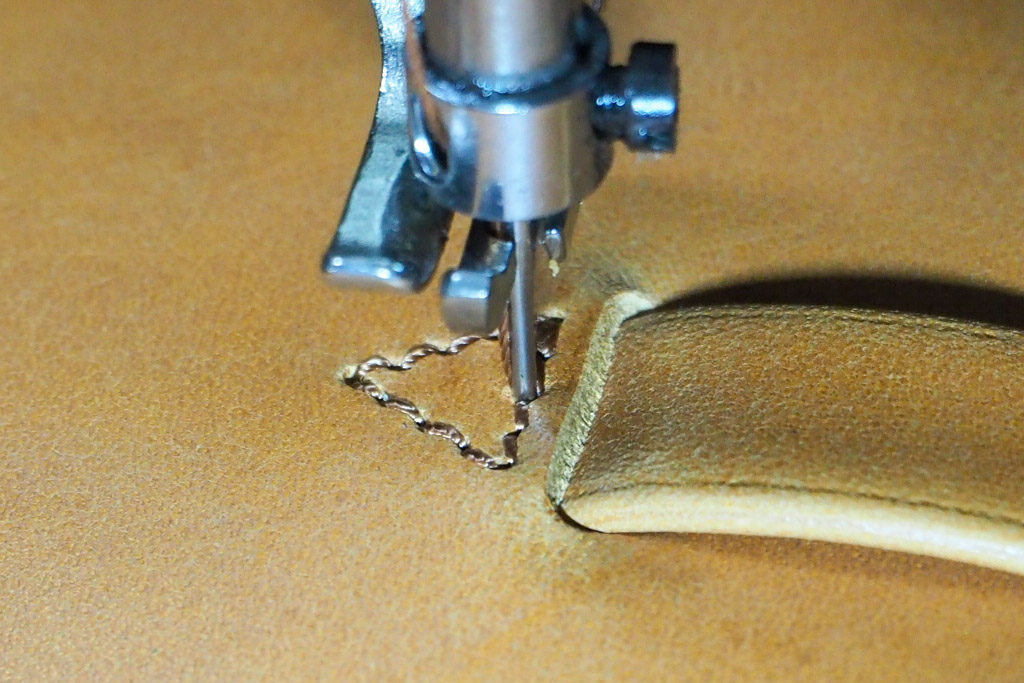
三つ折り(2)手縫い編
+αの部分です。
先ほど紹介した三つ折りと途中まで同じ製法ですが、こちらは手縫い。
ミシンで縫うか手縫いするかで印象はまるで違います。
四つ折り(両へり返しの二つ折り)
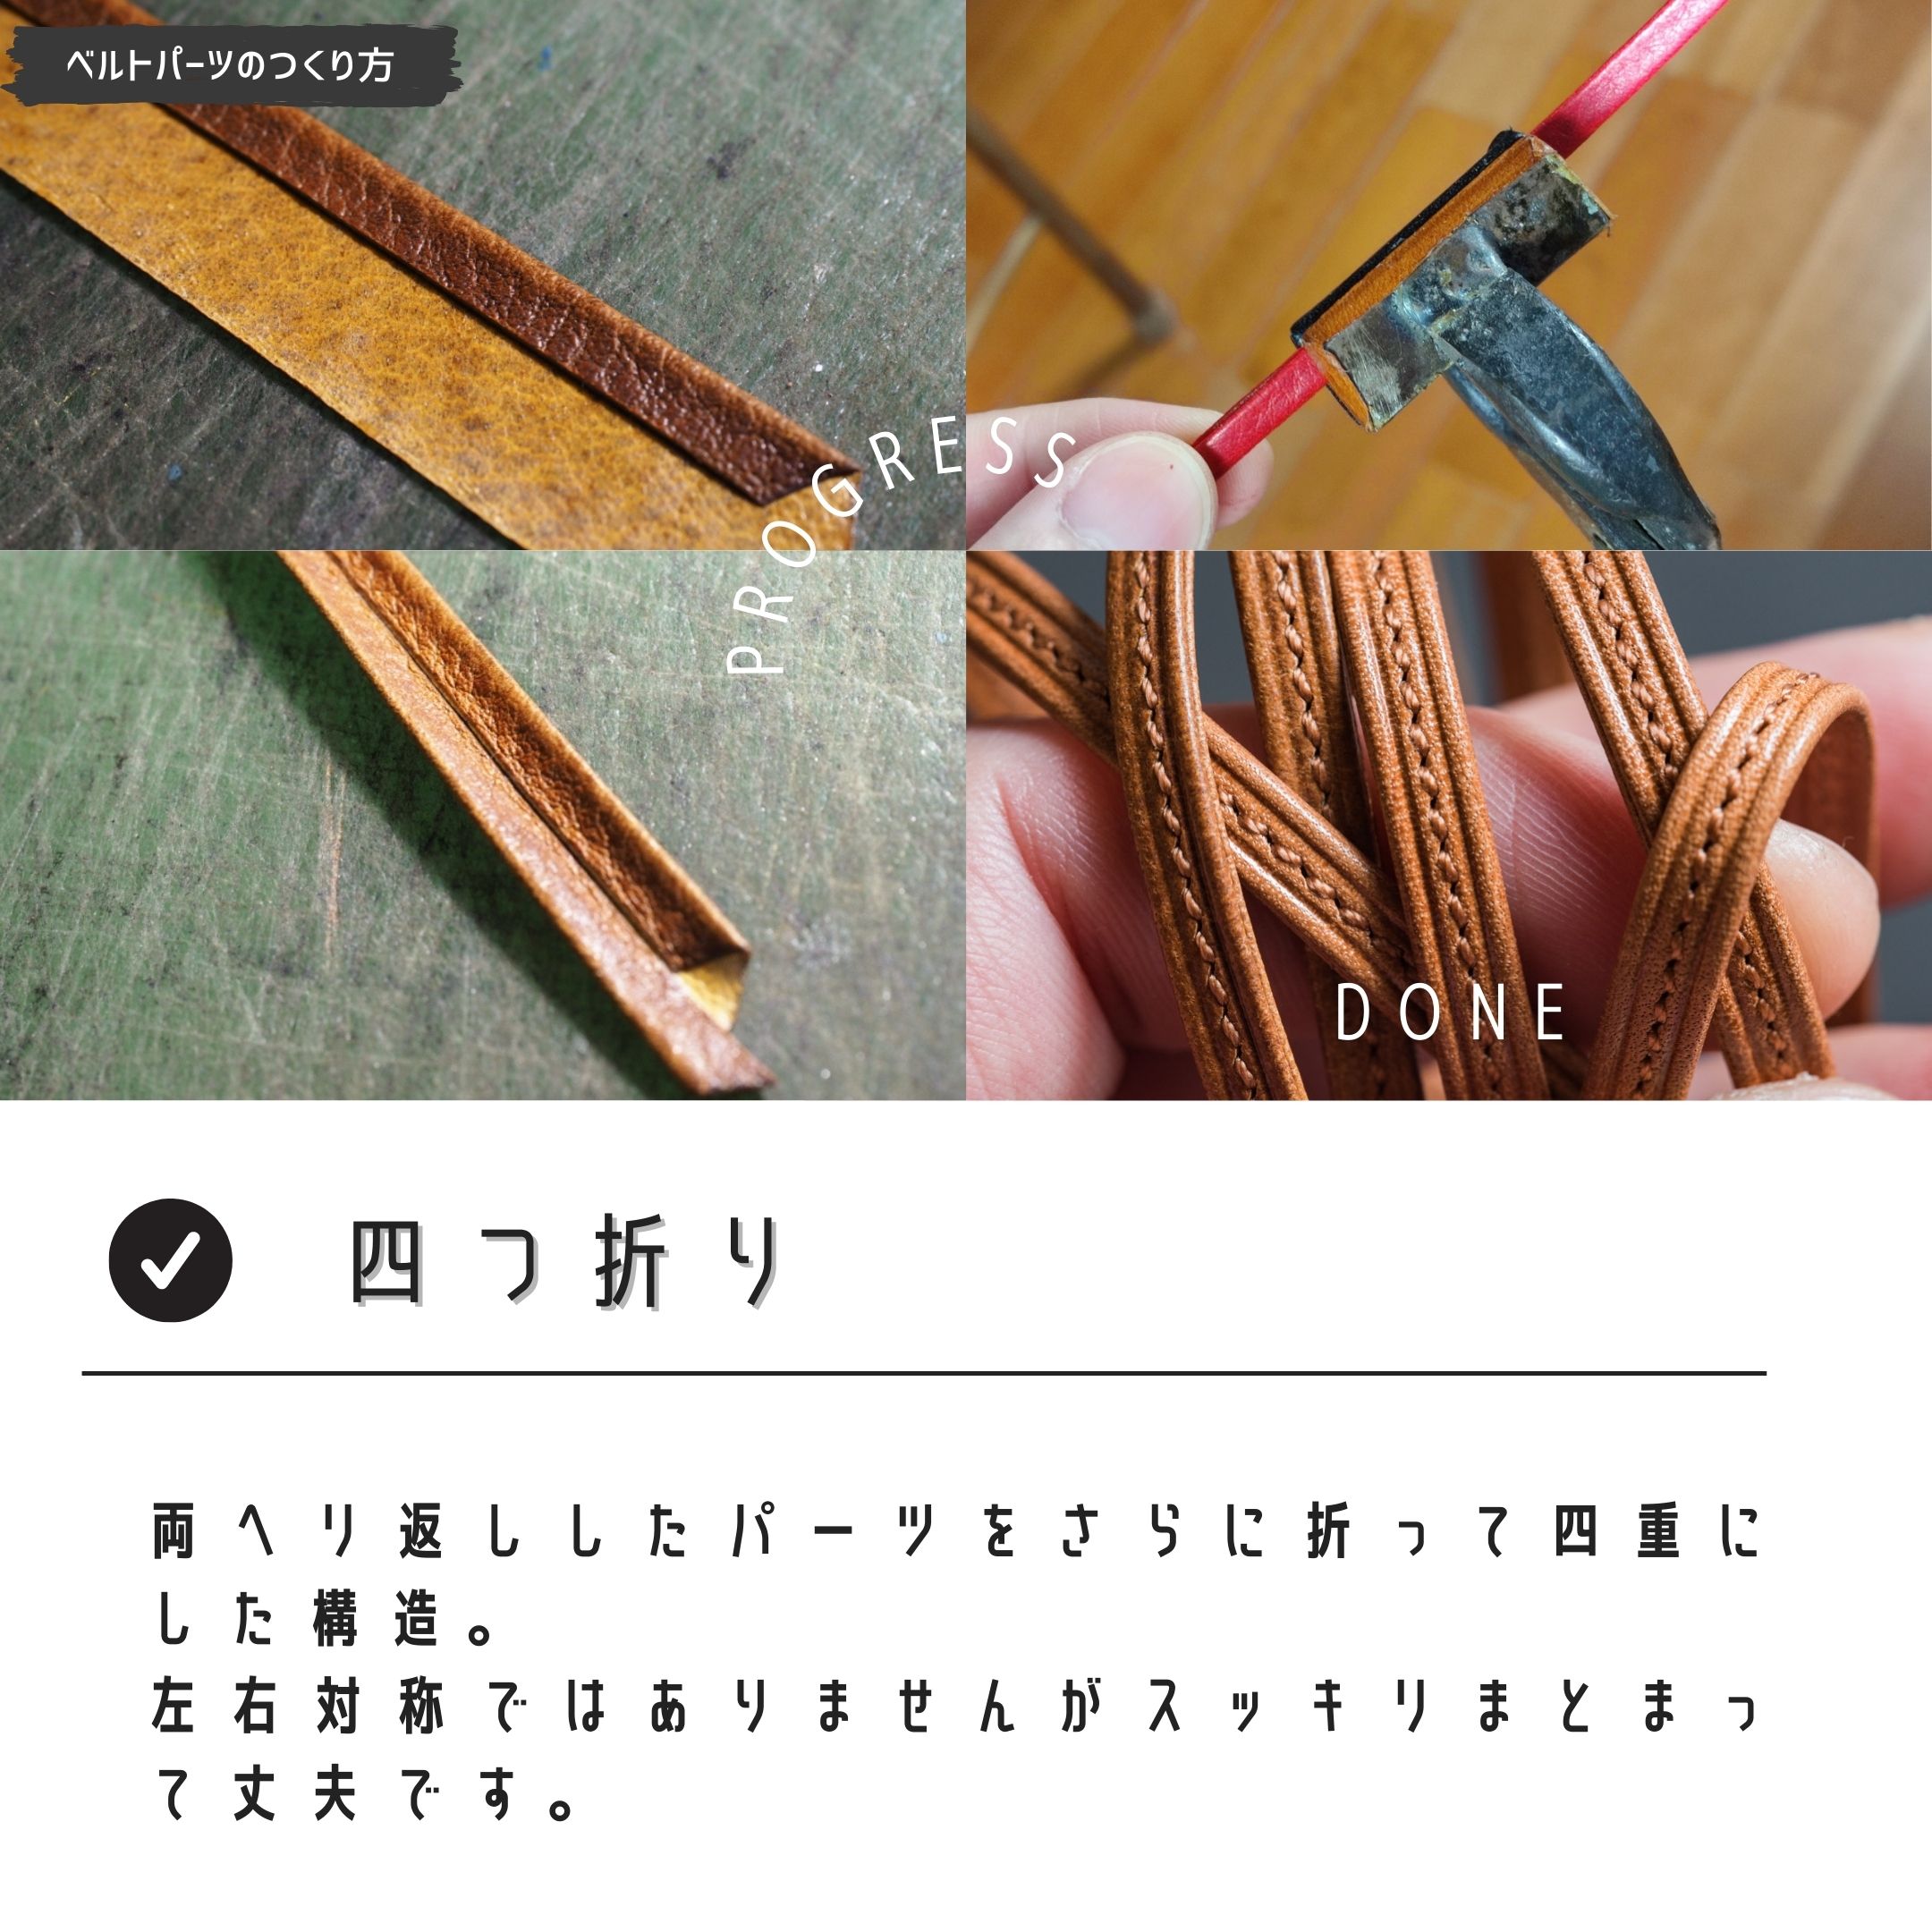
両面がヘリ返しで表裏対称の仕上がりに。
キレイで丈夫に仕上げることができる方法です。
両ヘリ返し×両ヘリ返し
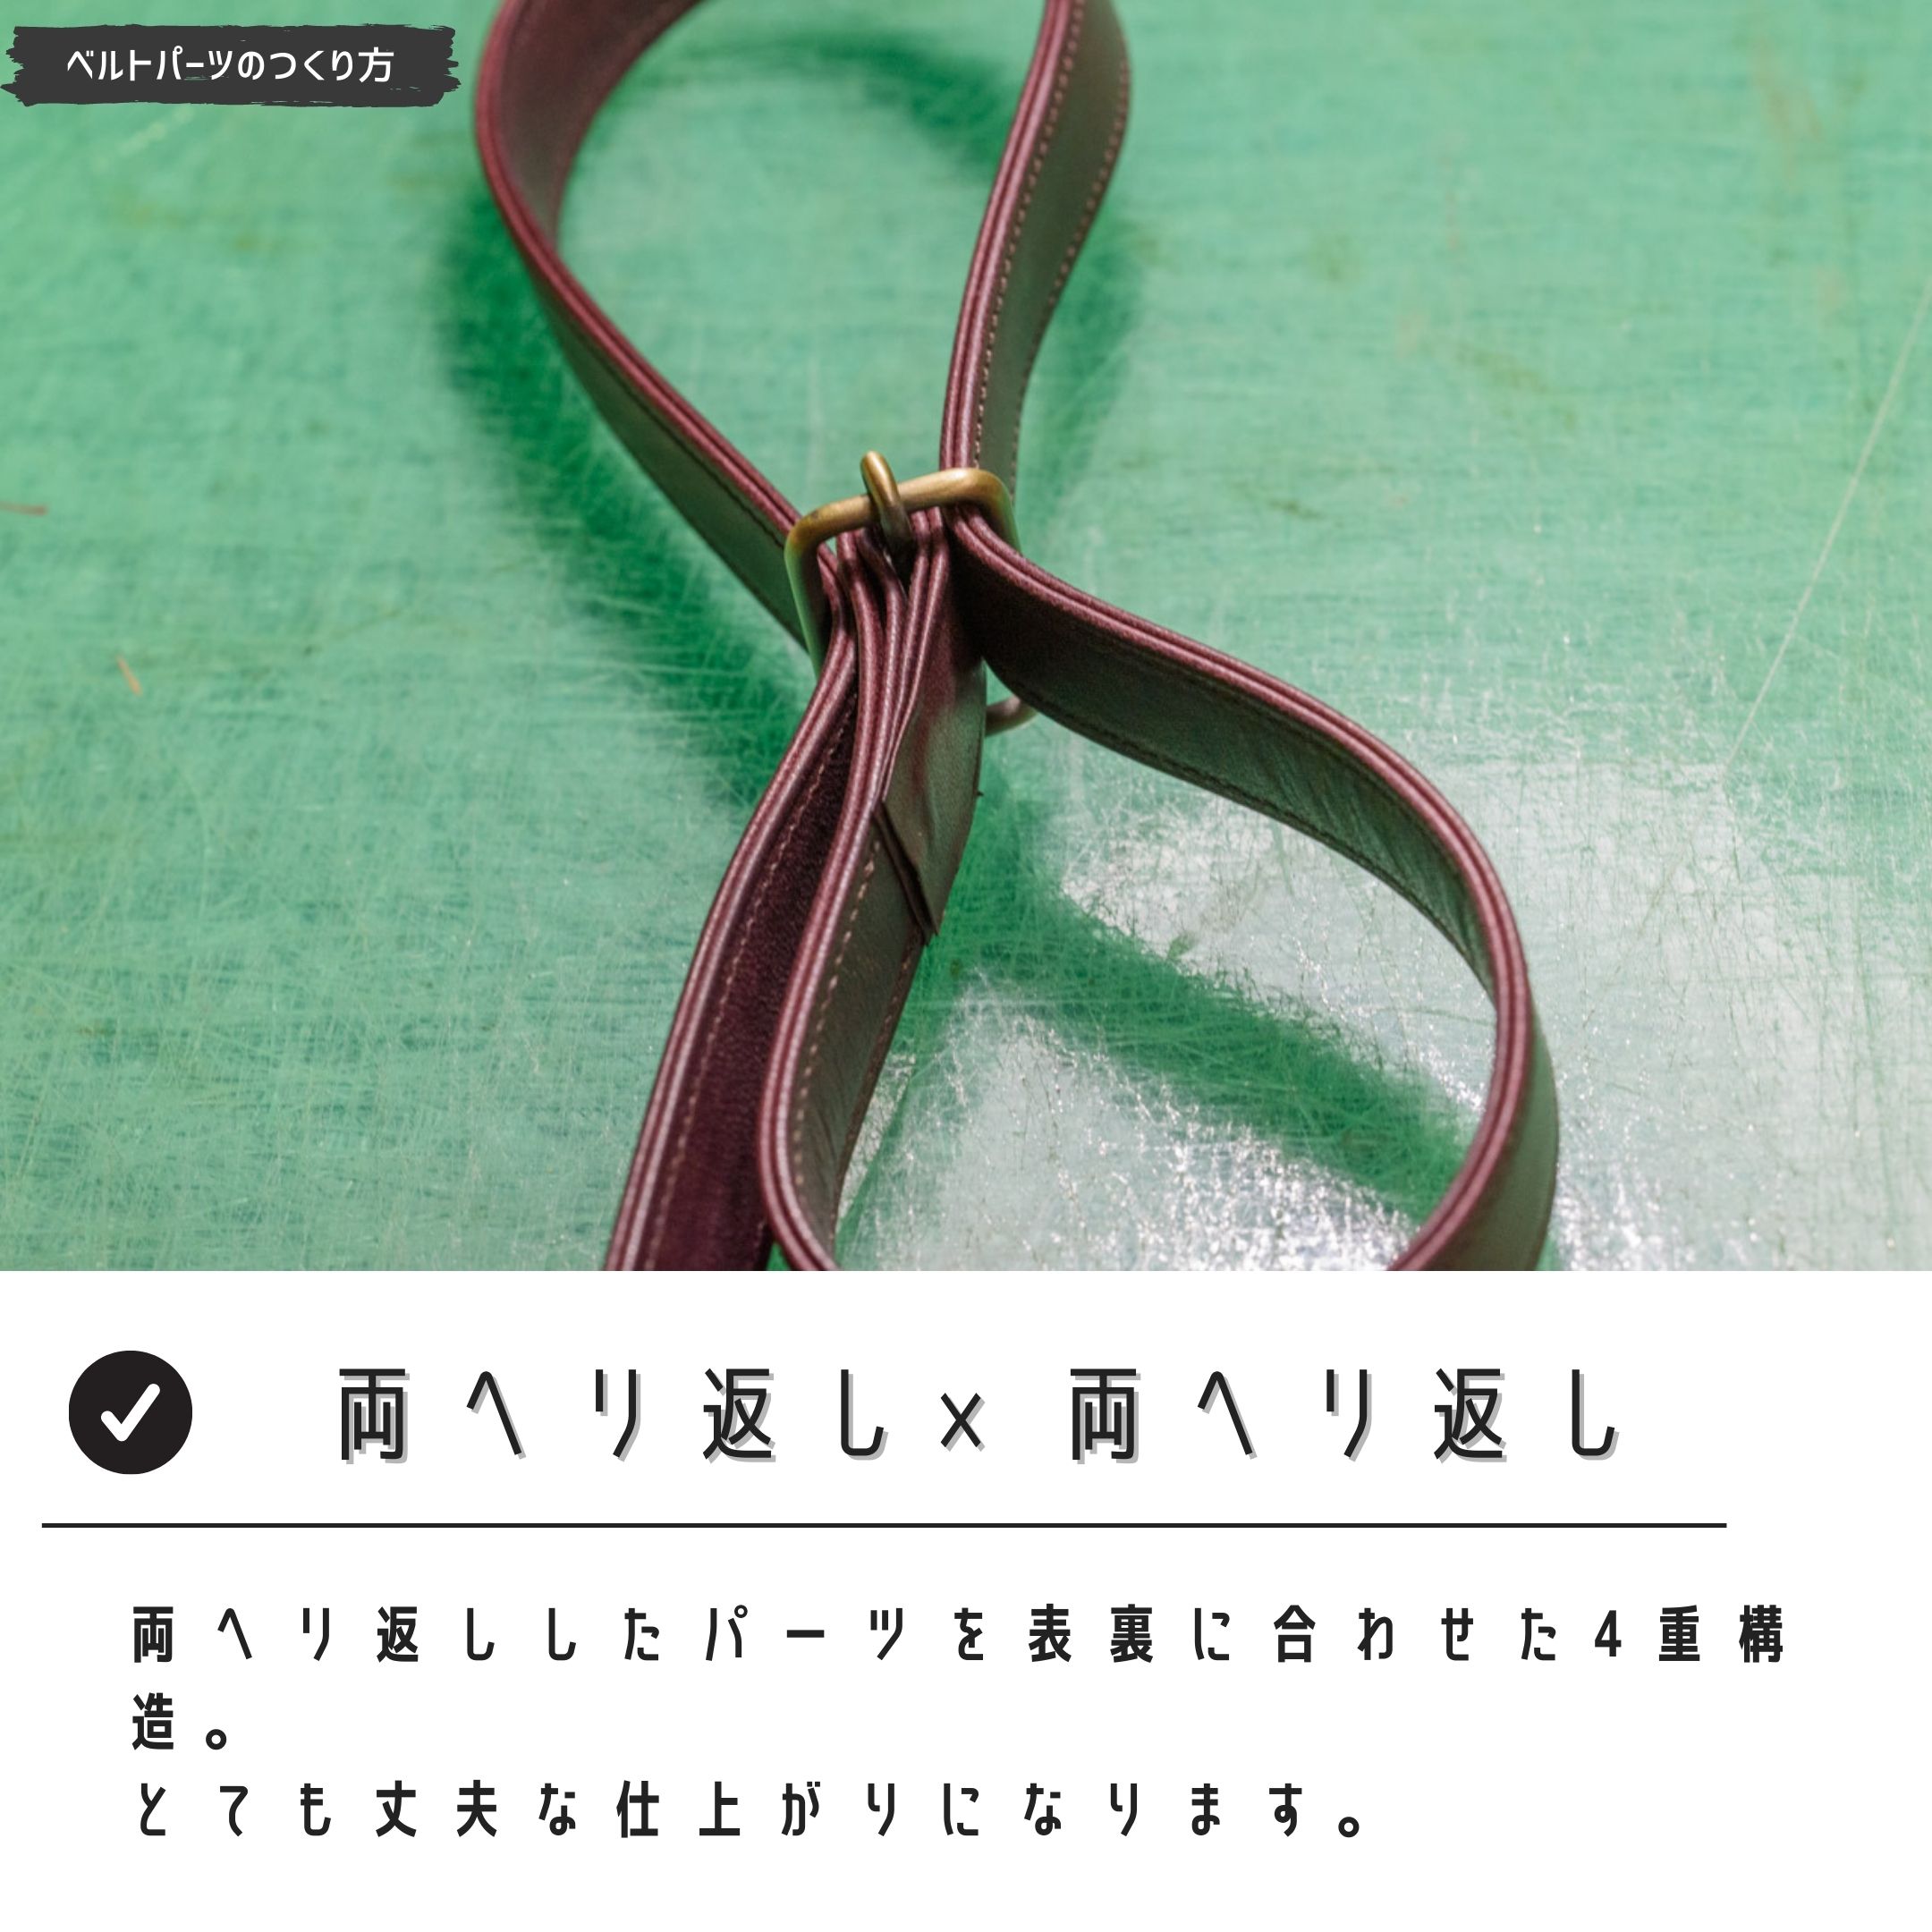

両ヘリ返しのパーツを2枚作り、貼り合わせて縫う方法。
表裏で厚みを変える必要があり、また末端の処理をどうするかも問ので少し頭を使います。
表裏左右対称で見た目もキレイ、中に芯を仕込むこともできて強度のコントロールもしやすい方法です。
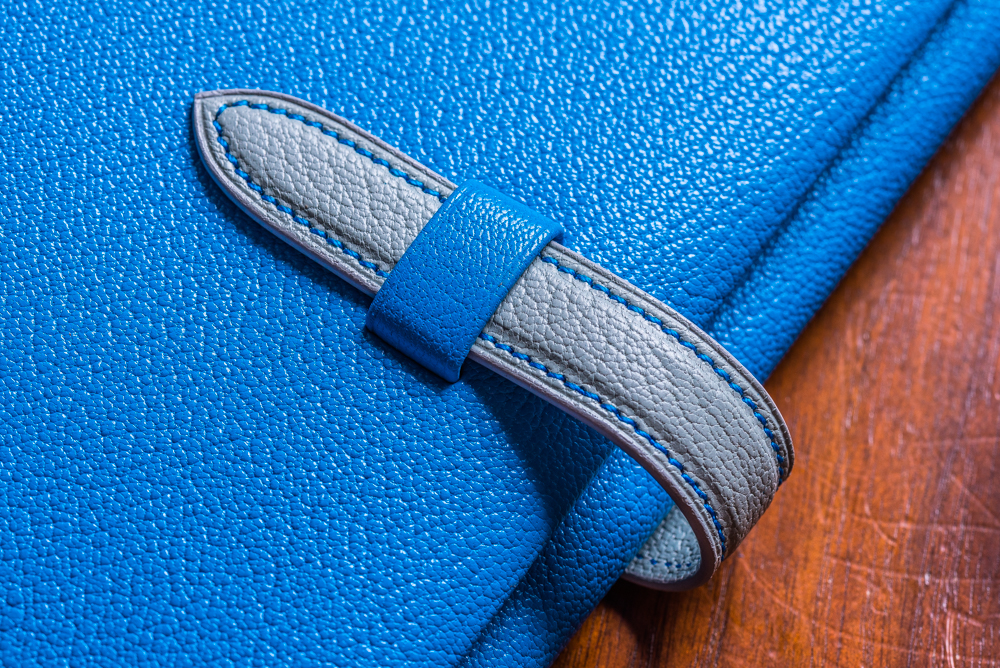
切り目仕上げ
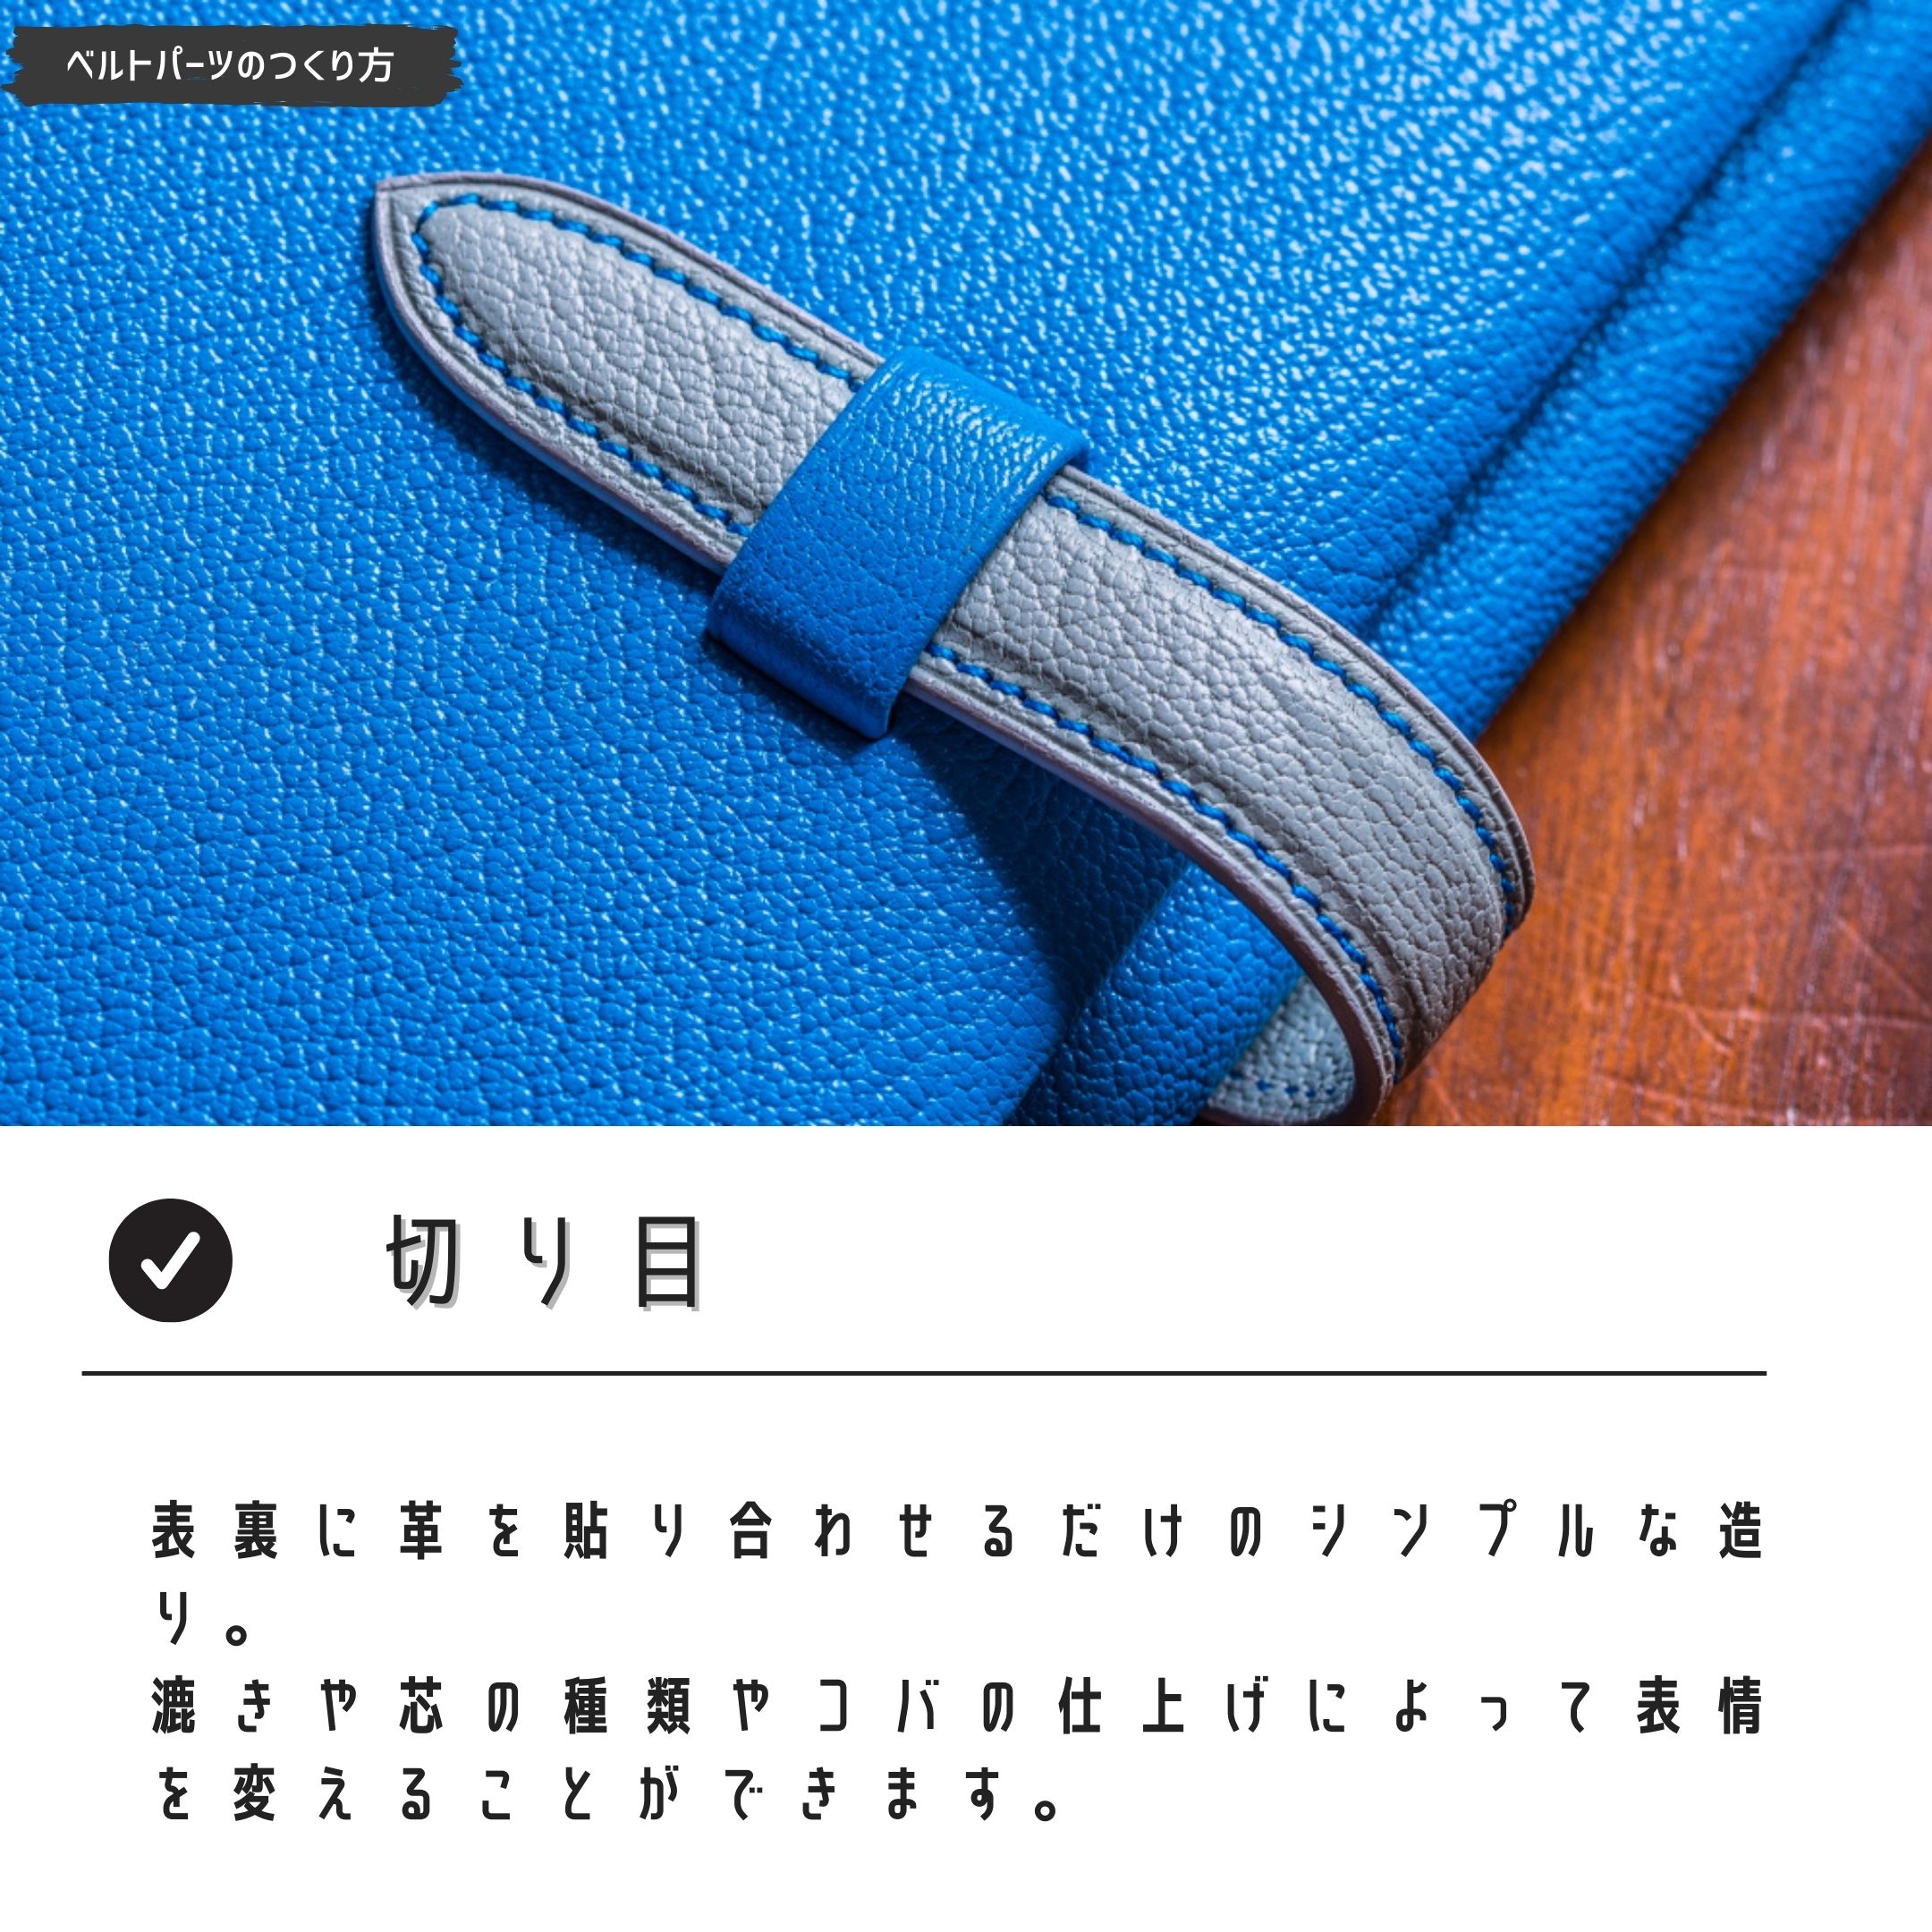
裏にも革を貼っただけのシンプルな構造。シンプルですが深いです。
間違うと、曲げた時に裏にシワが入りやすくなったり、表側にひび割れが起こりやすくなります。
その他の製法とは違いコバ(革の断面)が露出する為、コバ仕上げが必要。コバ仕上げのデキでも見た目の印象が変わります。
コバについての関連記事
裏地についての関連記事
接着剤についての関連記事
まとめ
表裏に革を貼ったベルトパーツの作り方について書きました。
ここで紹介した方法以外にも別のやり方はあると思います。
また、ベストな方法というものも無くて、どういうところに使うか?予算は?革の種類は?などでベターな方法は違います。
この記事で紹介した写真はすべてdeteの商品写真です。方法は一つではなく、ケースバイケースで最適な方法を選択するということです。
ではそれを見極めるにはどうすればいいか?
全部をマスターする必要は無いですが、「そういうやり方もあるんだ」程度に知っておくと、いつか役に立つときがあるかもしれません。
他にも、革職人の仕事やレザークラフトテクニックについて書いています。
このまとめページでは、
『肉盛り』で立体的に作る方法。レザークラフトレベルアップ!高級感を出すテクニック
や、
などが人気です。合わせてご覧ください。


コメント